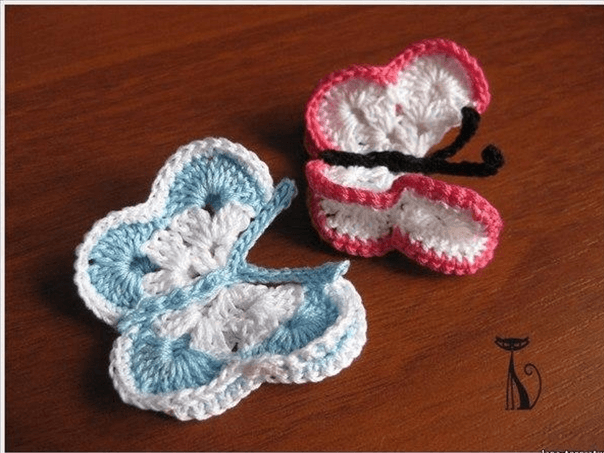
DIY Crochet Butterfly Tutorial


Creating the Butterfly
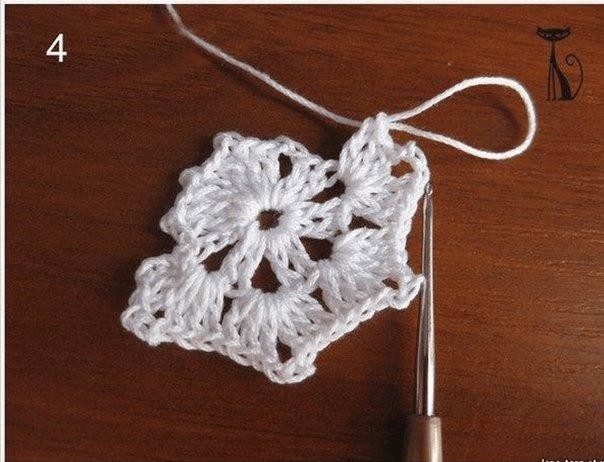
Make 5 chain stitches and circle them in a ring by means of a slip stitch.
Make 3 chain stitches increase, followed by (2 chain stitches, 2 double crochet) x 7 times.
Finish the row with double crochet to form a circle in the ring and make 3 chain stitches increase.
Building the Flower Base
Start the next row by inserting the crochet hook under 2 chain stitches of the previous row. Make 2 double crochets, then 3 chain stitches, and 3 double crochets. Repeat (3 double crochets, 3 chain stitches, 3 double crochets) x 7 times to form a complete circle in the ring.
Make a chain stitch increase, and continue with (6 double crochets, 1 chain stitch, 6 double crochets, single crochet between weavers of the previous row) x 8 times, circling in the ring.
The last row is finished by fastening with single crochets.
You should now have a beautiful flower.
Assembling the Butterfly
Fold the flower in half to create the wings of the butterfly. As a result, you should get the basic shape of the butterfly.
Making the Body and Antennas
For the body, make 10 chain stitches.
For the antennas, create 9 chain stitches and half-crochet in the 2nd stitch from the end.
Make one antenna using a slip stitch and repeat the process to create the second antenna.
Now, turn to the body, which should be made using single crochets.
Leave a long end and sew the body to the butterfly.
