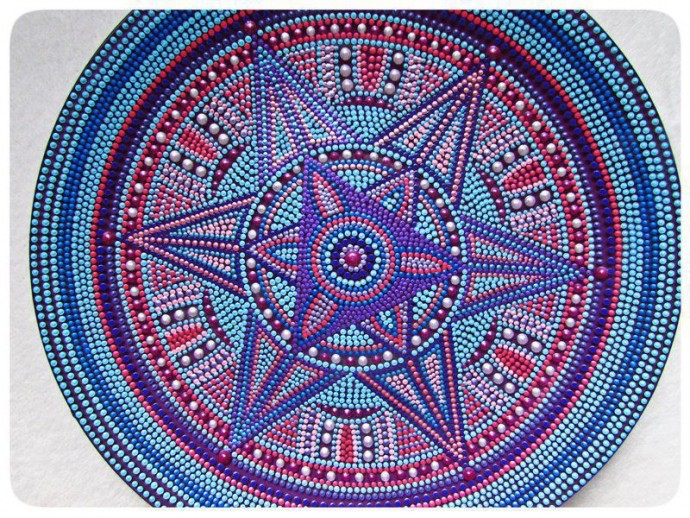
A Step-by-Step Guide to Decorative Painting on Ceramics

Introduction to Decorative Painting Techniques
Usually, this technique is used for dishes or plate decoration, but you can also make a picture with this technique.
Materials Needed
Let's take the ceramic star form as an example.
Prepping the Surface
The blank is covered with gold acrylic paint. If necessary, the surface should be degreased before applying the paint - especially when working on glass, ceramics, plastic, or leather.
Decorating with Contours
After the main tone has dried, the star is decorated with contours. To do this, you can choose colors like red, warm yellow, and white.
Adding Dot Patterns
Small white dots are placed along the contour of the star at a distance of 2 millimeters from each other. The diameter of each point is approximately 1.5 millimeters.
Creating Additional Rows
Next, a contour of the same color draws another row of points: each point is placed next to the element of the last row with an indent of 1 millimeter. The diameter of the point increases to 1.7-1.9 mm.
Then, the next row places the points between the elements of the past row.
Color Changes and Layering
On row 4, the color must be changed to yellow. Points are set in 3 rows in the same way.
Rows 7-9 should use red.
In a similar way, you should fill the whole figure; in the middle, place 1 point.
