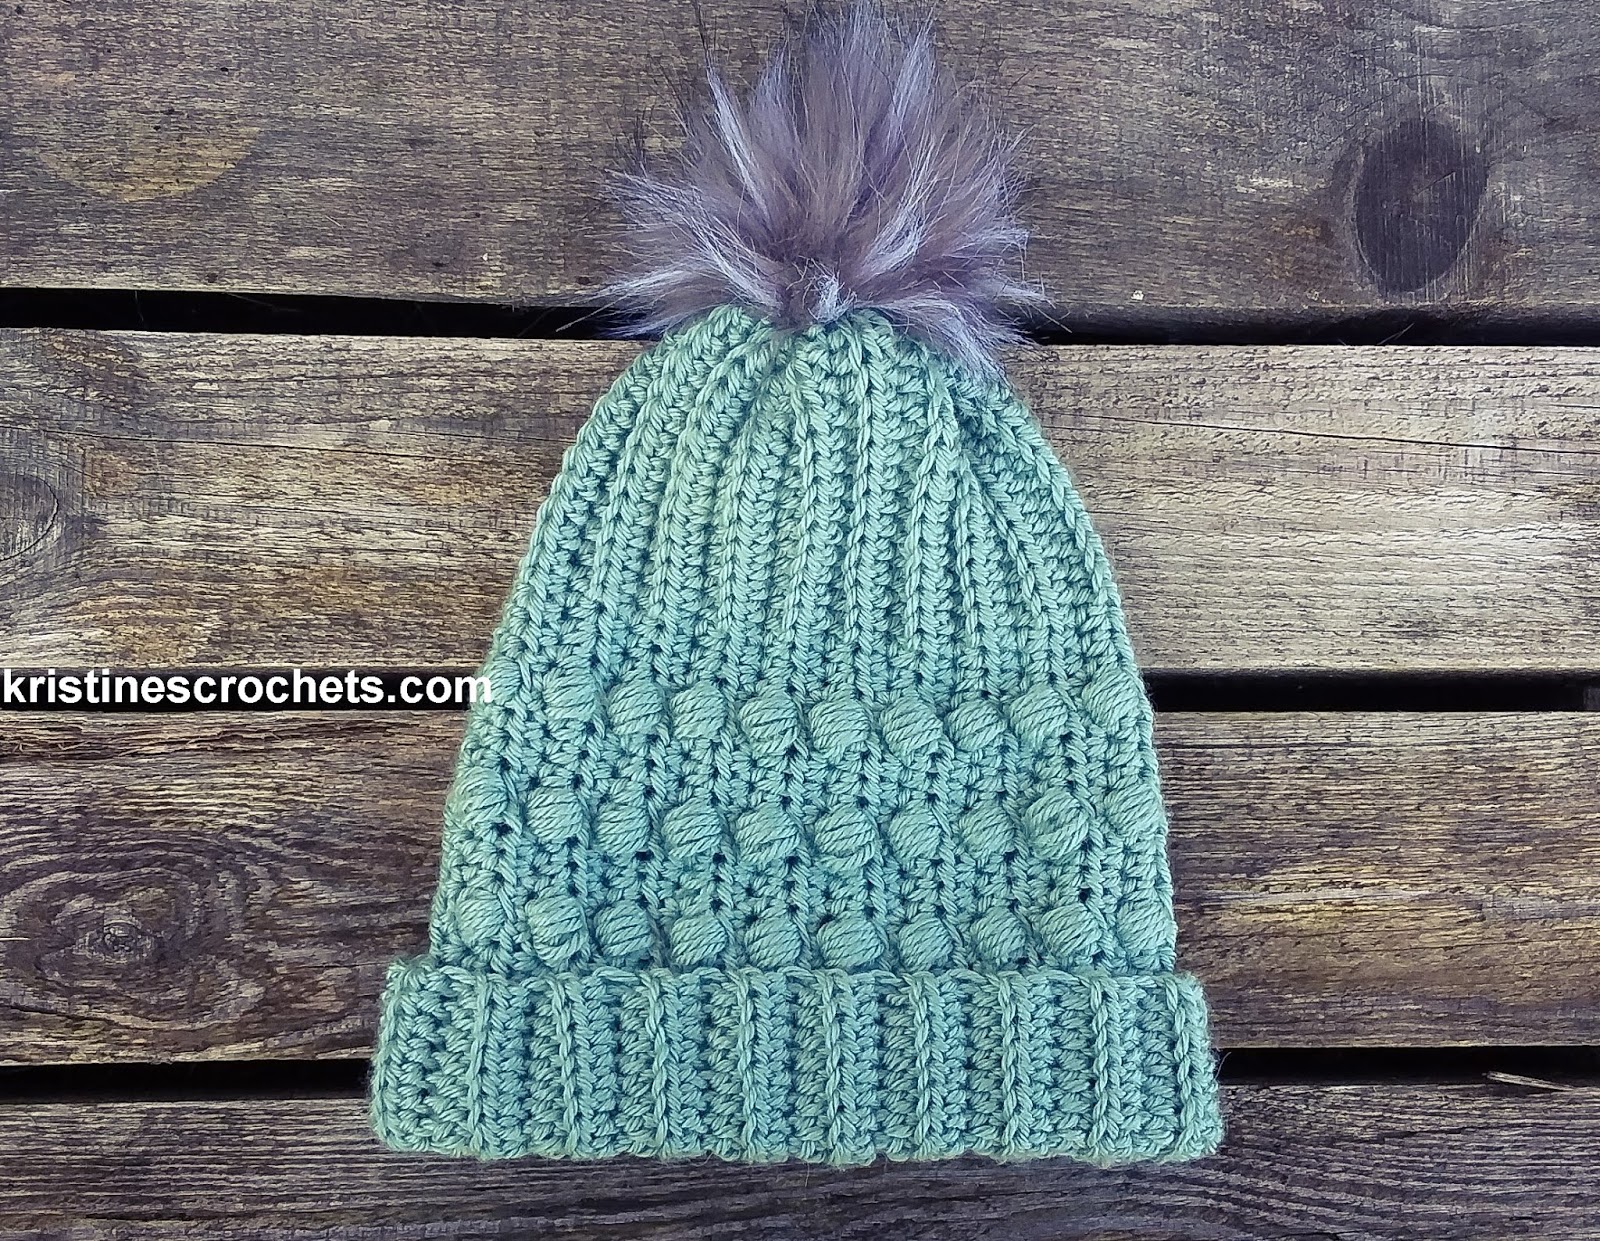
Crochet Ribbed Bobble Beanie Pattern


The Crochet Ribbed Bobble Beanie is the perfect winter accessory that combines style and warmth effortlessly! With its unique ribbed design and charming bobble details, this beanie adds a touch of fun to any outfit. Whether you're strolling through a winter wonderland or sipping hot cocoa by the fireplace, this beanie will keep you cozy and trendy all season long.
Say goodbye to boring hats and hello to your new favorite headwear – the Crochet Ribbed Bobble Beanie!Written Pattern
Size
The pattern is written in one size (M – 54 -56 cm (21.6 - 22.4 inches)) which will fit an average adult.
Materials
- Worsted weight yarn, size 4 - medium. I used Knitologie Glowing Worsted yarn (40% superwash merino, 30% silk, 30% alpaca, 137m/100g) in the colorway Flying Trapeze. 120 grams (165 m) of yarn needed for this pattern.
- 5 mm (US H8) crochet hook.
- Yarn needle.
- Scissors.
- Measuring tape.
- Pom pom (optional).
Gauge
15 sts x 9 rows = 10 cm (4 inches) in half double crochet.
Skill Level
Intermediate
Abbreviations (US terms)
- st./sts - stitch/stitches
- ch - chain
- sc - single crochet
- hdc - half double crochet
- hdc blo - half double crochet in back loop only
- hdc5tog (puff stitch) - 5 half double crochet closed together - Yarn over, insert your hook into stitch, yarn over, pull the yarn through the stitch. Yarn over and insert your hook into the same stitch 4 more times. Now you should have 11 loops on hook. Yarn over and pull the yarn through all 11 loops.
Pattern Notes
This hat has a little bit of slouch.
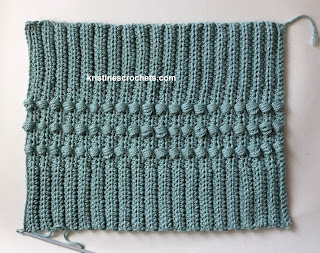
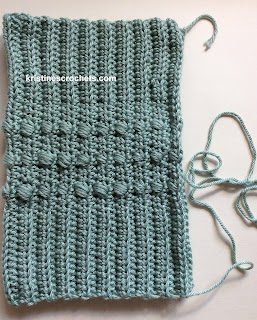
Finished hat rectangle measures approx. 39 cm (15.4 inches) x 30 cm (11.8 inches) unstretched.
The ch1 at the end of each row does not count as a st.
Instructions
Start with ch43 + ch1
Row 1: 1sc into 2nd ch from hook and into each st. across. (43 sts)
ch1, turn.
Row 2: 1hdc blo into next 14 sts, 1hdc into next 3 sts, hdc5tog into next st., 1hdc into next 3 sts, hdc5tog into next st., 1hdc into next 3 sts, hdc5tog into next st., 1hdc into next 3 sts, 1hdc blo into next 14 sts. Ch1, turn.
Row 3: 1hdc blo into next 14 sts, 1hdc into next 15 sts, 1hdc blo into next 14 sts. Ch1, turn.
Row 4: 1hdc blo into next 14 sts, 1hdc into next 3 sts, hdc5tog into next st., 1hdc into next 3 sts, hdc5tog into next st., 1hdc into next 3 sts, hdc5tog into next st., 1hdc into next 3 sts, 1hdc blo into next 14 sts. Ch1, turn.
Repeat Rows 3 & 4 until you have a total of 40 rows.
Cut off the yarn leaving a long tail for sewing and fasten off.
Fold the rectangle in half with the right side facing in.
Sew the last row and the foundation row together with a whip stitch. At the end of the seam secure the yarn. Do not cut off the yarn!
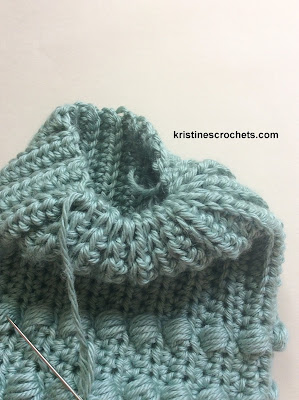
Turn the right side out.
To close the top of the beanie, sew through all the raised rows of the tube opening. Pull the yarn tail tightly to cinch the top. Turn the beanie inside out and sew the remaining hole together at the top. Secure the yarn and cut off.
Weave in all ends.
Turn the right side out and fold the brim. Add a pom pom, if desired.