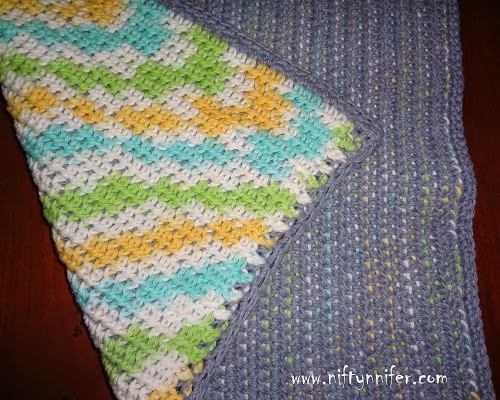
How to Create a Reversible Crochet Dish Mat
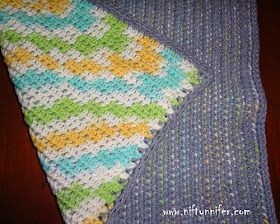
Discover the art of creating a versatile and practical crochet reversible dish mat. This delightful project allows you to showcase your creativity while providing a functional item for your kitchen. With just a few simple crochet stitches, you can transform a humble ball of yarn into a beautiful and useful accessory.
Unleash your imagination as you embark on the journey of crafting a crochet reversible dish mat. This project not only adds a touch of charm to your kitchen but also serves a practical purpose. Whether you're a seasoned crochet enthusiast or a beginner eager to learn, this pattern offers a wonderful opportunity to explore the world of crochet and create something truly unique. So grab your crochet hook and let your creativity flow as you embark on this delightful crochet adventure.I Used:
4.5 MM hook.
Peaches & Creme Yarn, Worsted 4. In colour: 'Faded Denim Blue'. (2+ balls)
Peaches & Creme Yarn, Worsted 4. In colour: 'Blue Lagoon'. (2+ balls)
Gauge:
Approximately 20 Rows = 6 inches.
Approximately 22 sts = 6 inches.
Note: 2 rows will almost appear to look like 1 row.
Special Abbreviations:
- ch...chain
- dc...double crochet
- st...stitch
- bl...back loop
- bl's....back loops
- ea....each
- yo...yarn over
- sc....single crochet
- ss....slip stitch
- st(s)...stitch(es)
Notes:
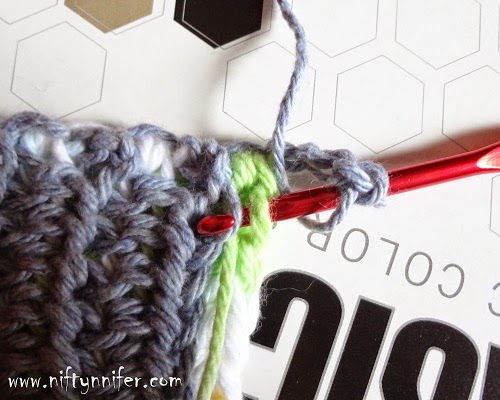
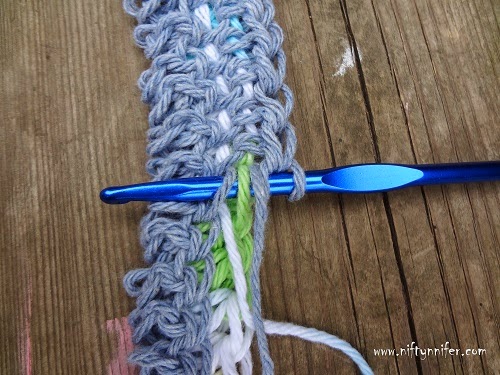
~When Carrying over yarns. Place the yarn you are presently carrying over gently between its previously made row and stitches made with the new yarn. You should be able to slightly see the 'Carried Over' yarn through your stitches.
~You will be working along the sides of your rows, instead of 'on top'.
Row Instructions:
Row 1:
Ch 54, dc in 4th ch from hook. Dc in ea st across. Ch 3. Turn.
Row 2:
Ss to join new yarn 'Blue Lagoon', Carry over 'Denim' Yarn. Ch 3. Turn. Yo, insert hook into bl of next st and bl of foundation ch, yo, pull through both bl's, yo, pull through 2 loops on hook, yo, pull through last 3 loops on hook. Repeat from * to * across.
Row 3:
Ss to join new yarn 'Denim', Carry over 'Blue Lagoon' Yarn. Ch 3. Turn. Yo, insert hook into bl of next st and bl of foundation ch, yo, pull through both bl's, yo, pull through 2 loops on hook, yo, pull through last 3 loops on hook. Repeat from * to * across.
Row 4:
Repeat Rows 2 & 3, alternating, until project reaches approximately 18 1/2 inches long. You are still working in the back loops of ea dc and dc of previous row. Do not forget to 'carry over' yarn. End with 'Blue Lagoon'.
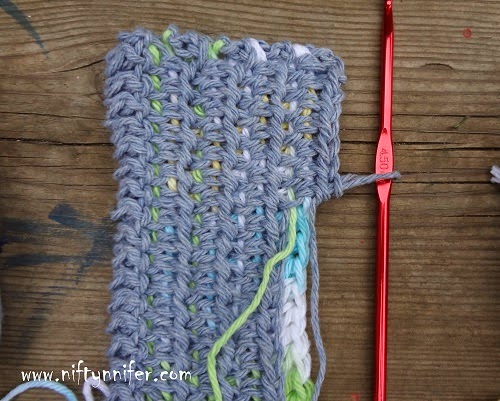
Showing 'Blue Lagoon' Yarn being 'carried over',
while working on 'Denim' Yarn Side.
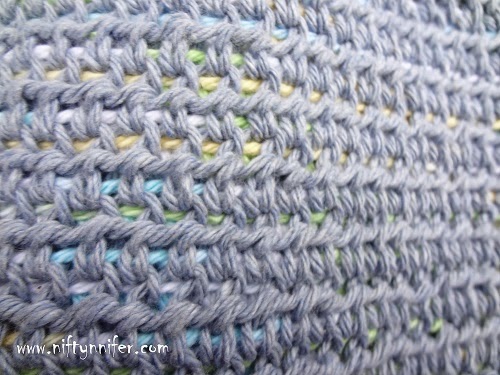
Showing 'Denim' Side.
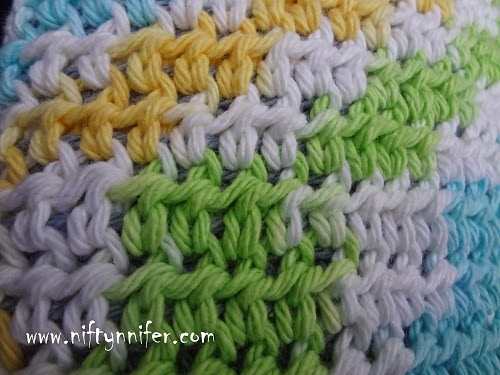
Showing 'Blue Lagoon' Side.
Last Row:
Ss to join new yarn 'Denim', Carry over 'Blue Lagoon' Yarn. Ch 1. Turn. Insert hook into bl of next st and bl of previous rows dc, yo, pull through bl, yo, pull through 3 loops on hook. Repeat from * to * across. Fasten Off 'Blue Lagoon'. Continue with Border, using 'Denim'.
Border:
Round 1:
Ch 1. Turn (mnr), Sc evenly around, place 2 sc in ea corner. Ss to join end.
Round 2:
Ch 1. Turn (mnr), Sc evenly around, place extra sc in ea corner as necessary to avoid curling of project. Ss to join end. Fasten Off.
