CrochetMenScarvesHatsGlovesSweatersCardigansSocksOther clothingWomenScarvesHatsGlovesShawls and cover upSweatersCardigansSocksSlippersBagsOther clothingChildrenScarvesHatsGlovesSweatersCardigansSocksSlippersOther clothingHomeBlankets and plaidsRugsHome decorationsPetsSchemesKnittingOther hand-madeChat
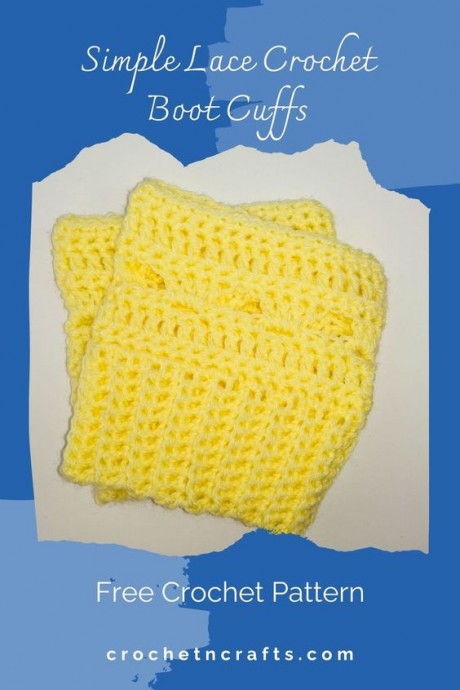
Craft Your Own Crochet Simple Lace Boot Cuffs

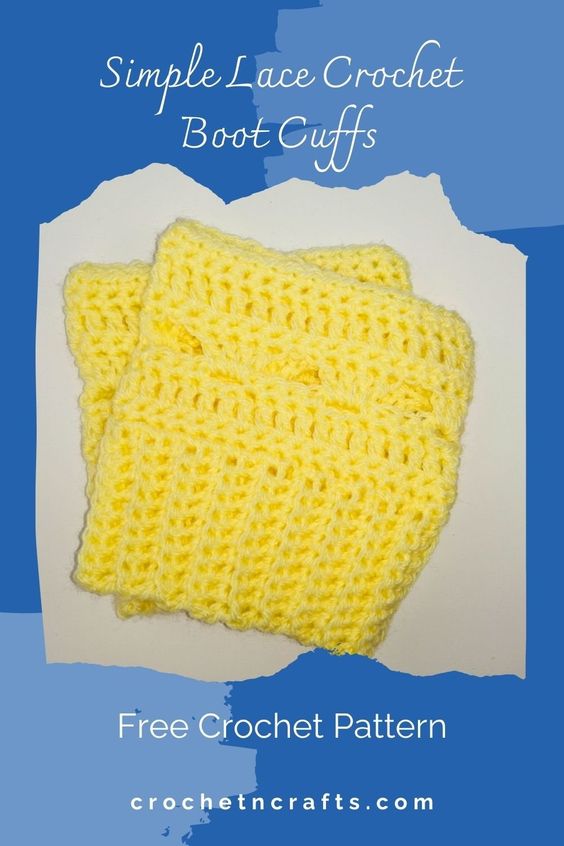
Create your own stylish and unique accessory with these Crochet Simple Lace Boot Cuffs. These boot cuffs are the perfect addition to any outfit, adding a touch of elegance and charm. The simple lace pattern gives them a delicate and feminine look, making them a versatile accessory that can be worn with both casual and dressy outfits.
With just a few basic crochet stitches, you can easily create these beautiful boot cuffs. The pattern is beginner-friendly, making it a great project for those new to crochet. The lace pattern adds a touch of sophistication to the cuffs, making them a standout accessory that will surely catch everyone's attention.Materials
- Yarn: Red Heart Comfort Sport (Light, #3; 100% Acrylic; 12.35oz/350g; 1144yds/1050m) Color: Butter, 1 ball.
- Crochet Hook: H 5.00mm
- Tools: Measuring Tape, Scissors, Yarn Needle.
Measurements
- Gauge: 14 sts = 4".
- Finished Measurements: 10.5" in circumference by 5.5" in height.
Abbreviations
- Blsc = Back Loop Single Crochet
- Ch/Chs = Chain/Chains
- Dc = Double Crochet
- Rep = Repeat
- RS = Right Side
- Sc = Single Crochet
- Sk = Skip
- Sl St = Slip Stitch
- Sp/Sps = Space/Spaces
- St/Sts = Stitch/Stitches
Notes
- This pattern is turned after each row and round.
Instructions
Ribbing Rows
- Row 1: Ch 10, sc in second ch from hook and into each ch across. Turn. [9 sc]
- Rows 2-36: Ch 1, blsc in first st and into each st across. Turn. [9 sts] Continue with this row until you have reached a desired circumference making sure to end with a multiple of 6 at the final row.
- Ch 1 and join the ribbing rows by slip stitching the last row to the free loops of starting chs.
Working in the Round
- Rnd 1: (RS) Working along the ribbing edge, ch 1, sc in first st and into each st around; join with sl st in first sc. Turn [36 sts]
- Rnd 2: Ch 1, sc in first st and into each st around; join with sl st in first sc. Turn. [36 sts]
- Rnd 3: Ch 2 (does not count as st, now and throughout), dc in first st and into each st around; join with sl st in first dc. Turn. [36 sts]
- Rnd 4: Ch 1, sc in first 4 sts, *ch 2, sk next 2 sts, sc in next 4 sts; rep from * around; ending last rep at **; join with sl st in first sc. Turn. [24 sts and 6 ch-2 sps]
- Rnd 5: Ch 2, (4 dc, ch 2) into first ch 2 sp and into each ch-2 sp around; join with sl st in first dc. Turn. [24 sts and 6 ch-2 sps]
- Rnd 6: Ch 1, sc in first ch and into each st and ch around; join with sl st in first sc. Turn [36 sts]
- Rnd 7: Rep Rnd 3.
- Rnds 8-9: Rep Rnd 2. Fasten off at the last Rnd.

No comments
Write a comment
