Crochet Sunset Wrap: A Stylish and Cozy Accessory

Introduction to the Crochet Sunset Wrap
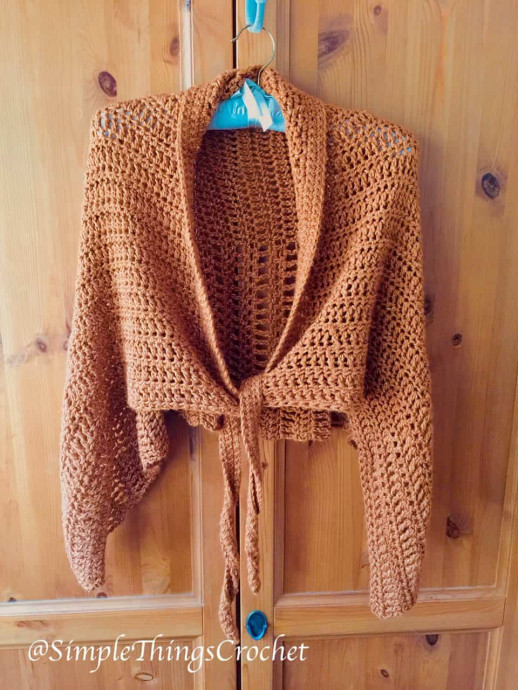
The Crochet Sunset Wrap is a gorgeous accessory that will add a touch of warmth and style to your outfit. With its blend of vibrant colors and soft textures, this wrap is perfect for cool evenings or breezy days. Whether you're heading out for a casual outing or attending a special event, this versatile piece is sure to turn heads and make you feel cozy and chic at the same time. Its intricate crochet design not only showcases your unique personality but also keeps you snug and comfortable. Wrap yourself in the beauty of the Crochet Sunset Wrap and embrace the charm it brings to your wardrobe!
Materials Needed
- Yarn – Lion Brand Jeans Yarn in Top Stitch, 2 skeins and part of a third
- Crochet hook size L
- Stitch Marker
Abbreviations Used
- ch – chain
- sc – single crochet
- hdc – half double crochet
- dc – double crochet
- tc – triple crochet
- ss – slip stitch
- st(s) – stitch, stitches
Important Notes
- It’s extremely helpful to use a stitch marker with this pattern. Place it in the first row you make at the point where you switch to the taller stitch. Then when you turn and come back you’ll know where to start your shorter stitches. Just move it up each row that you crochet.
- Chain 2 doesn’t count as a stitch throughout.
Instructions for Making the Crochet Sunset Wrap
Body of Skirt/Wrap
Ch 50 + 1
Row 1: dc in 2nd ch from hook and the next 19 sts., place stitch marker in 19th st, hdc in next 30 sts. 50 sts total. (This row starts at the bottom of the skirt/wrap and works towards the top.)
Row 2: turn, ch 2, dc in first st and next 29 sts, tc in next st – move stitch marker up to this st, continue tc in next 19 sts.
Row 3: turn, ch 2, dc in first st and next 19 sts, (continue moving stitch marker up in each row), hdc in next 30 sts.
Row 4: turn, ch 2, dc in first st and next 29 sts, tc in next 20 sts.
Rows 5 – 62: Continue alternating rows 3 and 4.
Row 63: Repeat row 3. Don’t tie off. Your waistband will start here. (You can make the skirt as wide as you’d like. Just make sure you end your last row at the waist line, and be sure to end with the row 3 pattern – the dc, hdc row.)
Waistband and Tie
At the end of the last row of your skirt, don’t tie off. You’ll begin your waistband here by starting a new chain. See photo below.

Ch 40 + 1.
Row 1: sc in 2nd ch from hook and each st across the chain you just made. Continue sc across the waistband of the skirt to create an edging. When you get to the other end, ch 40 +1.
Row 2: sc in 2nd ch from hook and each st across to the other end of the tie.
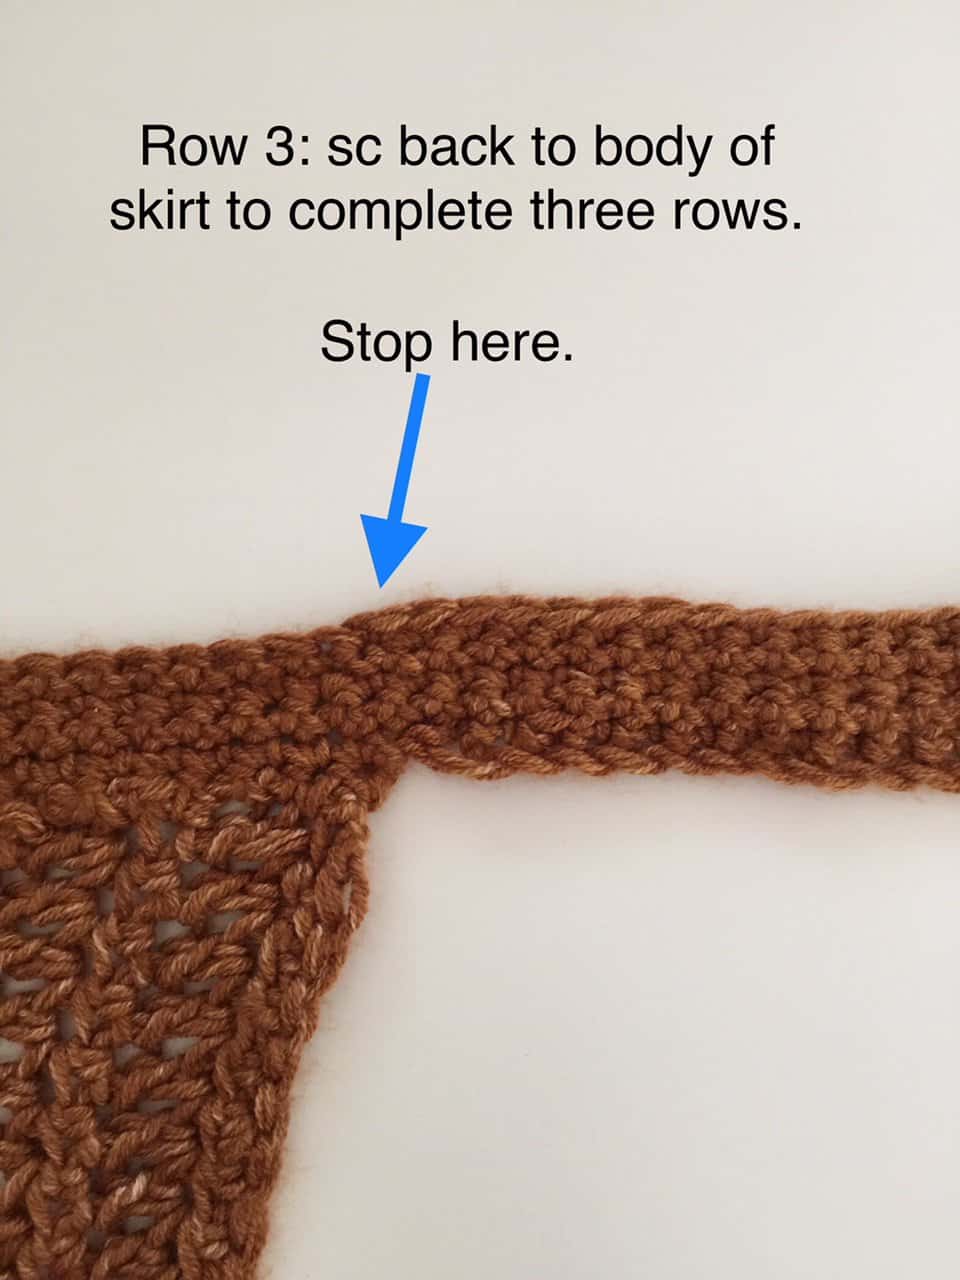
Row 3: turn, ch 1, sc in first st and across to the other end of the tie. Turn, ch 1, sc in first st, and back across tie just till you reach the body of the skirt to complete row 3. Tie off and weave in ends.
- Funny Pictures
-
 Cute Cat Memes That Will Make Your Day Brighter
-
 Spot-on and Funny Memes About Introverts Struggles
-
 Top Wonderful Cat Memes on Their Way to Better Your Day
- Recipes
-
 Creamy Old Fashioned Rice Pudding
-
 Russian Tea Cakes (Snowball Cookies)
-
 Rigatoni with Sausage, Tomatoes, and Zucchini
- Lifehacks
-
 How to Crochet a Harlequin Stitch
-
 Removing The Toughest Stains
-
 Crochet Basics: Crumpled Griddle Stitch
- Crochet Ideas
-
 Crochet Christmas Tree
-
 Crochet Goblet of Fire
-
 Crochet Adorable Ammonite
- DIY
-
 DIY Snowman Wreath
-
 Mini Santa Sleigh Ornament
-
 Crochet Gingerbread House Blanket
- Knitting Ideas
-
 Knitted Easter Bunny
-
 Knitted Mobile Phone/Glasses Case
-
 Knitted Cabled Wallet