Crochet Flora Hair Bow: A Stylish Accessory for Every Occasion
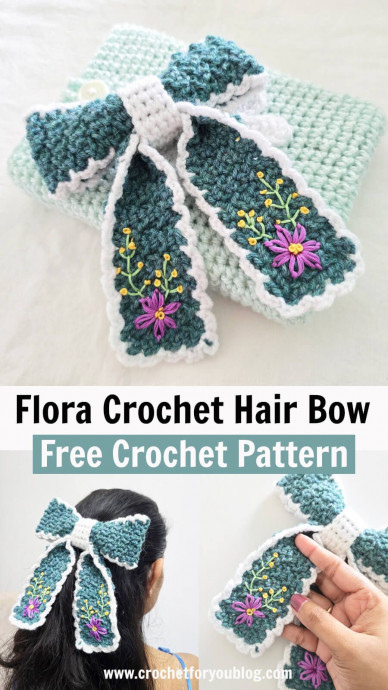
The Crochet Flora Hair Bow is a charming and stylish accessory that adds a touch of playful elegance to any outfit. Handcrafted with meticulous care and attention to detail, this dainty bow features intricate floral patterns that make it truly unique. Whether you're looking to spruce up your everyday look or add a special touch to a special occasion, this hair bow is sure to make you stand out in the crowd. Its versatile design allows you to wear it with a variety of hairstyles, from ponytails to loose curls, making it a fun and versatile addition to your accessory collection. Embrace your whimsical side with the Crochet Flora Hair Bow and let your personality shine through with every wear.
Materials
- #3 – Light / DK weight yarns (Approx: 100 yards)
- 1 skein of DROPS Lima mix (Sea Green)
- White color yarn (Approx: 40 yards)
- US I-9, 4.5mm crochet hook
- 6-Strand Embroidery floss in a couple of colors (purple, green, and yellow)
- Tapestry needle
Gauge
Gauge is not very important for this project.
Abbreviations (US Terms)
- ch – chain
- sl st – slip stitch
- sc – single crochet
- FL – front loop
- BL – back loop
- st(s) – stitch(s)
- sk – skip
- * to – repeat * to the instructions.
- beg – beginning
Notes
This bow has 3 main parts.
The bow and the tail are made in stripes using single crochet in front and back loops. Finally, a beautiful scallop border in contrasting color is added to give it a cute finished look.
The centerpiece is also made with a contrasting color. This hair bow has an interesting part with beautiful embroidery details.
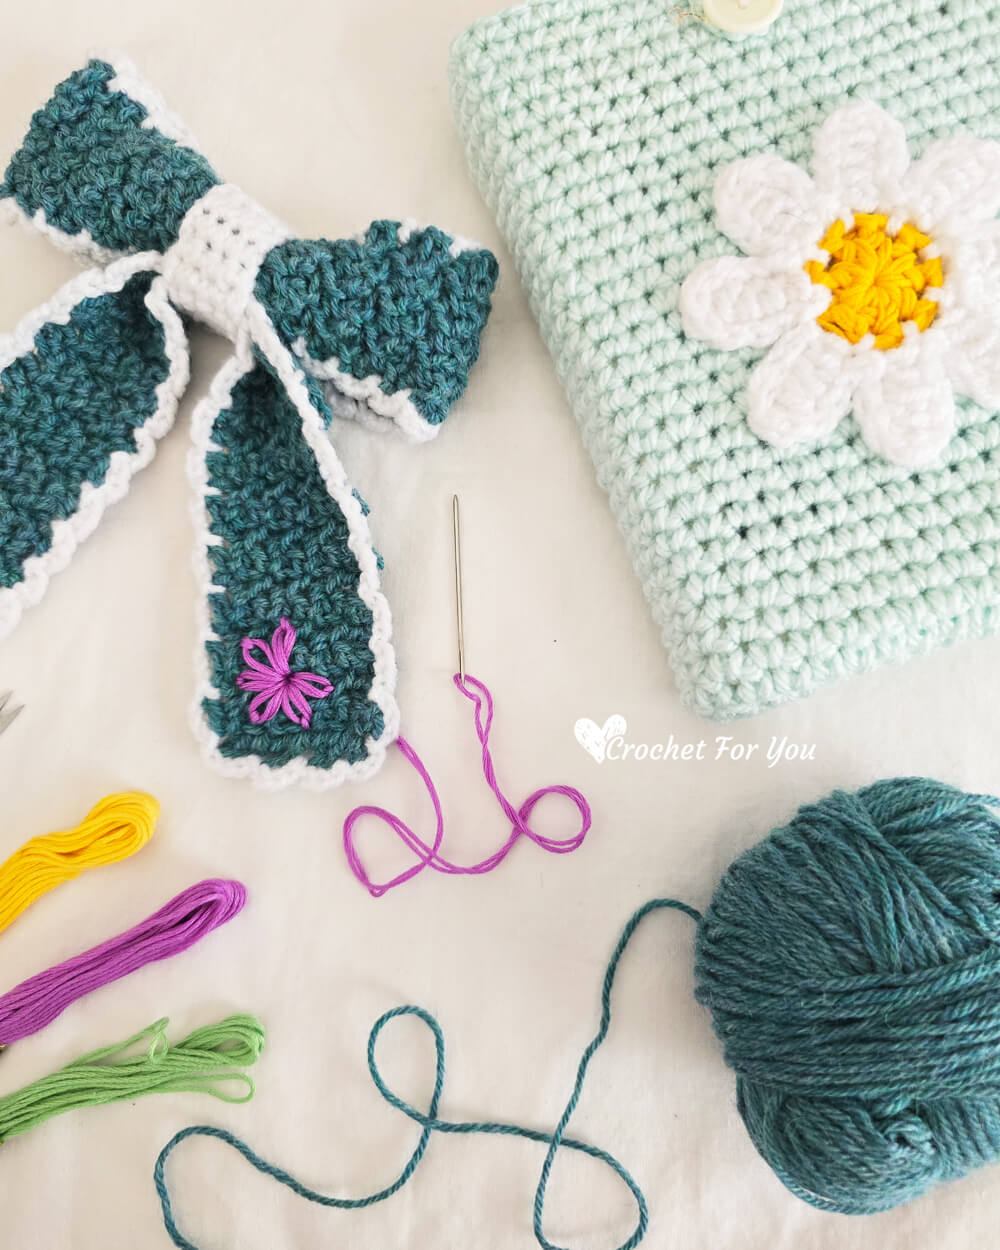
Follow the pattern instruction below to make a bow and tail.
Repeat row 2 until you achieve the desired length for both parts.
Bow Part
I crocheted 40 rows total for the bow part, length was 11” long. It was a little bit longer than the tail part. Bow length after folding in half is 5.5”.
For the tail part, I crocheted 38 rows. You can adjust the length of these two stripes (bow and tails) as you wish.
Bow
- Ch 8+1
- Row 1: sc in 2nd ch from the hook, sc in each st across, turn. (8 sc)
- Row 2: ch 1, sc in FL of first st, *sc in BL of next st, sc in FL of next st; repeat * from across, turn. (8 sc)
- Row 3 to 40: repeat row 2.
- Fasten off and weave the ends.
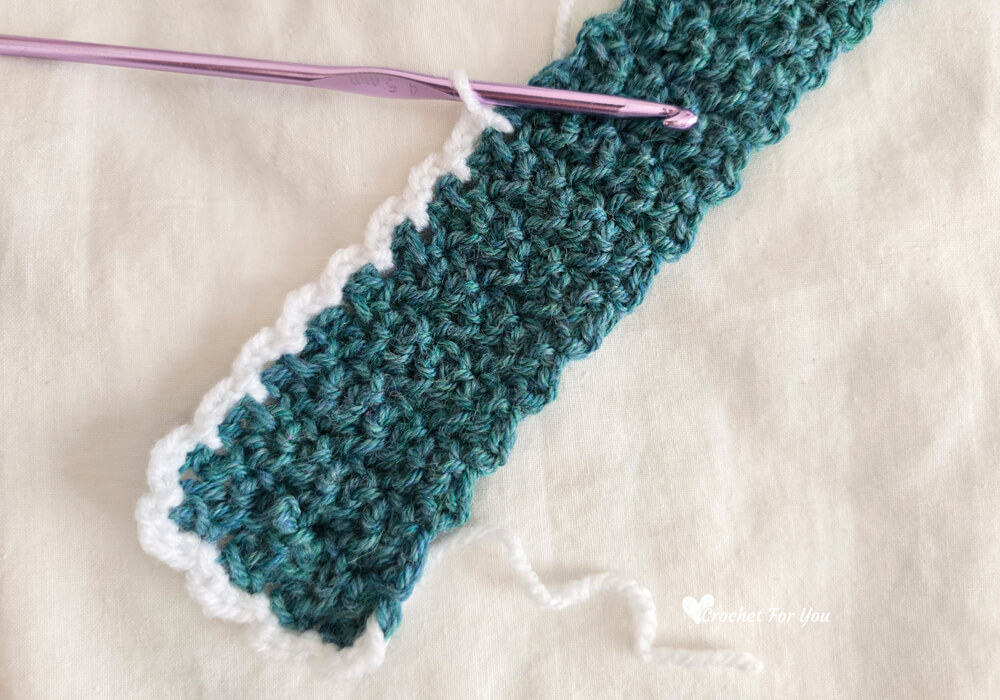
Edging
With contrasting color, join the yarn with ch 3 at any st, *sk next st, sl st in next st, ch 3; repeat * from around the edge of the bow stripe.
After finishing the bow part, fold the piece in half and sew the two short sides together. The seam should be positioned in the center.
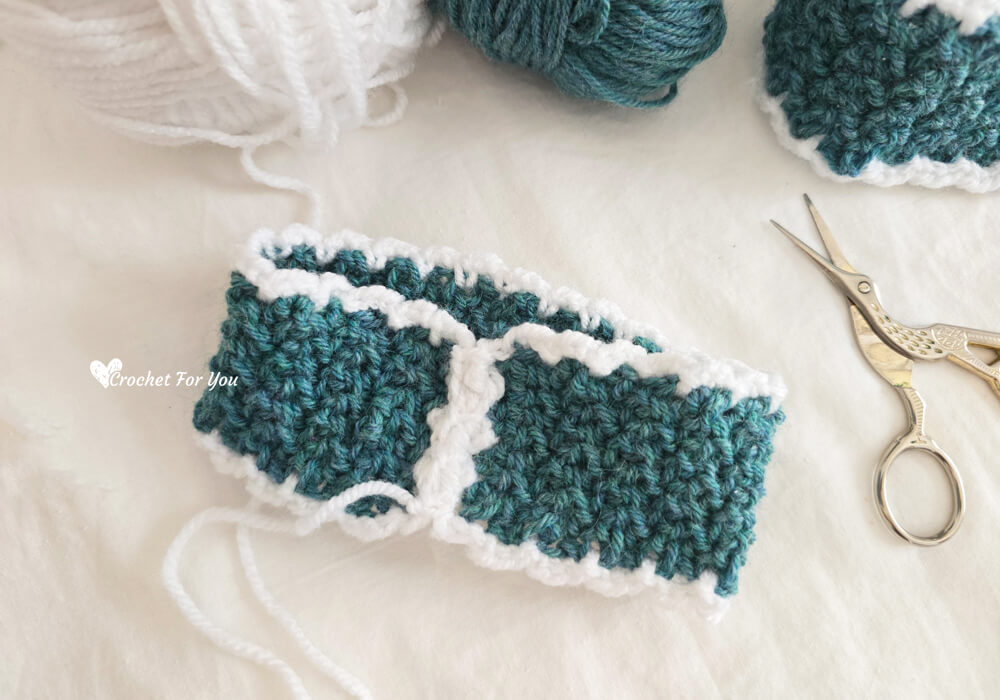
Tail
- Ch 8+1
- Row 1: sc in 2nd ch from the hook, sc in each st across, turn. (8 sc)
- Row 2: ch 1, sc in FL of first st, *sc in BL of next st, sc in FL of next st; repeat * from across, turn. (8 sc)
- Row 3 to 36: repeat row 2.
- Fasten off and weave the ends.
Edging
With contrasting color, join the yarn with ch 3 at any st, *sk next st, sl st in next st, ch 3; repeat * from around the edge of the tail stripe.
Center Part
- Ch 5 with (CC)
- Row 1: sc in second ch from the hook, sc in each of next ch 3, turn. (4 sc)
- Row 2: ch 1, sc in each st across, turn. (4 sc)
- Row 3 to 12: repeat row 2.
- Fasten off and cut the yarn leaving about 10” long yarn tail.
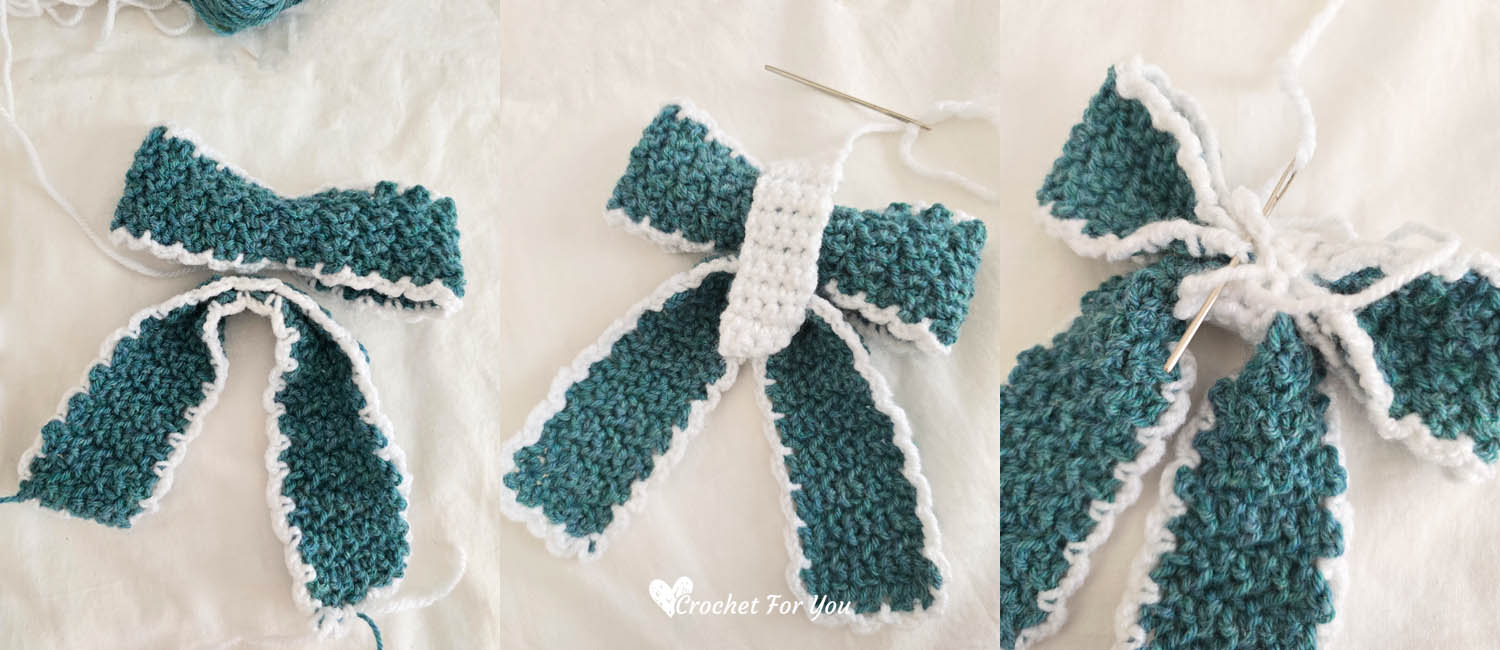
Assembly
Fold the bow part in half and sew the two shorts together. The seam should be positioned in the center.
Take the tail part and fold it in half, aligning it with the middle of the bow part. (image 1)
Wrap the center part around the middle of the bow and tail together; sew the two short ends together. (image 2 & 3)
For the embroidery part, you will need 6-Strand Embroidery floss in a couple of colors. I used purple, green, and yellow colors.


