Crochet Classy Chunky Pumpkin

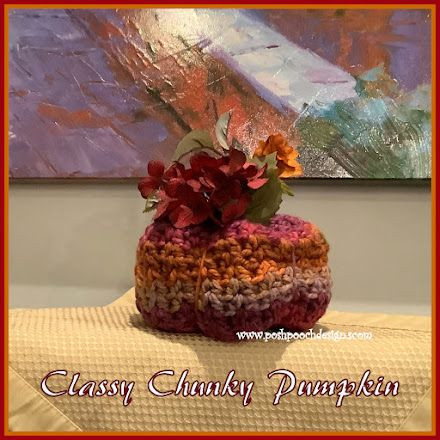
Looking to add a touch of cozy charm to your home this fall? Dive into the world of crochet with the Classy Chunky Pumpkin! This delightful project offers a fun and creative way to bring some autumn flair to your decor. With its chunky yarn and simple stitches, even beginners can enjoy making this adorable pumpkin piece. So grab your crochet hook, pick out your favorite yarn colors, and let's get crafting! It's the perfect way to add a touch of handmade warmth and whimsy to your seasonal decorations.
Skill Level
Easy
Materials Needed
- Crochet Hook – I / 5.5 mm
- Yarn – Bulky (5) Premier COLORFUSION / Autumn Sky (3.5 oz. / 109 yds.)
- Yarn Needle
- Autumn Leaf / Flower Pick
- Stuffing - Polyfiberfil
Stitches Used
- Chain (ch)
- Single Crochet (sc)
- Double Crochet (dc)
- Space (sp)
- Skip (sk)
- Double Crochet 2 Together (decrease) dc2tog
- Half Double Crochet V Stitch (hdc Vst) hdc, ch1, hdc in the same stitch/space
Size
6 inches tall and 18 inches around
Important Notes
- Ch1 does not count as a stitch.
- Ch3 counts as a dc.
Pattern Instructions
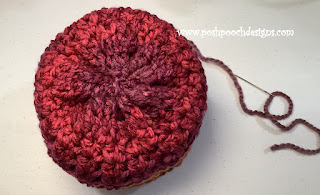
RND 1: Ch5, join in a circle, ch3, 9 dc in the circle, join to the ch3 with a slst, ch3 (10 dc)
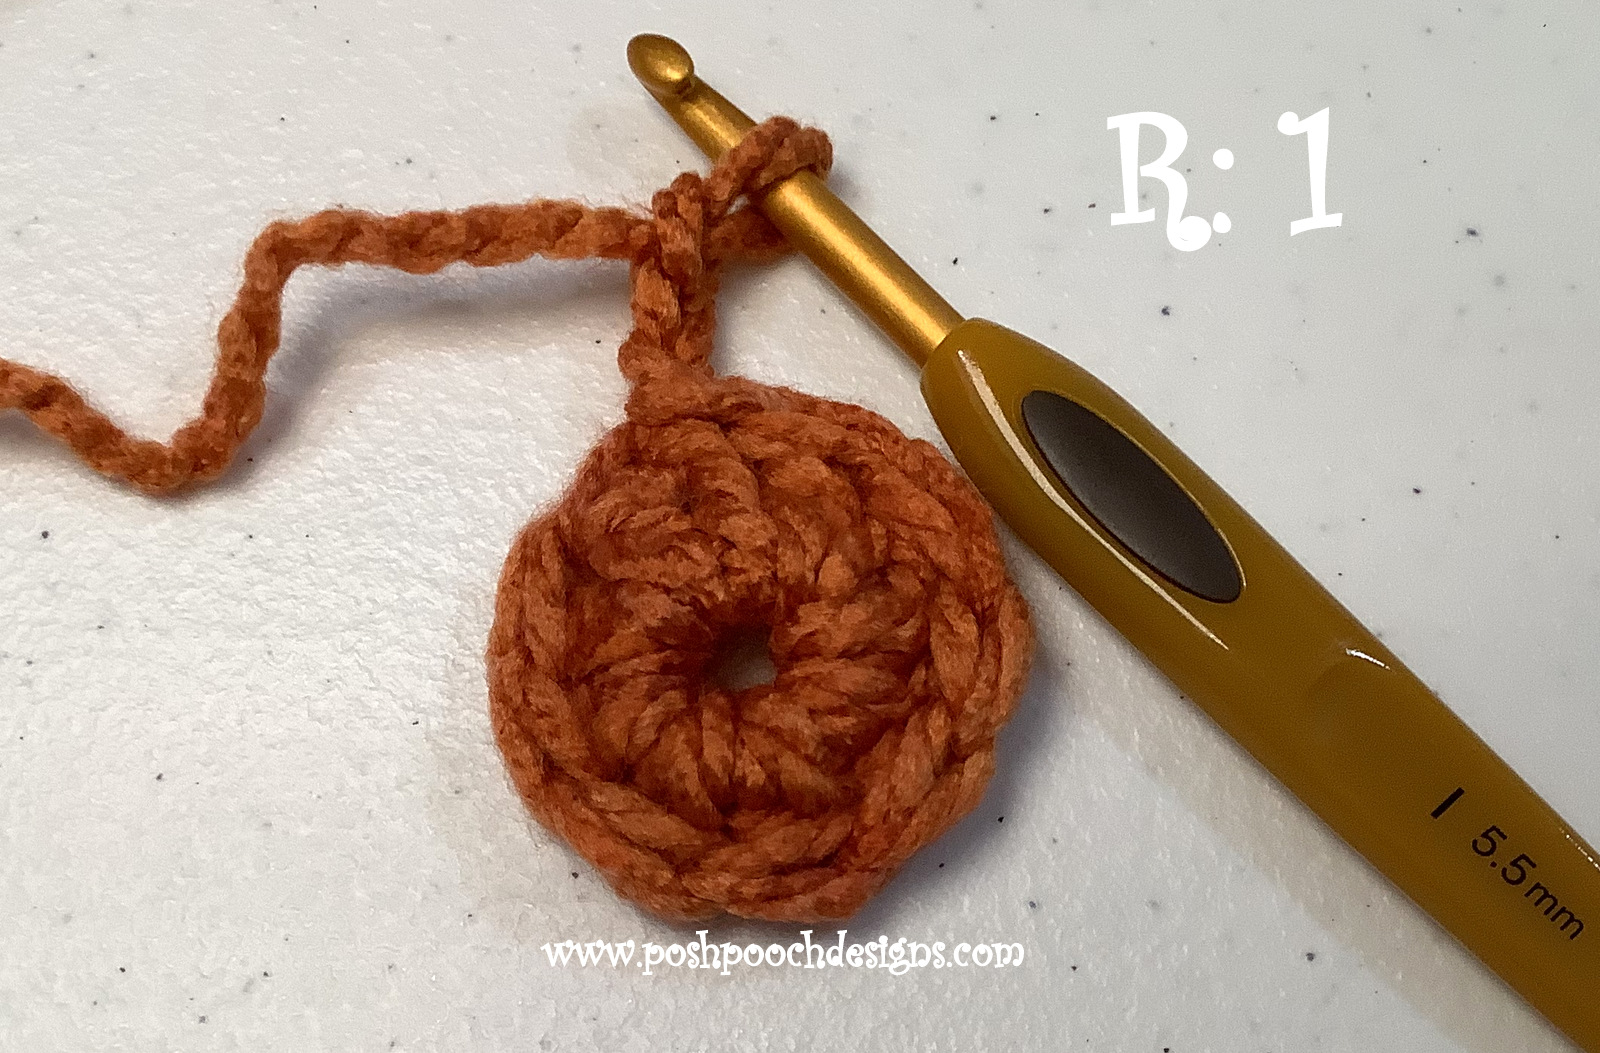
Leave a small opening for sliding the Flower pick into the pumpkin, as this is the top of the pumpkin.
RND 2: Dc in the same st as the ch3, 2 dc in each dc around, join to the ch3 with a slst, ch3 (20 dc)
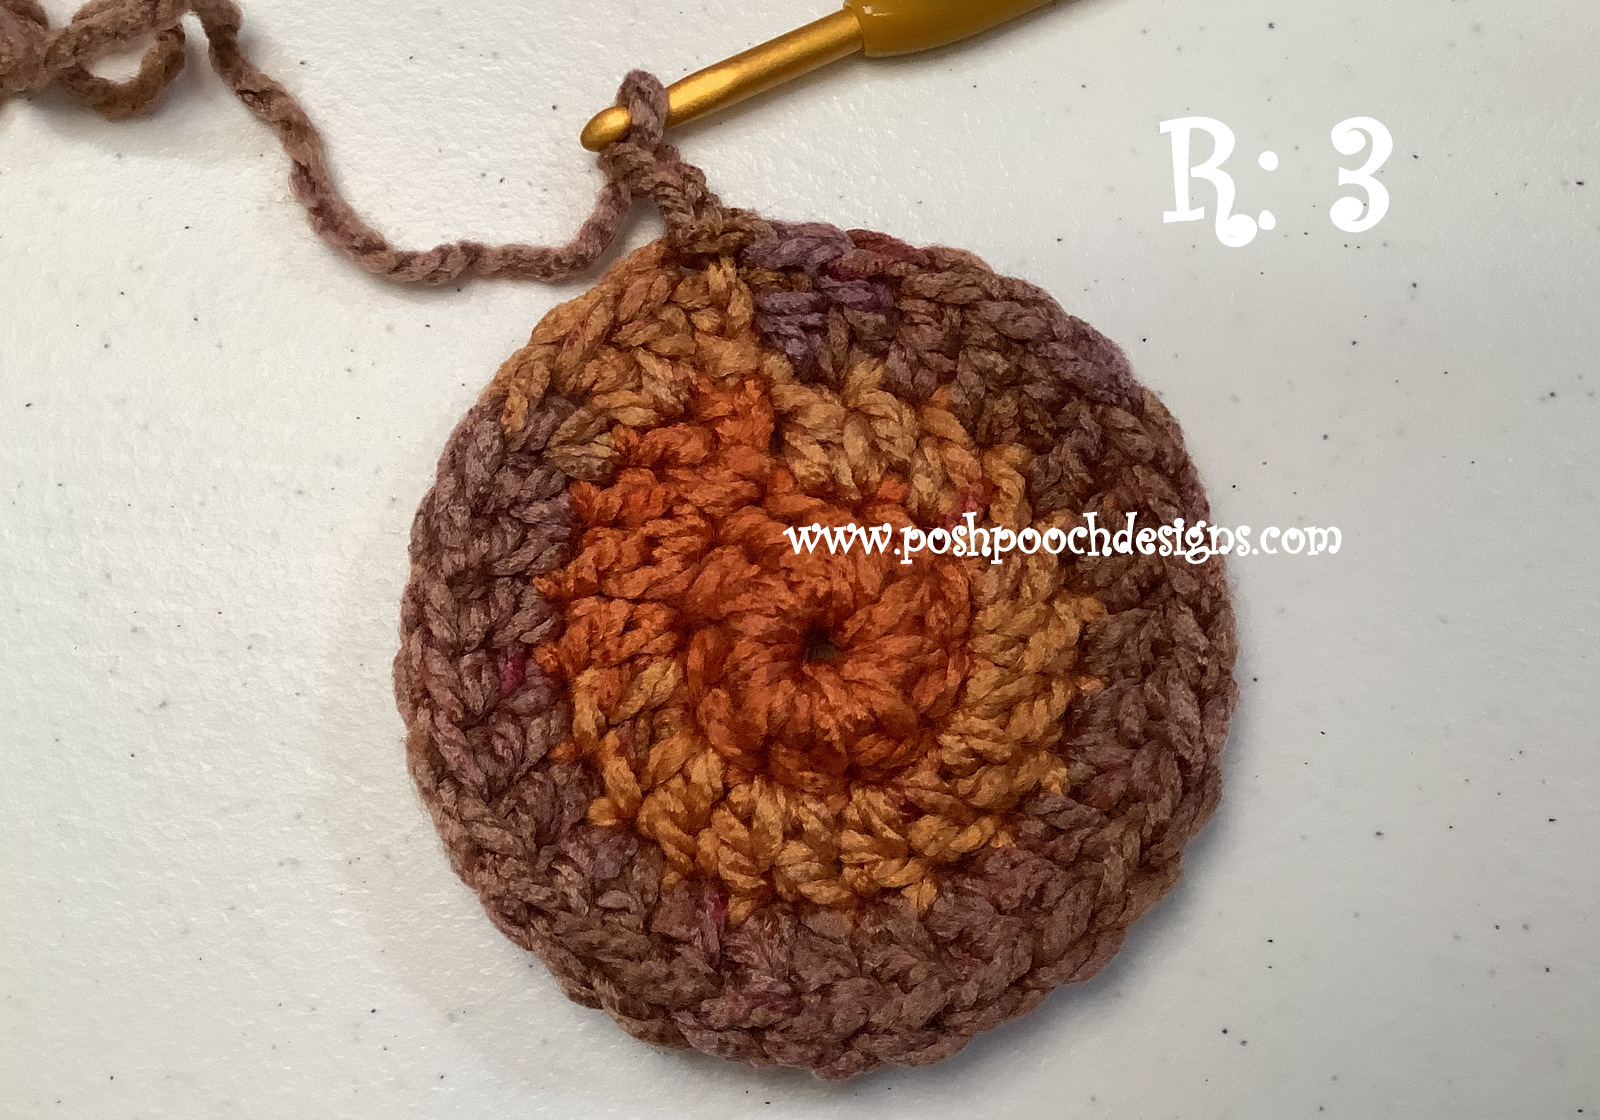
RND 3: *2dc in the next dc, 1 dc in the next dc* Repeat from * to * around, join to the ch3 with a slst (30 dc)
RND 4: 1 dc in the next dc, *2dc in the next dc, 1 dc in the next 2 dc* Repeat from * to * around, join to the ch3 with a slst (40 dc)
RND 5: Slst to the sp between the 1st and 2nd dc, hdcVst in that sp, *sk 2 dc, hdcVst between the next 2 dc* Repeat from * to * around, join to the 1st hdc with a slst, slst in the ch1 sp (20 hdcVst)
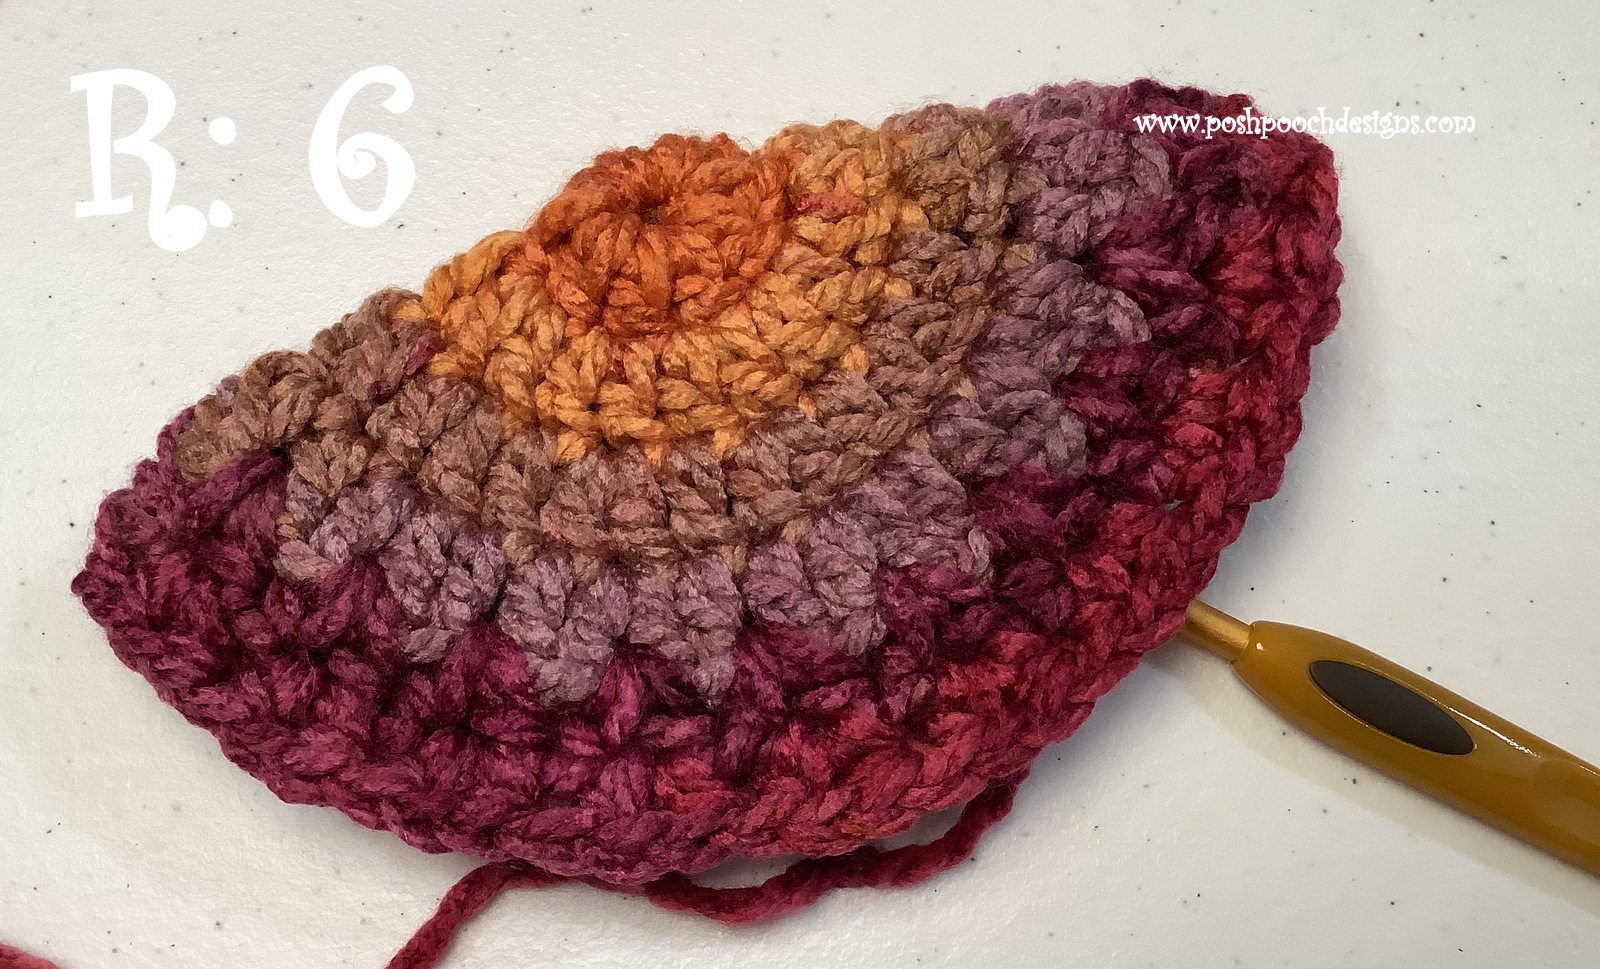
RND 6: Hdc Vst in the ch1 sp of the 1st HdcVst, *Hdc Vst in the ch1 sp of the next HdcVst* Repeat from * to * around, join to the 1st hdc with a slst, slst in the ch1 sp (20 hdcVst)
RND 7 to RND 16: Repeat RND 6. Join to the 1st hdc with slst, ch3 after RND 16.
RND 17: 1 dc in each of hdc around, do not dc in the ch1 sps, join to the ch3 with a slst, ch1 (40 dc)
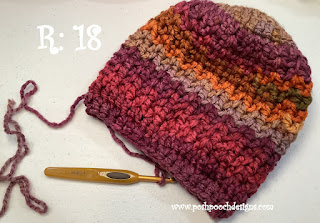
RND 18: 2dctog with the 1st 2 dc, 1dc in the next 2 dc, *2dctog, 1 dc in the next 2 dc* Repeat from * to * around, join to the ch3 with a slst, ch1. Tie off leaving a 12 inch tail of yarn (30 dc)
Finishing Steps
Stuff the pumpkin.
Thread the tail of yarn onto the needle, sew closed the opening, gathering it tightly. This will be the bottom of the pumpkin, weave in the end securely.
With yarn and needle, stitch from top to bottom, creating 6 loops to form the indentations of the pumpkin.
Slide the Flower Pick into the top of the pumpkin. A small dab of hot glue can be used to help secure the flower pick if needed.
- Funny Pictures
-
 The Best Office Memes to Laugh and Remember Some Great Things
-
 Relatable Memes to Laugh Before Going to Sleep
-
 Friday Memes That Just Perfectly Describe Marriage and Parenting
- Recipes
-
 Russian Tea Cakes (Snowball Cookies)
-
 Rigatoni with Sausage, Tomatoes, and Zucchini
-
 Healthy Crab Cakes (Keto)
- Lifehacks
-
 How to Crochet a Harlequin Stitch
-
 Removing The Toughest Stains
-
 Crochet Basics: Crumpled Griddle Stitch
- Crochet Ideas
-
 Crochet Baby Rainbow Chic
-
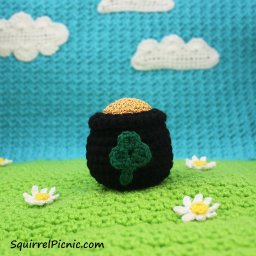 Crochet a Pot of Gold
-
 Crochet Monsieur and Madame Champagne
- DIY
-
 DIY Snowman Wreath
-
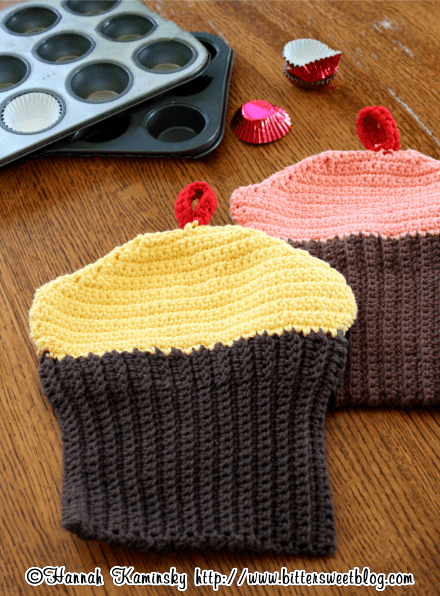 Crochet Cupcake Potholders
-
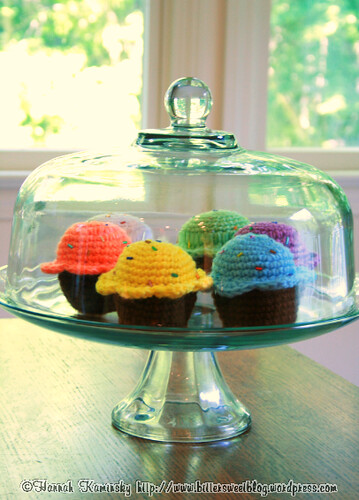 Crochet Adorable Baked Cake
- Knitting Ideas
-
 Knitted Easter Bunny
-
 Knitted Mobile Phone/Glasses Case
-
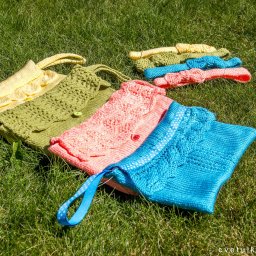 Knitted Beautiful Purse