Crochet Wiper Pockets

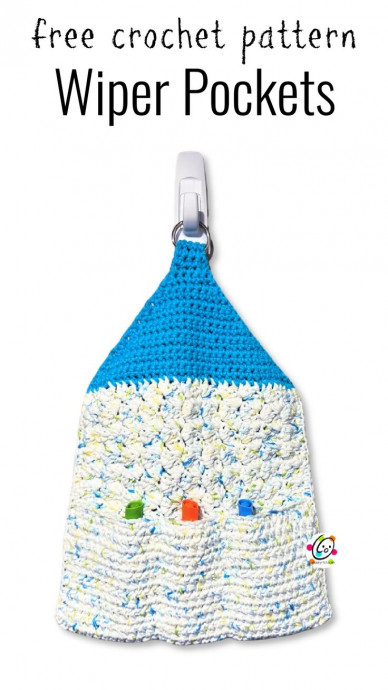
Crochet wiper pockets are a fun and practical way to keep your cleaning supplies tidy and easily accessible. These charming little pockets not only add a touch of handmade charm to your home but also help you stay organized as you go about your cleaning routine. Whether you're using them to store your cleaning cloths, sponges, or even little bottles of cleaner, crochet wiper pockets are a delightful addition to any household that values both function and style. So grab your crochet hook and some yarn, and get ready to bring a smile to your cleaning chores with these adorable wiper pockets!
Materials and Details
Yarn: Worsted weight Cotton 100-120 yds
Crochet Hooks: H, I
Miscellaneous: Yarn needle for weaving in ends, large D-ring (bottom width 1 ⅜” – 1 ½”) or 3/4” button, sewing needle, thread
Finished Measurements: 14.5” long x 10.5” across bottom edge
Gauge: Not necessary for this project
Reminders
Increases and Regular Stitches:
2hdc in the next st = an increase. Work 2 hdc in the next st.
hdc 2 = work one hdc in each of the next 2 sts. St count does not increase.
Tips
The first stitch of each row is worked into the same stitch as the turning chain unless noted.
Numbers at the beginning of each line may refer to steps and not indicate the number of rows.
Directions
1. With an I hook and worsted weight cotton yarn, ch 35, sc in 2nd ch from hook and in each ch across. (34sts)
2. Ch 1, turn, hdc in the same st and in each st to end of row.
3. Ch 1, turn, hdc between each of the posts to end of row. Note: This is done by inserting the hook right below the st, between the posts. Make sure the st count stays the same.
4. Repeat the previous step for an additional 11 rows.
5. Ch 1, turn, sc between each of the posts to the end of the row.
6. Ch 1, turn, sc in each st to end of row (this is worked IN the stitch for regular stitch placement). Note: These two rows, steps 5-6, will be at the bottom of the pouch to create the fold.
7. Ch 1, turn, (sc, hdc, dc) in the first st, *sk 2, (sc, hdc, dc) in the next st*, repeat until 3 sts remain, sk 2, sc in the last st.
8. Repeat the previous step for an additional 23 rows.
9. Finish off the current yarn and change to a contrasting yarn for the top section. Ch 1, turn, sc2tog, sc in each st until 2 sts remain, sc2tog. (32sts)
10. Ch 1, turn, sc2tog, sc in each st until 2 sts remain, sc2tog. (30sts)
11. Repeat the previous step until 4 sts remain.
At this point, choose between the D-Ring Version (to hang on a hook as shown in main sample) or Button Tab Version (to wrap around a bar or handle).
Stitch count remains the same unless noted at the end of row/round.
Continue with desired version:
D-Ring Version
Ch 1, turn, sc 4. (4sts)
Repeat the previous row 5 more times.
Finish off, leaving approximately 12” of yarn.
Slip the flat edge of a D ring over the end strip of the cloth. Fold the strip over the flat edge.
With a yarn needle and yarn tail, sew the two layers together.
Skip to “Assembly”.
Button Tab Version
Ch 1, turn, sc 4. (4sts)
Repeat the previous row 14 more times, or until tab section is desired length.
Ch 1, turn, sc 2, ch 4, sc 2.
Ch 1, turn, sk 2 sts, work 3sc around ch from previous row, sl st in last st of row.
Finish off and weave in end.
With a sewing needle and thread, sew the button to the cloth before the top starts to narrow.
Continue to “Assembly”.
Assembly
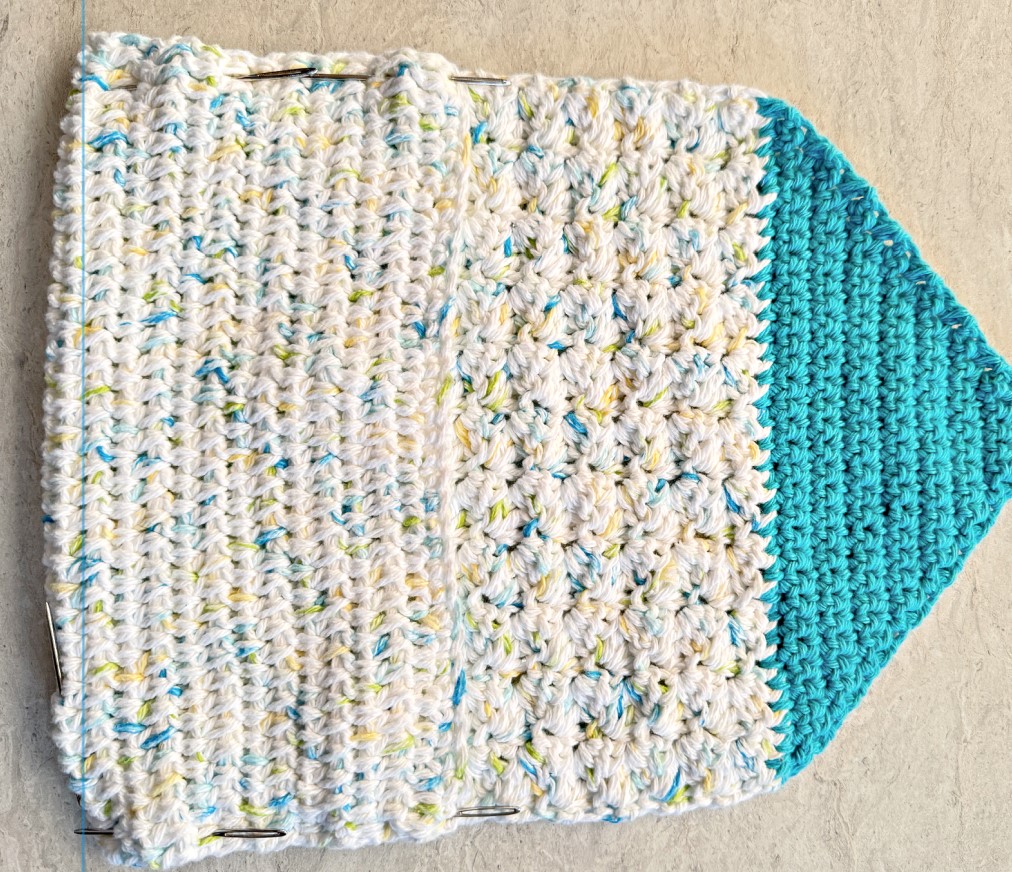
Find the 2 rows of sc between the hdc rows and clusters. Fold the piece at this point and pin the layers together to hold.
The hdc rows are probably wider than the cluster rows. Grab the edges of the cluster section and carefully tug the sides to loosen the clusters.
Pin the edges, using the rows to make sure the top edge of the pocket is straight.
With an I hook and matching yarn, start at the color change on the left edge. See photo.
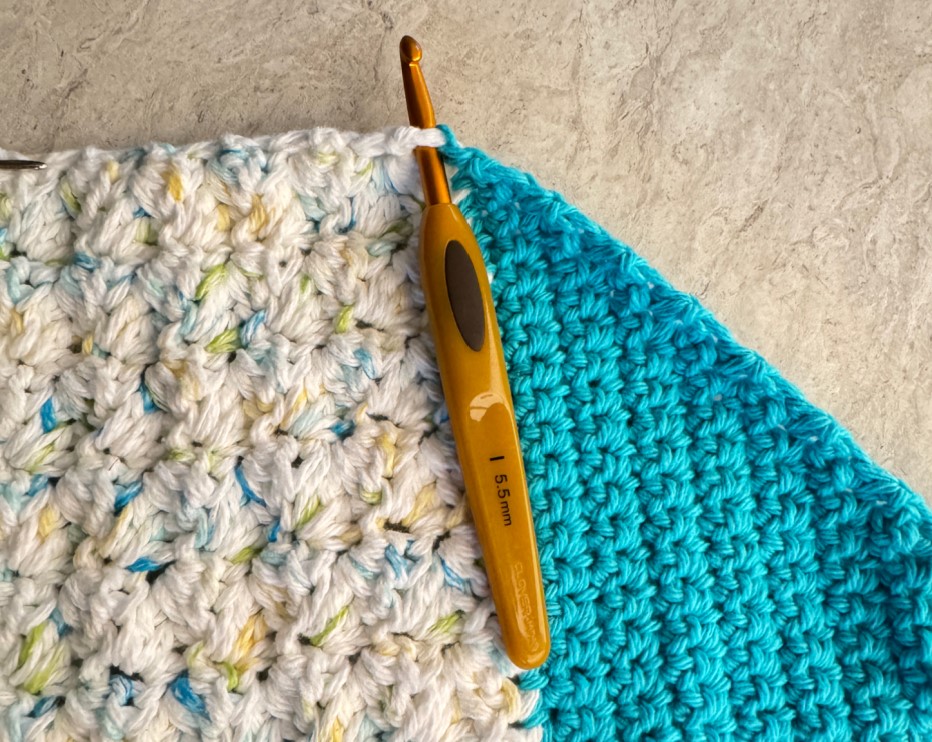
Ch 1, sc evenly spaced down the side of the piece, working through both layers (pocket and back) when you reach that point.
At the bottom corner, finish off and weave in ends.
Turn the piece to work across the opposite edge. Start at the bottom corner with an I hook and matching yarn. Ch 1, sc evenly spaced up the side of the piece, working through both layers and the main piece until you reach the color change.
Finish off and weave in ends.
Pockets: Divide how many pockets you want and how big you want them. With a yarn needle and matching yarn, sew straight lines through both layers (pocket and back).
- Funny Pictures
-
 Hilarious Memes for Those Bored to Tears
-
 Weekly Treat of Funniest Parenting Memes for Good Laugh out Loud Right Now
-
 Really Funny Pics to End These Weekend Perfectly
- Recipes
-
 Crispy Baked Avocado Fries
-
 Scrambled Chickpea and Spinach Pitas
-
 Cinnamon Pancakes
- Lifehacks
-
 Crochet Basics: Aligned Cobble Stitch
-
 Brick Stitch Crochet Tutorial
-
 Crochet Basics: Wattle Stitch
- Crochet Ideas
-
 Crochet Snorlax Plushie Doll
-
 Crochet Beautiful Penguin Toy
-
 Crochet Tiny Snowman
- DIY
-
 DIY Santa Craft For Kids
-
 Paper Plate Angel Craft
-
 Upcycled Mason Jar Chicken Vase
- Knitting Ideas
-
 Knitted Bridger Cowl
-
 Knitted Keepsake Bag
-
 Knitted Cutie Cupcake Dolls