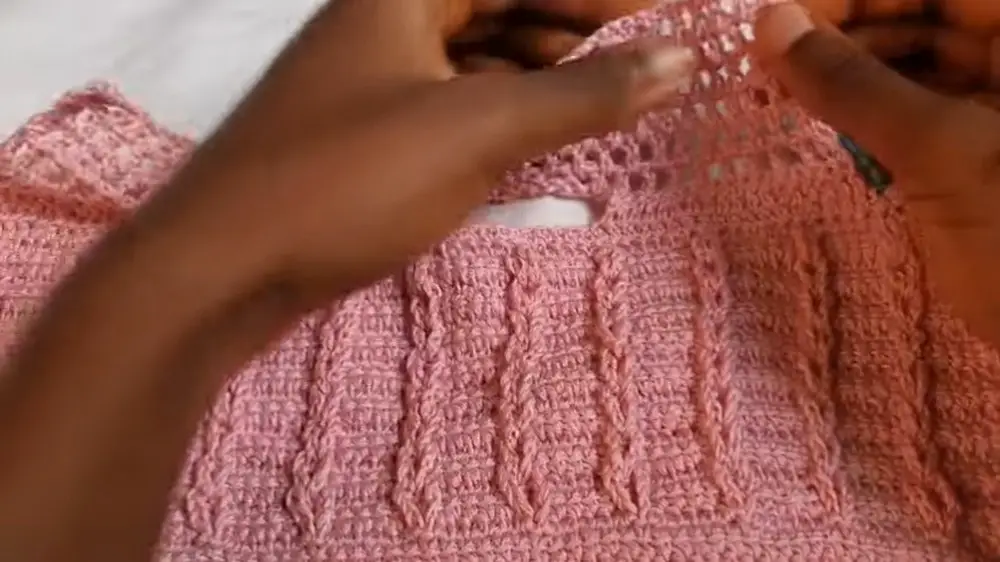
How to Make a Charming Crochet Top with a Keyhole Design

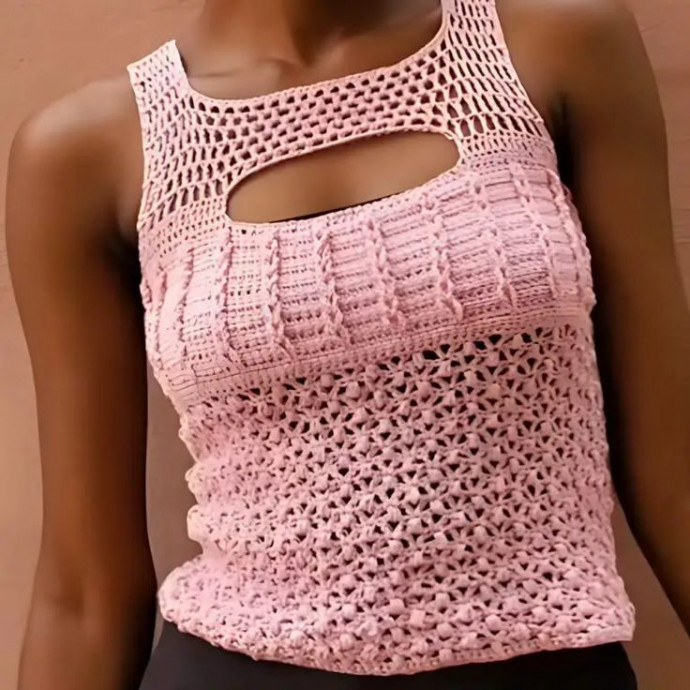
The crochet top with a pretty keyhole is a delightful piece that adds a touch of charm to any outfit. Its intricate crochet detailing gives it a lovely, handmade feel, perfect for those who appreciate unique and stylish clothing. The pretty keyhole design adds a subtle, feminine touch, making it a versatile piece that can be dressed up or down effortlessly. Whether you're heading to a casual brunch or a summer picnic, this top is sure to become a favorite in your wardrobe, bringing a touch of sweetness to your everyday style.
Materials:
Yarn
Smaller Hook (Oak size)
Larger Hook (H size)
Instructions:
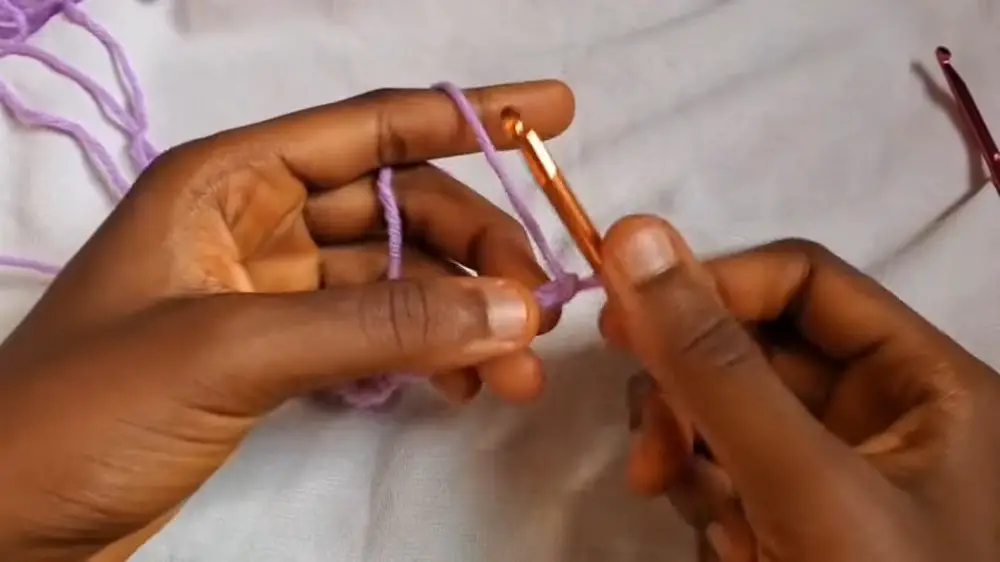
Foundation Chain:
Using the smaller hook, make a chain in multiples of 6 + 4 until you reach the required width for your panel.
Example: Chain 22.
Row 1:
Switch to the larger hook.
Skip the first chain and make a single crochet into the second chain from your hook.
Continue to single crochet in each chain across.
At the end of the row, you should have one stitch less than what you initially chained.
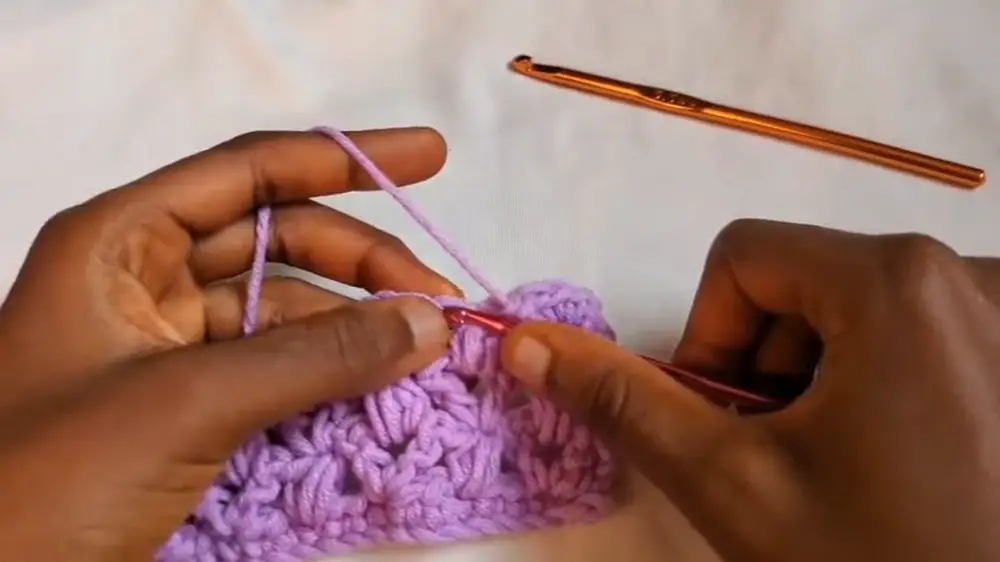
Row 2:
Turn your work, and either chain 2 to count as a double crochet or use the alternate double crochet method.
Alternate double crochet: Insert your hook into the first stitch, pull up a loop, pull through two loops, into that stitch, insert your hook, pull up a loop, and pull through two loops.
Make a V-stitch in the next stitch (double crochet, chain 2, double crochet in the same stitch).
Skip the next two stitches, and in the third stitch, make a puff stitch (yarn over, pull up a loop 3 times, pull through all loops on the hook, chain 1 to secure).
Repeat this pattern (V-stitch and puff stitch) to the end of the row.
Finish the row with a double crochet in the last stitch.
Row 3:
Turn your work.
Make an alternate double crochet into the first stitch.
Make a puff stitch in the chain-2 space of the V-stitch from the previous row, chain 1 to secure.
Make a V-stitch in the chain-1 space of the previous puff stitch.
Continue this pattern (puff stitch in the V-stitch, V-stitch in the puff stitch) across the row.
Finish with a double crochet in the last stitch.
Row 4:
Turn your work.
Repeat the same as Row 3.
Repeat Rows 3 and 4:
Continue alternating until you reach the desired length for your lace section.
Make sure to end with a row similar to Row 4.
Final Row of Lace Section:
Switch to the smaller hook.
Make a row of single crochets across, with 2 single crochets in each chain-2 space and 1 single crochet in each stitch.
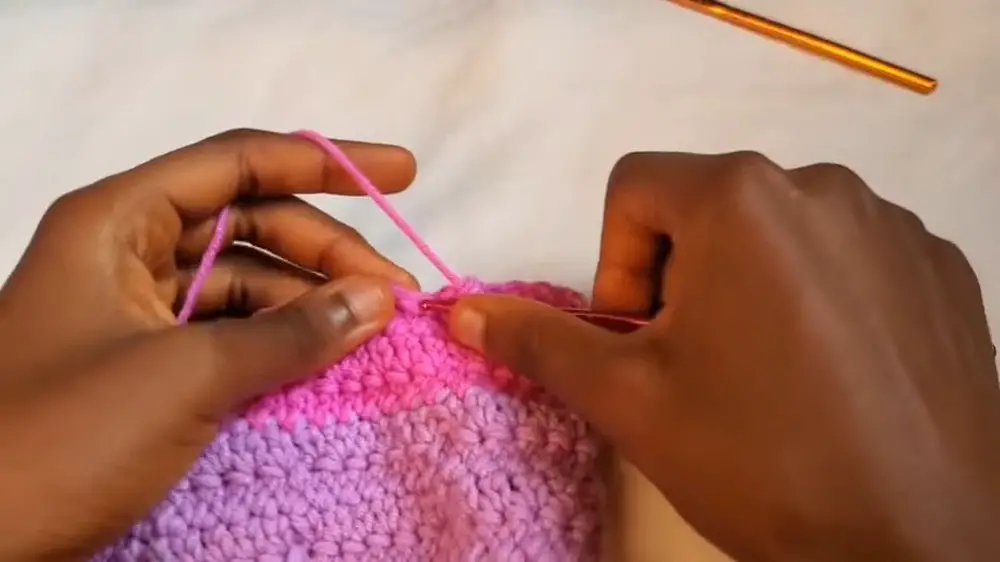
Middle Section:
Row 1:
Begin with a chain 2 for linked double crochet.
Insert your hook into the next stitch, pull up a loop, pull through two loops, insert your hook into the next stitch, and pull through two loops.
Continue making linked double crochets to the end.
Row 2:
Turn your work and chain 1.
Make an extended single crochet in each stitch across.
Follow the pattern:
Repeat Rows 1 and 2 until you are about 1 inch away from the desired length.
Finish with a row of linked double crochet without creating loops.
Linking Loops:
Insert the hook into the first loop, pull through, and then move to the second loop.
Continue linking all loops.
Finalize the Middle Section:
Make an extended single crochet row to secure the last loop.
Begin the Shoulder Shaping:
Make a decrease row (decrease 1 stitch at the center to make an odd number of stitches).
Place stitch markers 6 stitches from each end.
Shape the Armholes (Start the First Shoulder Strap):
Calculate the number of stitches for your keyhole section.
Work double crochets, skipping and chaining accordingly.
Mesh Pattern for Shoulder Strap:
Make mesh stitches for the shoulder: alternate double crochets and chain-1 spaces.
Complete Shoulder Strap:
Turn your work and repeat until the desired length.
Finish with double crochets in each stitch and space for seaming the shoulder panels.
Back Panel:
Repeat the lace section and the middle section as for the front panel but without making loops in the middle section.
Make identical meshing and shoulder strap.
Seaming:
Seam the shoulders and sides with your preferred method (whip stitch or slip stitch).
Edging:
Work single crochet around the neck edging, with 2 single crochets in each double crochet post space.
Finish off and weave in ends.
Conclusion:
Your crochet top should now be complete! Enjoy your new handmade garment.
- Funny Pictures
-
 Cute Cat Memes That Will Make Your Day Brighter
-
 Spot-on and Funny Memes About Introverts Struggles
-
 Top Wonderful Cat Memes on Their Way to Better Your Day
- Recipes
-
 Creamy Old Fashioned Rice Pudding
-
 Russian Tea Cakes (Snowball Cookies)
-
 Rigatoni with Sausage, Tomatoes, and Zucchini
- Lifehacks
-
 How to Crochet a Harlequin Stitch
-
 Removing The Toughest Stains
-
 Crochet Basics: Crumpled Griddle Stitch
- Crochet Ideas
-
 Crochet Christmas Tree
-
 Crochet Goblet of Fire
-
 Crochet Adorable Ammonite
- DIY
-
 DIY Snowman Wreath
-
 Mini Santa Sleigh Ornament
-
 Crochet Gingerbread House Blanket
- Knitting Ideas
-
 Knitted Easter Bunny
-
 Knitted Mobile Phone/Glasses Case
-
 Knitted Cabled Wallet