Crochet Linen Stitch Scarves: A Step-by-Step Guide

Introduction
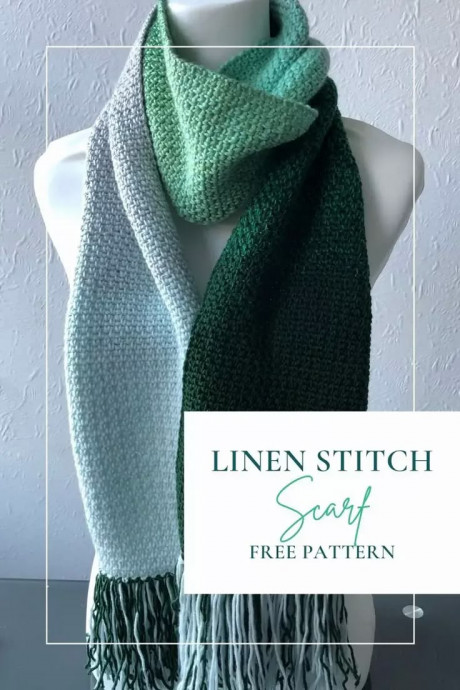
Crochet Linen Stitch Scarves are a cozy and stylish accessory that you'll love creating. With their delicate yet intricate pattern, they make a perfect addition to any outfit, whether you're going for a casual look or dressing up for a special occasion. The linen stitch creates a lovely woven texture that is both visually appealing and soft to the touch, making it a joy to wear. Whether you're a beginner crocheter or an experienced enthusiast, this project is a fun and satisfying way to showcase your skills and create a beautiful piece that you can proudly sport during the cooler months. So grab your yarn and hook, and get ready to crochet your way to a fabulous new scarf!
Skills and Materials
Skill Level
Beginner
Terms
US Terms
Materials Used
- Scheepjes Whirl Fine Art 215 – 225g 460m Impressionism
- Scheepjes Merino Soft 50g 105m – 1 x Chagall & 1 x Bellini
- OR 650 – 700m of any dk weight yarn
- Hook: 4.5mm & 5mm
- Other items: Scissors, darning needle, stitch marker
Gauge
22sc x 22 rows
Size
9ins x 68 ins without fringe
Notes
- This pattern includes instructions for the colour order I chose – I like colour to flow in an “order” usually and so are included for reference but using your own colour placement with this stitch pattern will also work.
- Ch1 at the start of a row does NOT count as a stitch.
- I used a smaller hook to make my chain as I find it keeps it tighter/neater – again this is not essential, if you prefer to stick to one hook, as long as you maintain an even gauge you will be successful.
Stitches
- Single Crochet – sc
- Chain – ch(s)
- Slip Stitch – sl-st(s)
Colour Key
- A – Bellini – Merino Soft
- B – Impressionism – Whirls Fine Art
- C – Chagall – Merino Soft
Instructions
Start
Set aside approx 10g from each of colours A & C for the fringe.
Using colour A & 4.5mm hook – Ch 52
Row 1
Using 5mm hook, Sc in the 2nd ch from the hook (sk ch does NOT count as a st), [ch1, sk1, sc in the next st], repeat across to the end of the row. Turn.
Row 2
Ch1 (does not count as a st), sc in the first st, sc in the ch1 sp, [ch1, sk1, sc in the next sp], repeat until the last sp, sc in the next st. Turn.
Row 3
Ch1, sc in the first st, [sk1, sc in the ch1 sp], repeat until the last ch1 sp, ch1, sk1, sc in the last st. Turn.
Row 4
Ch1, sc in the first st, sc in the ch1 sp, [ch1, sk1, sc in the next ch1 sp], repeat until the last ch1 sp, sc in the next st. Turn.
Row 5 – End
Repeat rows 3 & 4 until the piece measures 68 – 69 ins long. Tie off and secure your ends.
Colour Placement
I used colour A until the remaining 40g of the yarn was finished, ending on row 4.
I then joined Colour B from the outside of the cake and used the entire cake, again ending on row 4.
Finally, I joined Colour C and used this until it was finished – ending on row 4.
Fringe
Cut the 10g of each colour A & C into 12 inch strips. Also include any remaining yarn from the body of the scarf.
I used 3 strands per fringe section, using both colours. To create the colour effect with the fringe, I used an additional strand of the colour that was opposite the end that I attached the fringe to.
On the Chagall side, this is 2 strands Bellini and 1 Chagall; on the Bellini side, I did the reverse.
I used ALL the yarn from the skeins listed to complete this pattern.
Tips
Use the markers as a visual guide as to WHICH row of the repeat you are completing to ensure you keep straight sides and are in the right place. I use different coloured markers for each side, and mark the pattern with the colour to aid this also.
- Funny Pictures
-
 Feline Memes to Feel Better
-
 Best Funny Pics of the Day Especially for You
-
 Pictures That Have No Right to be This Funny
- Recipes
-
 Strawberry Banana Bread
-
 Baked Beans and Hot Dogs with Biscuit Topping
-
 Roasted Rosemary Lemon Chicken Breasts
- Lifehacks
-
 Crochet Tutorial: Flower Puff Stitch
-
 8 Basic Crochet Tips
-
 7 Crochet Tips And Tricks
- Crochet Ideas
-
 Crochet Snorlax Plushie Doll
-
 Crochet Cat in 1 Row
-
 Crochet Beautiful Penguin Toy
- DIY
-
 Popsicle Stick and Jingle Bell Christmas Tree Ornament
-
 Upcycled Mason Jar Chicken Vase
-
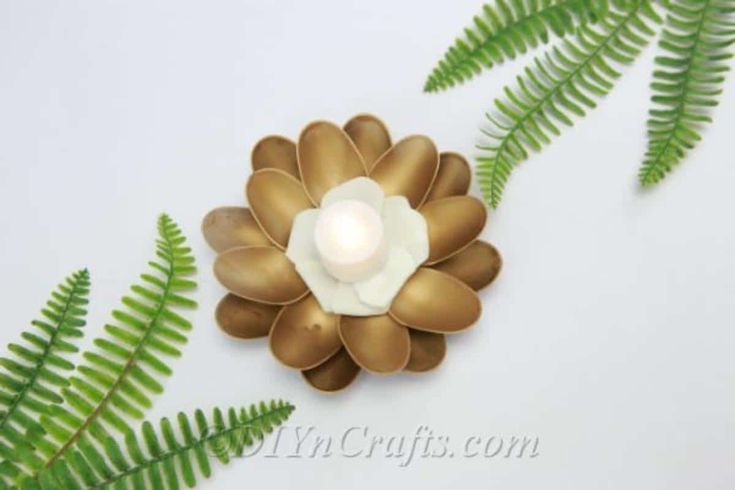 Make A Candle Holder From Plastic Spoons
- Knitting Ideas
-
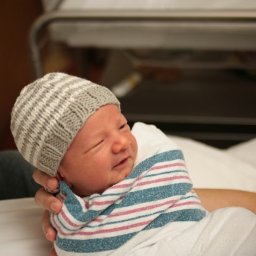 Knitted Newborn Striped Beanie
-
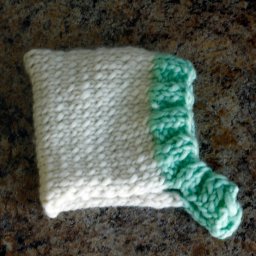 Knitted Chunky Newborn Pixie Hat
-
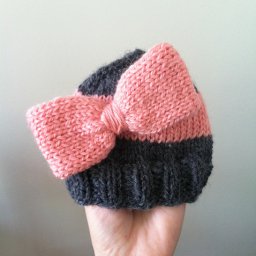 Knitted Big Bow Hat