Crochet Bruna the Bunny: Step-by-Step Pattern Guide

Penelope
Feb 21, 2025 10:51 AM
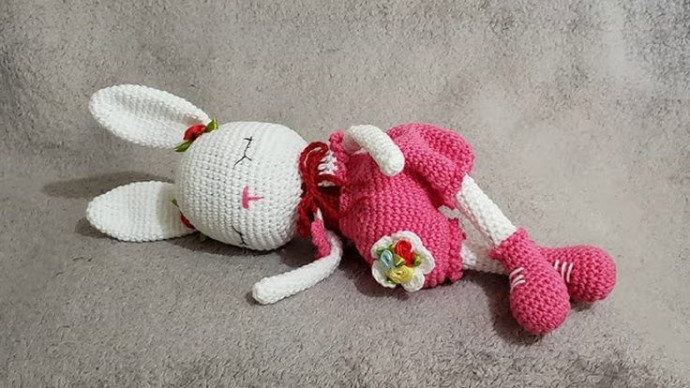
Crochet Bruna the Bunny is an adorable pattern that is perfect for crafters looking to add a touch of sweetness to their projects. With its detailed instructions and charming design, making this bunny will surely bring a smile to your face. Whether you're a beginner or a seasoned crocheter, crafting Bruna will be a delightful experience that brings a sense of joy and accomplishment. So grab your yarn and hook, and let's crochet Bruna the Bunny together! Happy crafting!
Materials Needed & Measurements:
Hook
: 4 mm (US G)Yarn
:Body
: Soft chenille or fluffy yarn (e.g., Katia Bambi)Clothing & Accessories
: 100% cotton yarnCheeks & Details
: Pink yarn for embroidery
Eyes
: 12 mm safety eyes or yarn for embroideryStuffing
: Polyfiber or similar stuffing materialNeedle
: Tapestry needleFinished Size
: Approximately 28 cm from head to toe.
Abbreviations (Stitch Key)
mr
= magic ringsc
= single crochethdc
= half double crochetinc
= increase (2 sc into one stitch)dec
= decrease (combine 2 stitches into one)
Stitching Instructions for Making Bruna the Bunny Pattern:
Head
- Create a
mr
and crochet 6sc
into the ring. Round 1
: Workinc
in each stitch (12 sts).Round 2
: Alternate 1sc
,inc
around (18 sts).Round 3
: Alternate 2sc
,inc
around (24 sts).Rounds 4–7
: Work 1sc
in each stitch (24 sts per round).Round 8
: Alternate 2sc
,dec
around (18 sts).Round 9
: Alternate 1sc
,dec
around (12 sts).Round 10
: Workdec
in each stitch (6 sts).- Stuff the head and fasten off securely.
Body
- Start with a
mr
and crochet 6sc
into the ring. Round 1
: Workinc
in each stitch (12 sts).Round 2
: Alternate 1sc
,inc
around (18 sts).Round 3
: Alternate 2sc
,inc
around (24 sts).Rounds 4–10
: Work 1sc
in each stitch (24 sts per round).Round 11
: Alternate 2sc
,dec
around (18 sts).Round 12
: Alternate 1sc
,dec
around (12 sts).- Fill the body with stuffing and close the opening.
Arms (Make 2)
- Create a
mr
and crochet 6sc
into the ring. Round 1
: Alternate 1sc
,inc
around (9 sts).Rounds 2–7
: Work 1sc
in each stitch (9 sts per round).Round 8
: Alternate 1sc
,dec
around (6 sts).- Lightly stuff and secure the end.
Legs (Make 2)
- Start with a
mr
and crochet 6sc
into the ring. Round 1
: Workinc
in each stitch (12 sts).Rounds 2–5
: Work 1sc
in each stitch (12 sts per round).Round 6
: Alternate 1sc
,dec
around (8 sts).- Stuff lightly and fasten off.
Ears (Make 2)
- Create a
mr
and crochet 6sc
into the ring. Round 1
: Alternate 1sc
,inc
around (9 sts).Rounds 2–8
: Work 1sc
in each stitch (9 sts per round).- Flatten the ears and fasten off securely.
Tail
- Start with a
mr
and crochet 6sc
into the ring. Round 1
: Alternate 1sc
,inc
around (9 sts).Rounds 2–3
: Work 1sc
in each stitch (9 sts per round).- Stuff lightly and fasten off.
Assembly
- Attach the
head
to thebody
securely. - Sew the
arms
to the sides of the body. - Attach the
legs
at the bottom of the body. - Position and attach the
ears
to the top of the head. - Sew the
tail
to the back of the body.
Face Details
- Use safety eyes or embroider eyes with black yarn.
- Stitch a small
nose
andcheeks
using pink yarn.
Optional Accessories
Bow
: Crochet a small rectangle (3-4 rows ofhdc
) and wrap yarn tightly around the center to form a bow. Sew it onto an ear or around the neck.Clothing
: Create a simple crochet shirt or skirt by making a tube ofhdc
rounds to fit the body.
No comments
Write a comment
- Funny Pictures
-
 Relatable and Funny Memes to Distract You From the Routine
-
 Hilarious Cat Snapchats That Will Leave You With the Biggest Smile
-
 Today’s Top Funny Tweets to Scroll Before Bed
- Recipes
-
 Cappuccino Brownies
-
 Chicken Mushroom Tortellini Bake
-
 Spinach Pie
- Lifehacks
-
 8 Necessary Tips for Baking Bread
-
 Tips & Hacks for Clean Carpets
-
 10 Uses For Old TV Armoires
- Crochet Ideas
-
 Crochet Watermelon Amigurumi
-
 Crochet Flower Hat for your Pet
-
 Crochet Shark Applique
- DIY
-
 Crochet Titus the Barn Owl
-
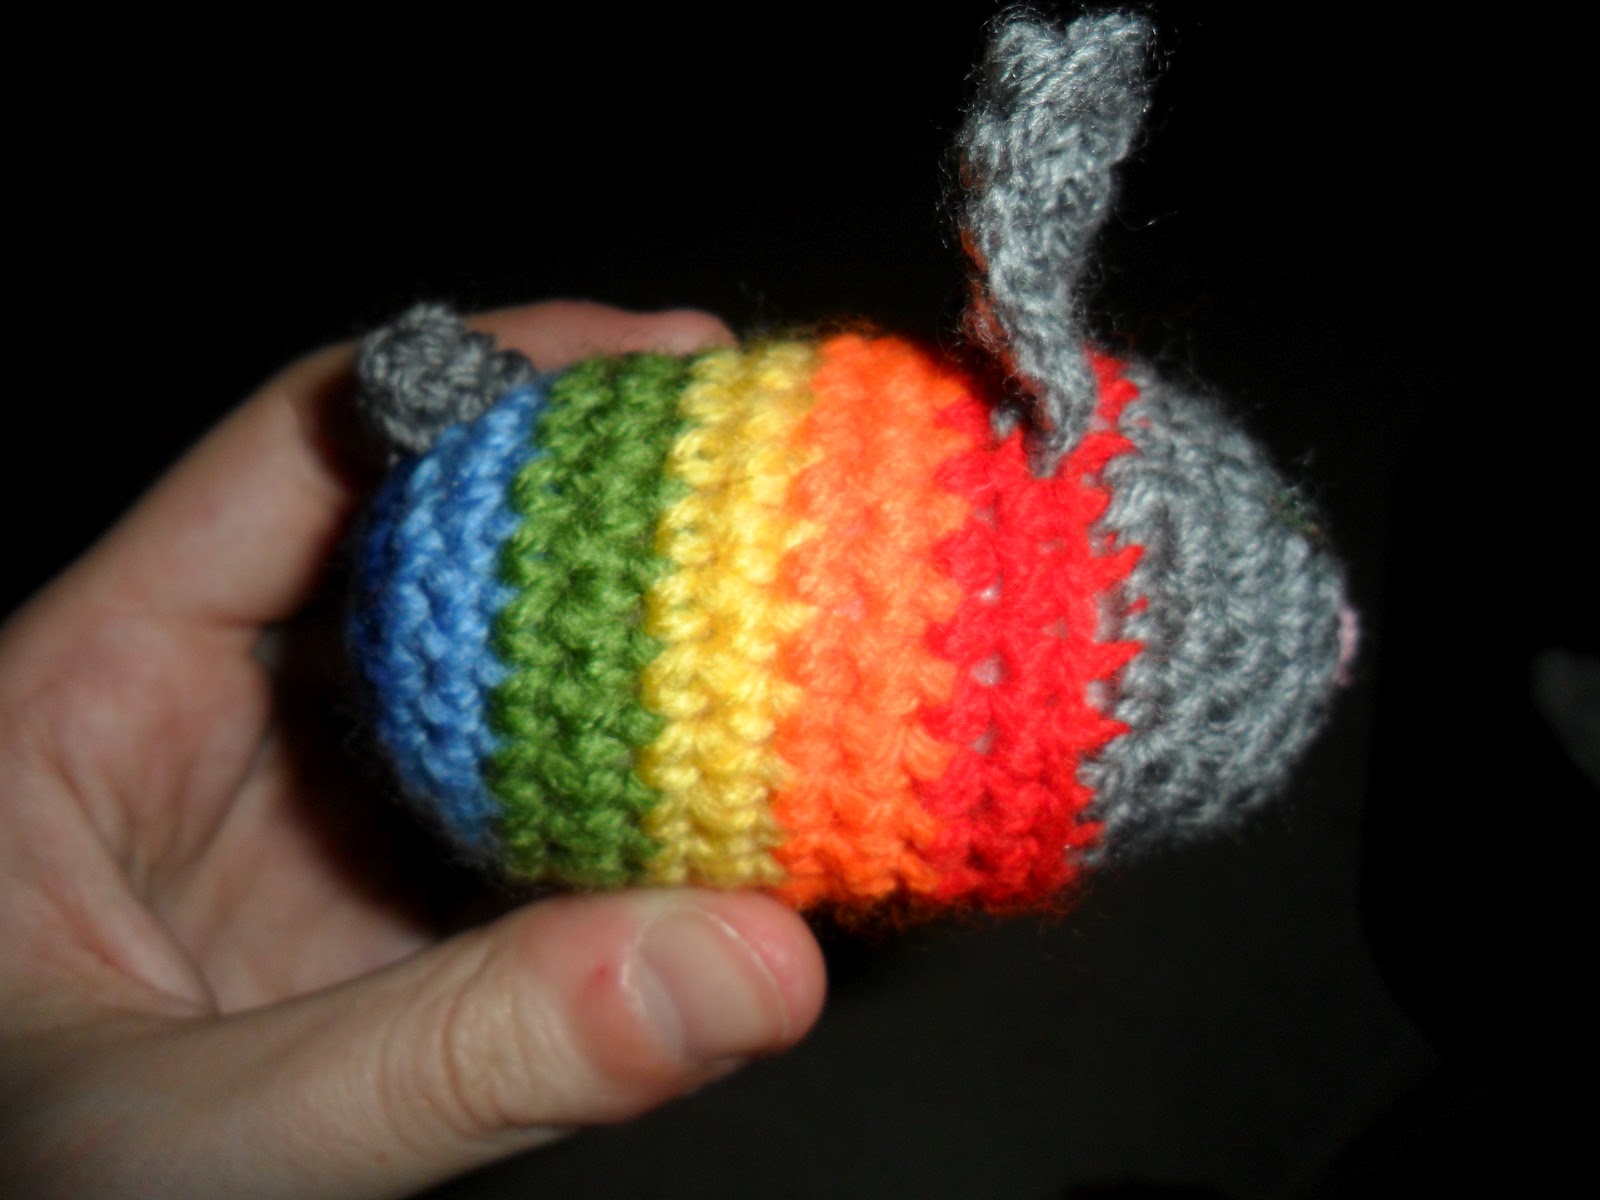 Crochet Rainbow Bunny
-
 DIY Washer Ornaments
- Knitting Ideas
-
 Knitted Star Square Dishcloth
-
 Knitted Free 2025 Year Dishcloth
-
 Knitted Ribbed Adult Hat