Crochet Waffle Berry Hat Pattern

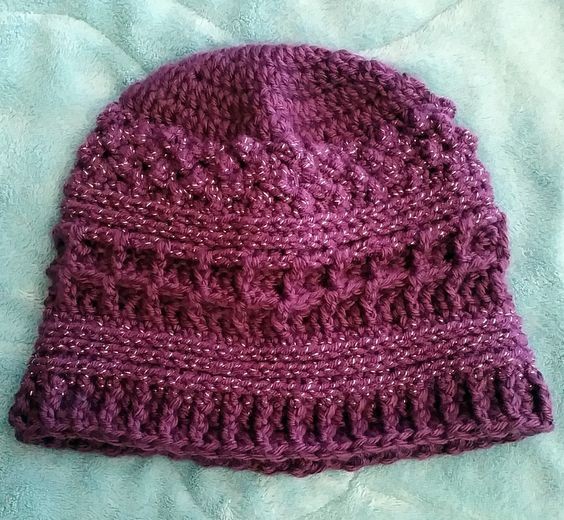
The Crochet Waffle Berry Hat is a delightful accessory that combines style and warmth in a charming way. The intricate waffle stitch pattern gives the hat a lovely texture, while the berry-colored yarn adds a pop of color that is sure to brighten up any outfit. Whether you're heading out for a cozy autumn walk or simply want to add a playful touch to your winter ensemble, this hat is a perfect choice. Its soft and cozy feel will keep you comfortable on chilly days, making it a must-have for your cold weather wardrobe. Get ready to add a touch of sweetness and style to your look with the Crochet Waffle Berry Hat - you won't be able to resist its charm!
Materials Needed
For this hat, you will need 1 or 2 yarn colors.
I used a J Hook (5.75).
This hat is approximately 22 inches around and 8 to 9 inches long.
Stitch Abbreviations
ch - chain stitch
ss - slip stitch
hdc - half double crochet
dc - double crochet
fpdc - front post double crochet
Helpful Tutorials
For the waffle stitch and the raspberry stitch, you can look up a tutorial on YouTube if my directions confuse you. I hope they don't.
Color A Instructions
RND 1: 15 DC into a magic circle, ss to close (15)
RND 2: ch2, 2 dc into each stitch all the way around, ss to close (30)
RND 3: ch2, *2dc into first stitch, then 1dc into next*, repeat all the way around, ss to close (45)
RND 4: ch2, *2dc into first stitch, then 1dc into next 2 stitches*, repeat all the way around, ss to close (60)
RND 5: ch2, *2dc into first stitch, then 1dc into next 6 stitches,* repeat all the way around, ss to close (70). If using 2 colors, change to color B.
Color B Instructions
RND 6: ch2 and turn your work so you are now working on the inside of the hat for the Raspberry Stitch, *sc dc sc in first stitch, then skip 2 stitches,* repeat all the way around and ss to close. (70)
RND 7: ch2 and continue working on the inside for another row of Raspberry Stitch. In the first space after the 1st raspberry from the previous row, *sc dc sc, then skip 2, so that you put the next berry in between 2 from the previous row. This offsets the berries.* repeat all the way around and ss to close. (70)
RND 8: repeat row 7
RND 9: repeat row 7
RND 10: ch2, and turn work so you are back to working on the outside of the hat, 1hdc in each stitch, ss to close (70)
RND 11: ch2, 1 third loop hdc in each stitch. This flips the stitch forward to look like a stripe. ss to close (70)
RND 12: repeat row 11 (70). If using 2 colors, change back to color A.
Back to Color A Instructions
RND 13: Waffle Stitch - ch2, *fpdc around first stitch, dc into next 2,* repeat all the way around and ss to close. (70)
RND 14: ch2 and turn work, *dc, fpdc into next 2 (these were the stitches you did a regular dc into in the previous row),* repeat all the way around and ss to close. (70)
You may need to keep checking to make sure your stitches are lining up. Stitches that were dc in the previous row are now fpdc in this row and stitches that were fpdc in the previous row are now dc in this row.
Continuing with Color A
RND 15: ch2 and turn your work, *fpdc around first stitch, dc into next 2,* repeat all the way around and ss to close. (70)
RND 16: ch2 and turn work, *dc, fpdc into next 2 (these were the stitches you did a regular dc into in the previous row),* repeat all the way around and ss to close. (70)
You should now have 2 rows of finished waffles (created by 4 rows of stitches). If using 2 colors, change to color B.
Final Color B Instructions
RND 17: ch2, 1hdc in each stitch, ss to close (70)
RND 18: ch2, 1 third loop hdc in each stitch. ss to close (70)
RND 20: ch2, 1dc into the third loop of each stitch (70). If using 2 colors, change back to Color A.
Finalizing with Color A
RND 21: ch2, *1fpdc, 1dc,* repeat all the way around and ss to close (70)
RND 22: repeat row 21
RND 23: repeat row 21
Finish off and sew in ends.
- Funny Pictures
-
 Feline Memes to Feel Better
-
 Best Funny Pics of the Day Especially for You
-
 Pictures That Have No Right to be This Funny
- Recipes
-
 Strawberry Banana Bread
-
 Baked Beans and Hot Dogs with Biscuit Topping
-
 Roasted Rosemary Lemon Chicken Breasts
- Lifehacks
-
 Crochet Tutorial: Flower Puff Stitch
-
 8 Basic Crochet Tips
-
 7 Crochet Tips And Tricks
- Crochet Ideas
-
 Crochet Snorlax Plushie Doll
-
 Crochet Cat in 1 Row
-
 Crochet Beautiful Penguin Toy
- DIY
-
 Popsicle Stick and Jingle Bell Christmas Tree Ornament
-
 Upcycled Mason Jar Chicken Vase
-
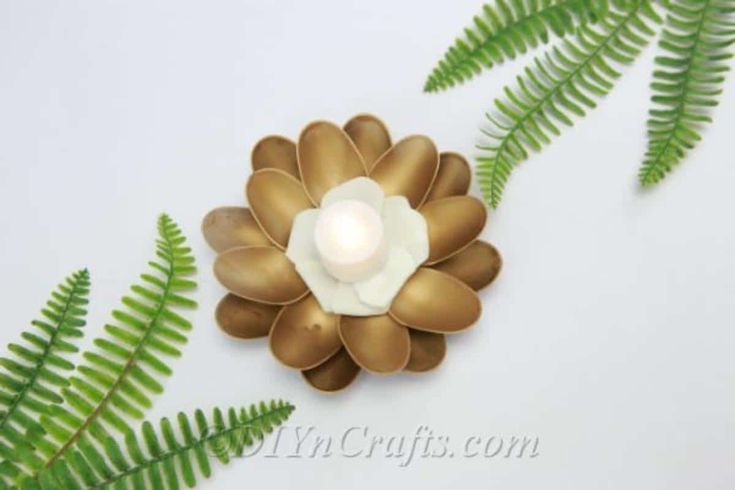 Make A Candle Holder From Plastic Spoons
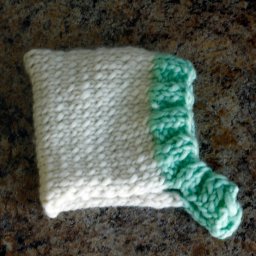
- Knitting Ideas
-
 Knitted Newborn Striped Beanie
-
 Knitted Chunky Newborn Pixie Hat
-
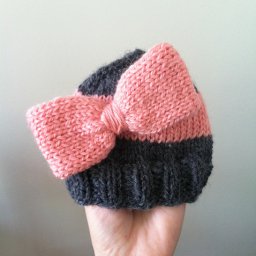 Knitted Big Bow Hat