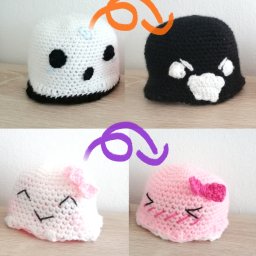
Crochet Jellybean Bunny Pattern Guide

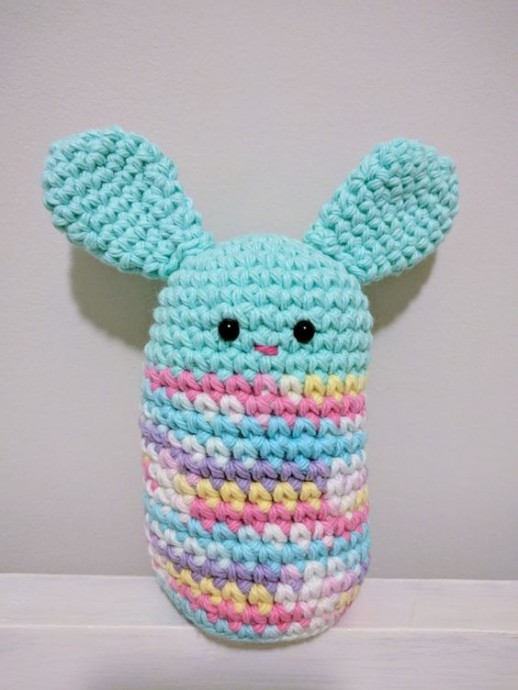
The Crochet Jellybean Bunny is an adorable and charming handmade creation perfect for Easter or as a cute gift for any bunny lover. With its soft pastel colors and sweet details, this bunny brings a touch of whimsy to any space. Crafted with love and care, each stitch in the crochet design adds a special charm that makes this Jellybean Bunny truly unique. Whether displayed as part of your Easter decor or given as a heartfelt present, this delightful bunny is sure to bring a smile to anyone's face. So, why not add a touch of handmade sweetness to your life with the Crochet Jellybean Bunny?
Stitches You Need to Know
- Chain (ch)
- Single Crochet (sc)
- Single Crochet Two Together (sc2tog)
What You Need
- G-hook
- I used Sugar N Cream Yarn in Fleur de Lavande, Beach Glass, and a tiny speck of pink for the nose. You can use any colors you’d like!
- 6mm Safety Eyes
- Polyfil
- Stitch Marker
- Tapestry Needle
Pattern Instructions
This pattern is made in the round. Do not join.
The Body: Note: You may want to make the ears first so you can sew them onto your bunny before the body is filled with polyfil and closed!
- Row 1: Starting with a solid color of your choice – Chain 2, 6sc in ch 2 space (6)
- Row 2: 2sc in each stitch around (12)
- Row 3: *1sc in next stitch, 2sc in next stitch* *Continue around (18)
- Row 4: *1sc in next two stitches, 2sc in next stitch* *Continue around (24)
- Row 5: *1sc in next three stitches, 2sc in next stitch* *Continue around (30)
- Row 6: 1sc in each stitch (30)
- Row 7-10: Repeat row 6 (30 in each row)
- Change color and attach safety eyes between rows 8 and 9. Use your tapestry needle to stitch on a little nose between rows 9 and 10. I also suggest you make the ears now if you haven’t already, and sew them onto the top of the head. It’s much easier than trying to sew them on once the bunny is filled with polyfil!
- Row 11-23: 1sc in each stitch around (30 in each row)
- Row 24: In BLO *1sc in next 3 stitches, sc2tog* *Continue around (24)
- Row 25: *1sc in next two stitches, sc2tog* *Continue around (18)
- Take a moment to stuff your bunny full of polyfil. I like to do this as late as I can so I’m not fighting with it as I continue to stitch!
- Row 26: *1sc in next stitch, sc2tog* *Continue around (12)
- Row 27: *sc2tog* *Continue around (6)
- Close off your bunny. If you are unsure of how to close off an amigurumi piece.
The Ears
(Make Two): Also worked in the round
- Row 1: Chain 2, 5sc in 2nd ch (5)
- Row 2: 2sc in each st around (10)
- Row 3: 1sc in next st, 2sc in next st (15)
- Row 4: 1sc in each st (15)
- Row 5: 1sc in each st (15)
- Row 6: 1sc in next 4 stitches, sc2tog, 1sc in next 4 stitches, sc2tog, 1sc in next 3 stitches (13)
- Row 7: 1sc in next 3 stitches, sc2tog, 1sc in next 3 stitches, sc2tog, 1sc in next 3 stitches (11)
- Row 8: 1sc in each stitch (11)
- Row 9: 1sc in next 2 stitches, sc2tog, 1sc in next 2 stitches, sc2tog, 1sc in next 3 stitches (9)
- Row 10: 1sc in each stitch (9)
Do not fill the ears with polyfil. Sew onto the top of the head.
- Funny Pictures
-
 Memes for Doggos Having a Ruff Day
-
 Fluffy Memes to Make Fun of Your Furry Friends
-
 Too Relatable to be True
- Recipes
-
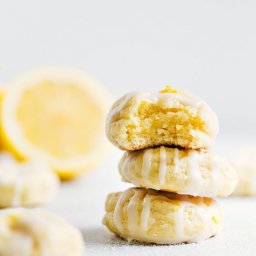 Lemon Cheesecake Cookies (Soft-Baked)
-
 Instant Pot Cabbage Soup
-
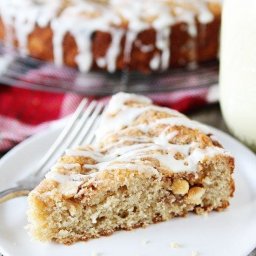 Eggnog White Chocolate Streusel Cake
- Lifehacks
-
 8 Necessary Tips for Baking Bread
-
 10 Uses For Old TV Armoires
-
 11 Organization Hacks for Clutter Control
- Crochet Ideas
-
 Crochet Flower Hat for your Pet
-
 Crochet Sophia and Bennet Love Birds
-
 Crochet Reversible Ghost
- DIY
-
 DIY Beaded Christmas Tree
-
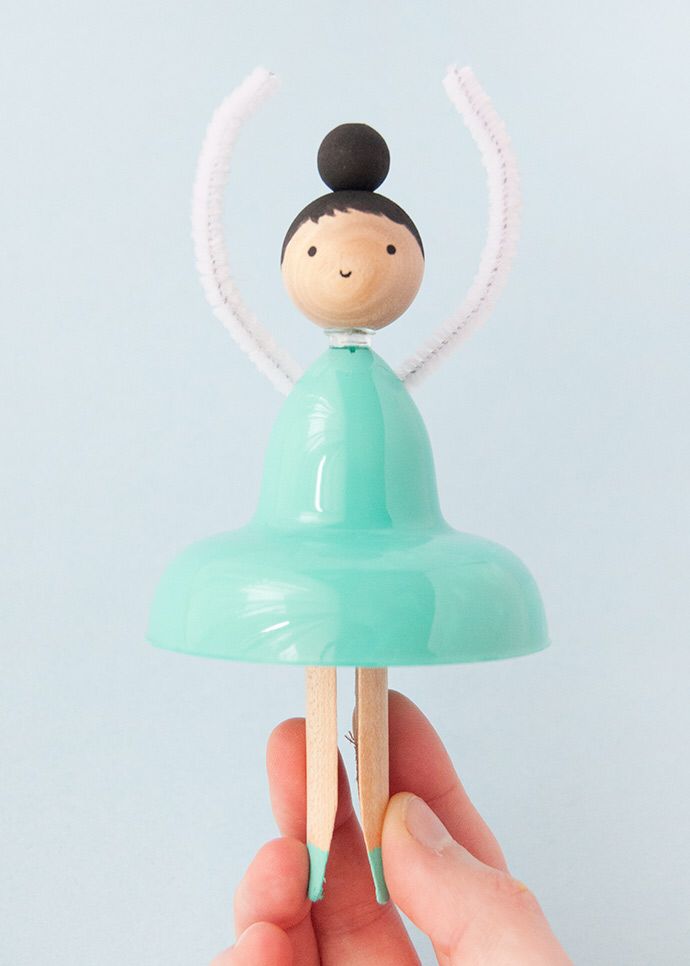 Dolls from Party Cups
-
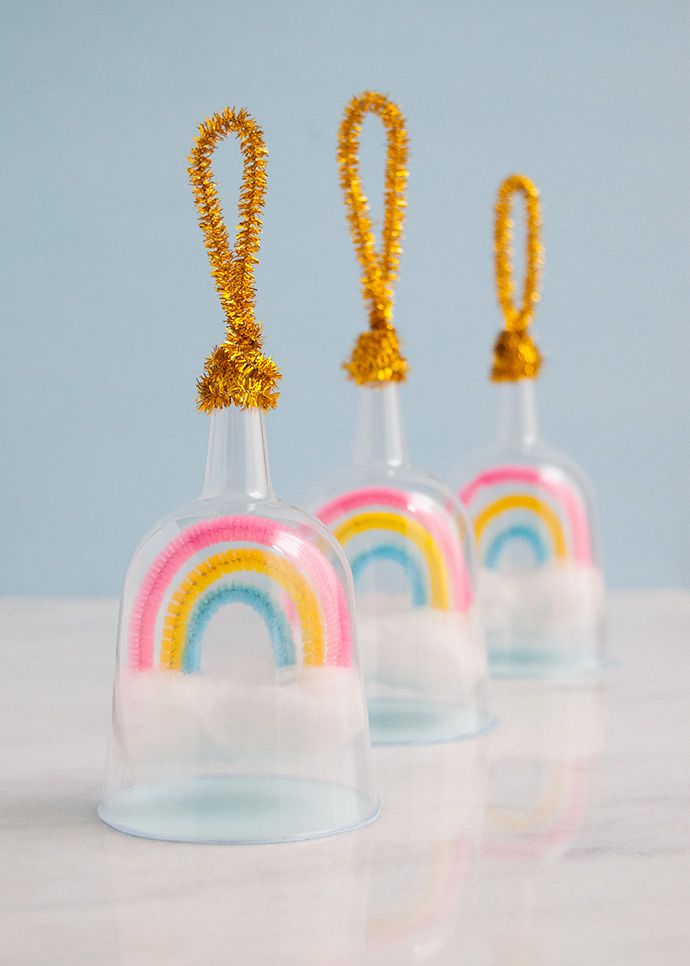 Rainbow Snow Globe Charms
- Knitting Ideas
-
 Knitted Star Square Dishcloth
-
 Knitted Free 2025 Year Dishcloth
-
 Knitted Ribbed Adult Hat