Crochet Perky Pumpkin Potholder

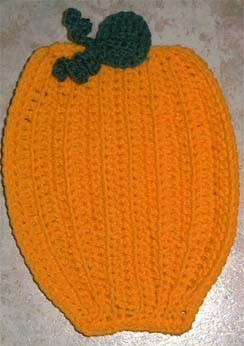
Get cozy with this adorable Crochet Perky Pumpkin Potholder! This cute and functional project is perfect for fall and winter decor. Using a simple crochet pattern, create a perky pumpkin shape with a soft, plush body and a matching green stem. Add a loop for hanging and a decorative orange ribbon for a finishing touch. The potholder is just the right size for protecting your table from hot dishes or adding a pop of color to your kitchen. Make one (or several!) as a fun and easy DIY project for yourself or as a thoughtful gift for friends and family.
Materials Needed:
- 1 oz orange worsted weight yarn
- Small amount of green worsted weight yarn
- H hook
- Sewing needle
Directions
Special Instructions: BLO means work the stitch indicated in the Back Loop Only.
RND 1: ch33
Rows for the Pumpkin Body
Row 1: sl st in 2nd ch from hook and in next 2 chs, sc in next 3, hdc in next 4, dc in next 17 chs, hdc in next 4 chs, sc in last ch, ch 1 turn.
Row 2: Remainder of pumpkin is worked in BLO. sc in 1st st, hdc in next 4 sts, dc in next 17 sts, hdc in next 4 sts, sc in next 3 sts, sl st in last 3 sts, ch 1 turn.
Row 3: sl st in last 3 sts, sc in next 3 sts, hdc in next 4 sts, dc in next 17 sts, hdc in next 4 sts, sl st in last 3 sts, ch 1 turn.
Row 4: repeat row 2.
Row 5: repeat row 3.
Row 6: sc in first st, hdc in next 30 sts, sc in last 2 sts, ch 1 turn.
Row 7: sc in first 2 sts, hdc in next 30 sts, sc in last st, ch 1 turn.
Row 8: repeat row 6.
Row 9: repeat row 3.
Row 10: repeat row 2.
Row 11: repeat row 3.
Row 12: repeat row 2.
Row 13: repeat row 3.
At the end of row 13, sc evenly around the entire pumpkin and fasten off orange.
Creating the Stem
Step 1: With green, ch 5, sc in 2nd ch from hook, ch 1 turn (4 total).
Row 2-4: in BLO sc in each sc across, ch 1 turn.
Step 2: Sc evenly around the stem, sl st in starting sc, ch 10, work 2 sc in 2nd ch from hook and in each remaining ch, sl st in next st on stem.
Ch 7, work 2 sc in 2nd st from hook and in each remaining ch, sl st in same st on stem and fasten off, leaving a tail of yarn to sew with.
Attach stem to pumpkin.
- Funny Pictures
-
 Cool Memes to Take a Rest
-
 Memes That Describe Parenting the Best
-
 Hilarious and Cute Animals to Upper Your Mood
- Recipes
-
 Lemon Cheesecake Cookies (Soft-Baked)
-
 Instant Pot Cabbage Soup
-
 Eggnog White Chocolate Streusel Cake
- Lifehacks
-
 8 Necessary Tips for Baking Bread
-
 10 Uses For Old TV Armoires
-
 11 Organization Hacks for Clutter Control
- Crochet Ideas
-
 Crochet Sophia and Bennet Love Birds
-
 Crochet Watermelon Buddies Toys
-
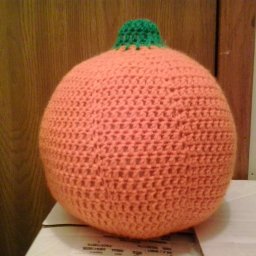 Crochet Large Pumpkin
- DIY
-
 DIY Beaded Christmas Tree
-
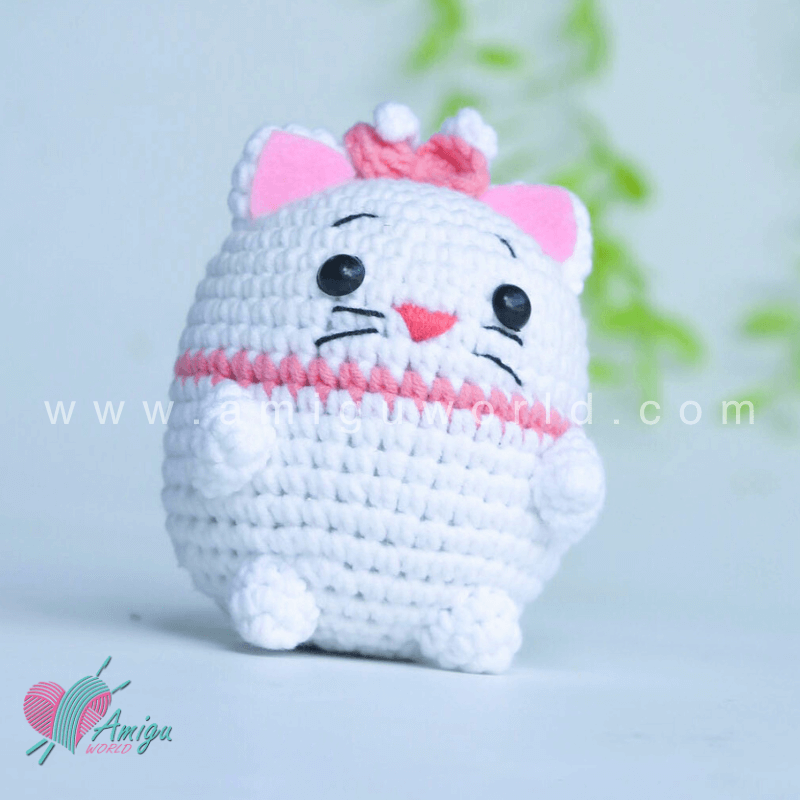 Crochet Chibi Marie Cat Amigurumi
-
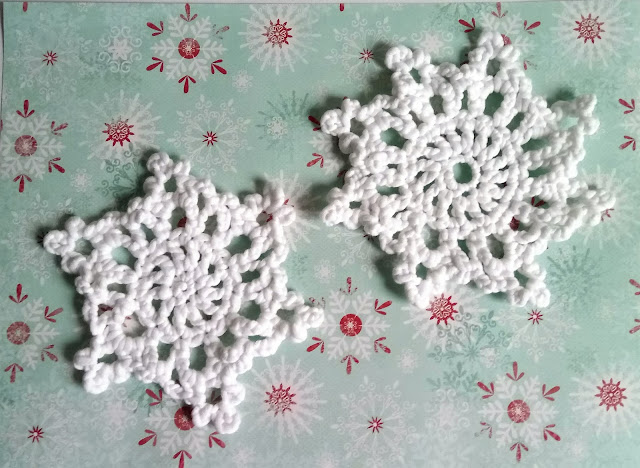 Crochet Beautiful Snowflakes
- Knitting Ideas
-
 Knitted Free 2025 Year Dishcloth
-
 Knitted Ribbed Adult Hat
-
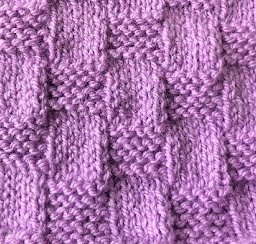 Knitted Checkers Blanket