Crochet Your Own Stylish Hat


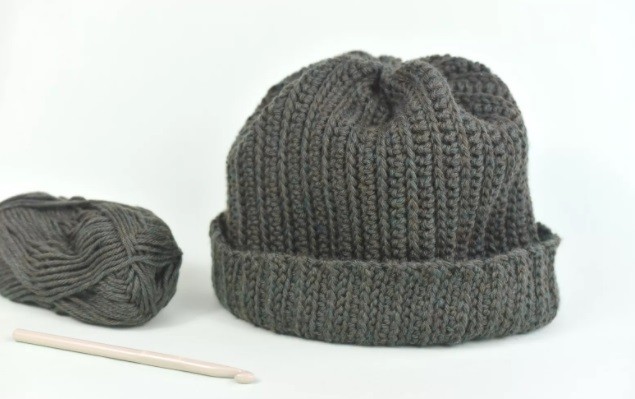
You’ll Need:
About 4 oz. of Knit Picks Swish DK in Lost Lake Heather color;
Crochet hook 6.5 mm;
Tapestry needle.
Stitches Control
4 sts = 1 inch.
Size
Approximately 11" long and 22" in circumference around the lower edge; it measures 11" across when laid flat.
If you'd like to make your hat longer than the sample, increase the number of chain stitches in your starting chain.
To make your hat shorter, decrease the number of chains in your starting chain.
If you'd like the hat to fit looser, crochet more rows.
To make it fit tighter, crochet fewer rows.
Instructions
Ch 45.
Row 1: Sl st in 2nd ch from hook and in each ch st across the row. (44 sl sts.)
Row 2: Ch 1, turn. Work entire row in sl st. (44 sl sts.)
Row 3: Ch 1, turn. Work entire row in sl st. (44 sl sts.)
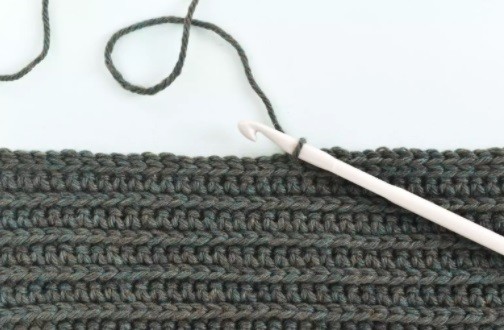
Row 4: Ch 1, turn. Work entire row in sc. (44 sc sts.)
Rows 5 and Up: Repeat rows 1–4 with the following minor change: on the first row of slip stitch after a row of single crochet, work the sl sts into the front loops of the sc sts in the previous row. Continue working in pattern repeat until your hat is the desired size.
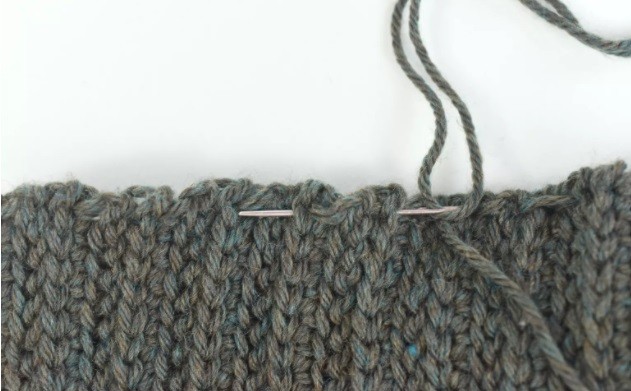
A good gauge is to crochet 100 rows total, but you should crochet as many rows as necessary to achieve a comfortable fit for the intended wearer. You can do a quick fitting by using safety pins to pin up the sides of the hat and try it on.
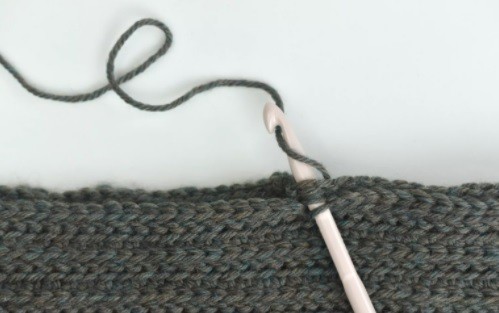
Hold the active loop in place with a stitch marker and leave the yarn attached to the skein. Weave in the remaining ends. Block and let dry.
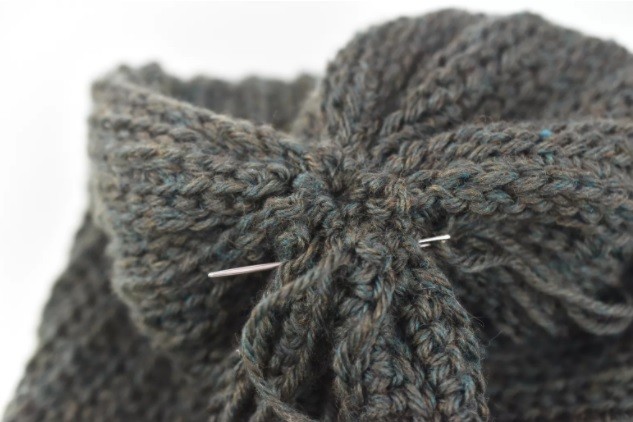
Finishing
With the right sides together, hold or pin the first and last row together to form a tube. Using the yarn still attached to the skein, work one slip stitch through both loops of both the stitches in the first row and last row.
such a simple pattern for such a polished looking beanie cap, thanks Susan!
You're welcome! Sometimes simple things can make a real art work!