

Easy Single-Color Granny Square Crochet Pattern — Step-by-Step Guide

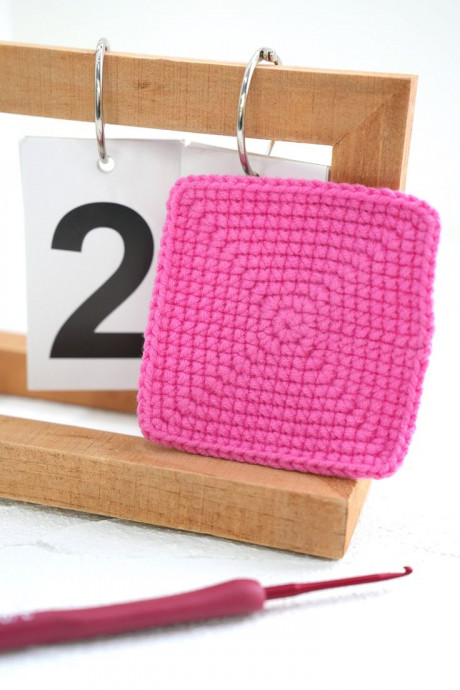
Crochet single-color granny squares are a delightful, beginner-friendly project that lets you focus on even stitches and neat shaping. Using one yarn color produces a clean, modern look that works beautifully for blankets, cushions, coasters, or practice swatches. This guide walks you through materials, a round-by-round pattern, and helpful finishing notes so you can create a perfectly square motif.
Materials Needed
- Yarn – Loopara 5ply combed cotton (Pink 21)
- Hook - 2.5mm
- Scissors
Abbreviations
ch = chain, sc = single crochet, sl = slip stitch
Step By Step Tutorial
How to Crochet a Single Color Granny Square
- R1: Magic ring, ch, 8 sc in ring, tighten ring, sl in first sc
- R2: Ch, sc, (3 sc in next st, sc) 3 times, 3 sc in next st, sl in first sc
- R3: Ch, 2 sc, (3 sc in next st, 3 sc) 3 times, 3 sc in next st, sc, sl in first sc
- R4: Ch, 3 sc, (3 sc in next st, 5 sc) 3 times, 3 sc in next st, 2 sc, sl in first sc
- R5: Ch, 4 sc, (3 sc in next st, 7 sc) 3 times, 3 sc in next st, 3 sc, sl in first sc
- R6: Ch, 5 sc, (3 sc in next st, 9 sc) 3 times, 3 sc in next st, 4 sc, sl in first sc
- R7: Ch, 6 sc, (3 sc in next st, 11 sc) 3 times, 3 sc in next st, 5 sc, sl in first sc
- R8: Ch, 7 sc, (3 sc in next st, 13 sc) 3 times, 3 sc in next st, 6 sc, sl in first sc
- R9: Ch, 8 sc, (3 sc in next st, 15 sc) 3 times, 3 sc in next st, 7 sc, sl in first sc
- R10: Ch, 9 sc, (3 sc in next st, 17 sc) 3 times, 3 sc in next st, 8 sc, sl in first sc
Finishing & Tips
1. Keep tension consistent throughout to maintain a square shape. Even tension helps corners sit flat and sides remain straight.
2. Use stitch markers at the start of rounds and in corner spots to track increases and keep corners even.
3. Weave in ends neatly on the wrong side with a tapestry needle.
4. If your square is slightly wavy or not perfectly square, light blocking (pinning to shape and spraying with water or steam) can help even it out.
5. To make larger projects, join multiple squares using your preferred seaming method (slip-stitch join, whipstitch, or mattress stitch) or continue rounds in a new color.