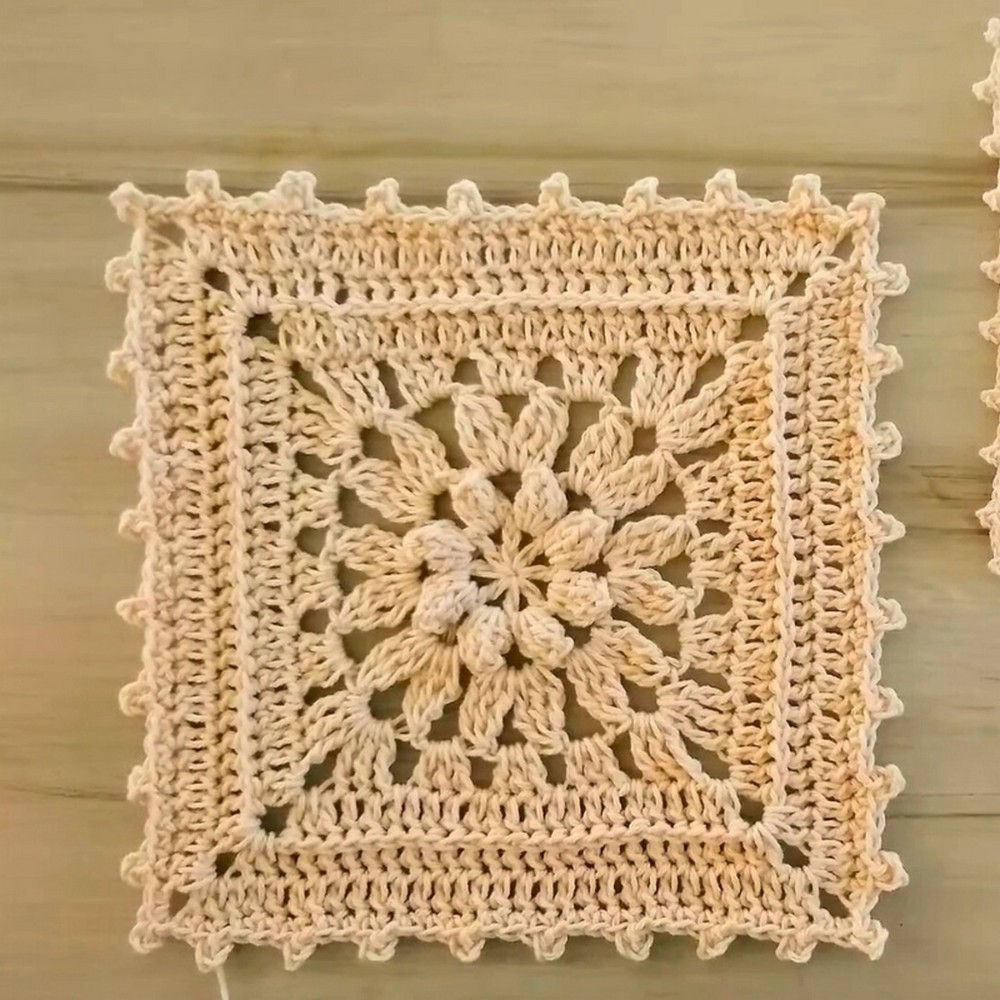
Crochet Granny Square Coaster Tutorial


Crochet Granny Square Coasters are an adorable and practical addition to any home decor or crafting project. These delightful coasters are perfect for adding a touch of handmade charm to your coffee table or gifting to friends and family. With their unique design and versatility, you can mix and match colors and patterns to suit any style or occasion. Whether you're a seasoned crocheter or just starting out, creating these cozy coasters is a fun and rewarding way to showcase your creativity. So grab your crochet hook, pick out your favorite yarn, and let's start stitching up some Granny Square Coasters to brighten up your space!
Materials and Preparation
Gather the following materials:
Yarn: Medium weight yarn (Category 4), such as cotton or acrylic (choose two different colors for contrast).
Hook: Crochet hook size 4mm (US G/6) or recommended for your yarn.
Additional Tools: Yarn needle for weaving in ends, scissors, and a stitch marker (optional).
Yarn Weight Requirements: Ensure yarn is suitable for medium-weight projects with good tension.
Abbreviations and Notes
Abbreviations:
- CH: Chain
- SC: Single Crochet
- DC: Double Crochet
- SL ST: Slip Stitch
- SP: Space
- SK: Skip
- CL: Cluster (work 3 DCs into the same space)
Notes Before Starting:
- Granny Squares are worked in continuous rounds, expanding outward from the center.
- Ensure you pull gently for even stitches and tension.
- Changing colors can be done after each round for a vibrant effect or stick to one color for simplicity.
- This is a beginner-friendly project, but familiarity with basic crochet stitches is recommended.
Gauge, Approximate Size, and Pattern Notes
- Gauge: Not crucial for granny squares, but your coaster should lie flat without curling.
- Approximate Finished Size: 4×4 inches (size may vary slightly based on yarn and tension).
- Special Techniques: Cluster stitches (explained in abbreviations). A gauge swatch is generally not needed for this project.
Step-by-Step Pattern
Step 1: Create the Foundation Ring
Using Color A, CH 4, then join the chain into a loop with a SL ST in the first chain.
Tip: The center loop is where you will work your first set of stitches.
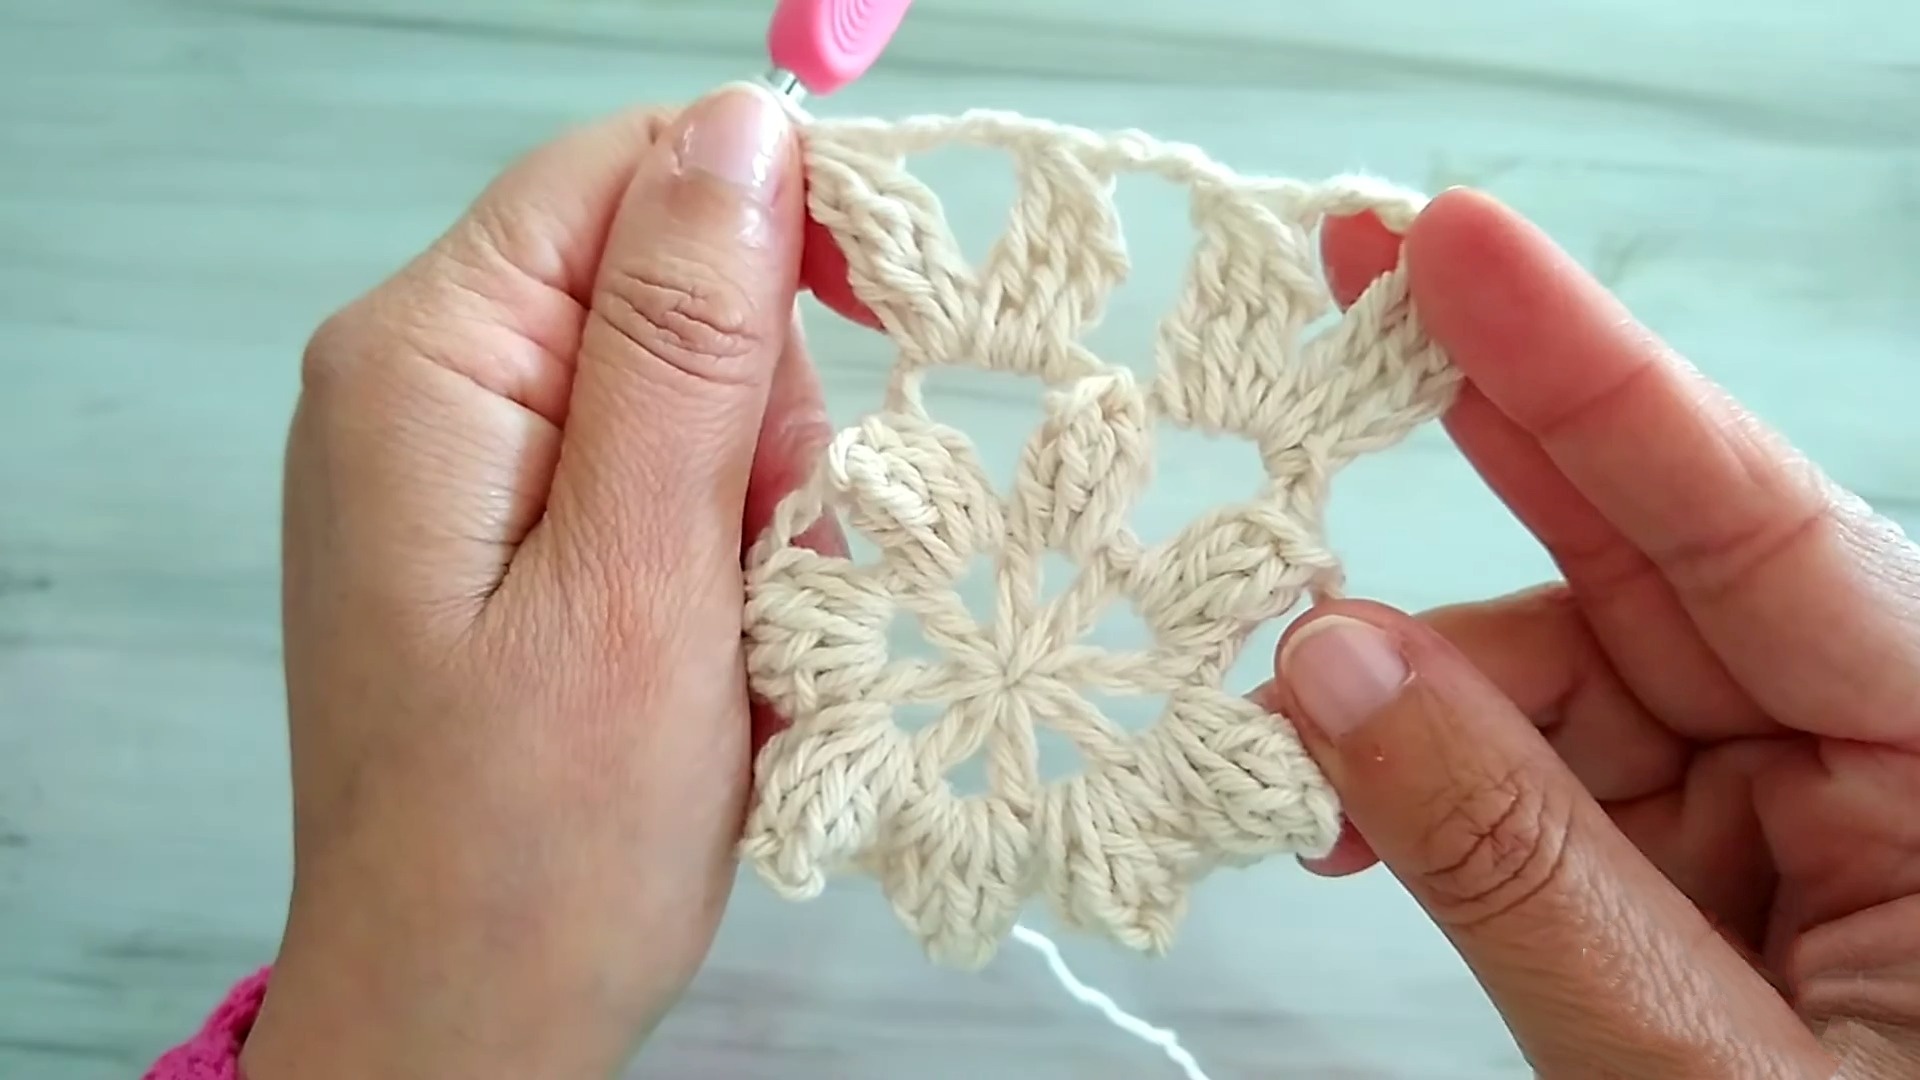
Step 2: First Round
CH 3 (acts as the first DC).
Work 2 DC into the center of the ring, creating your first cluster (CL).
CH 2, then repeat (3 DC, CH 2) three more times into the center of the ring.
This will leave you with four clusters of DCs separated by chain spaces.
SL ST into the top of the starting CH-3 to close the round.
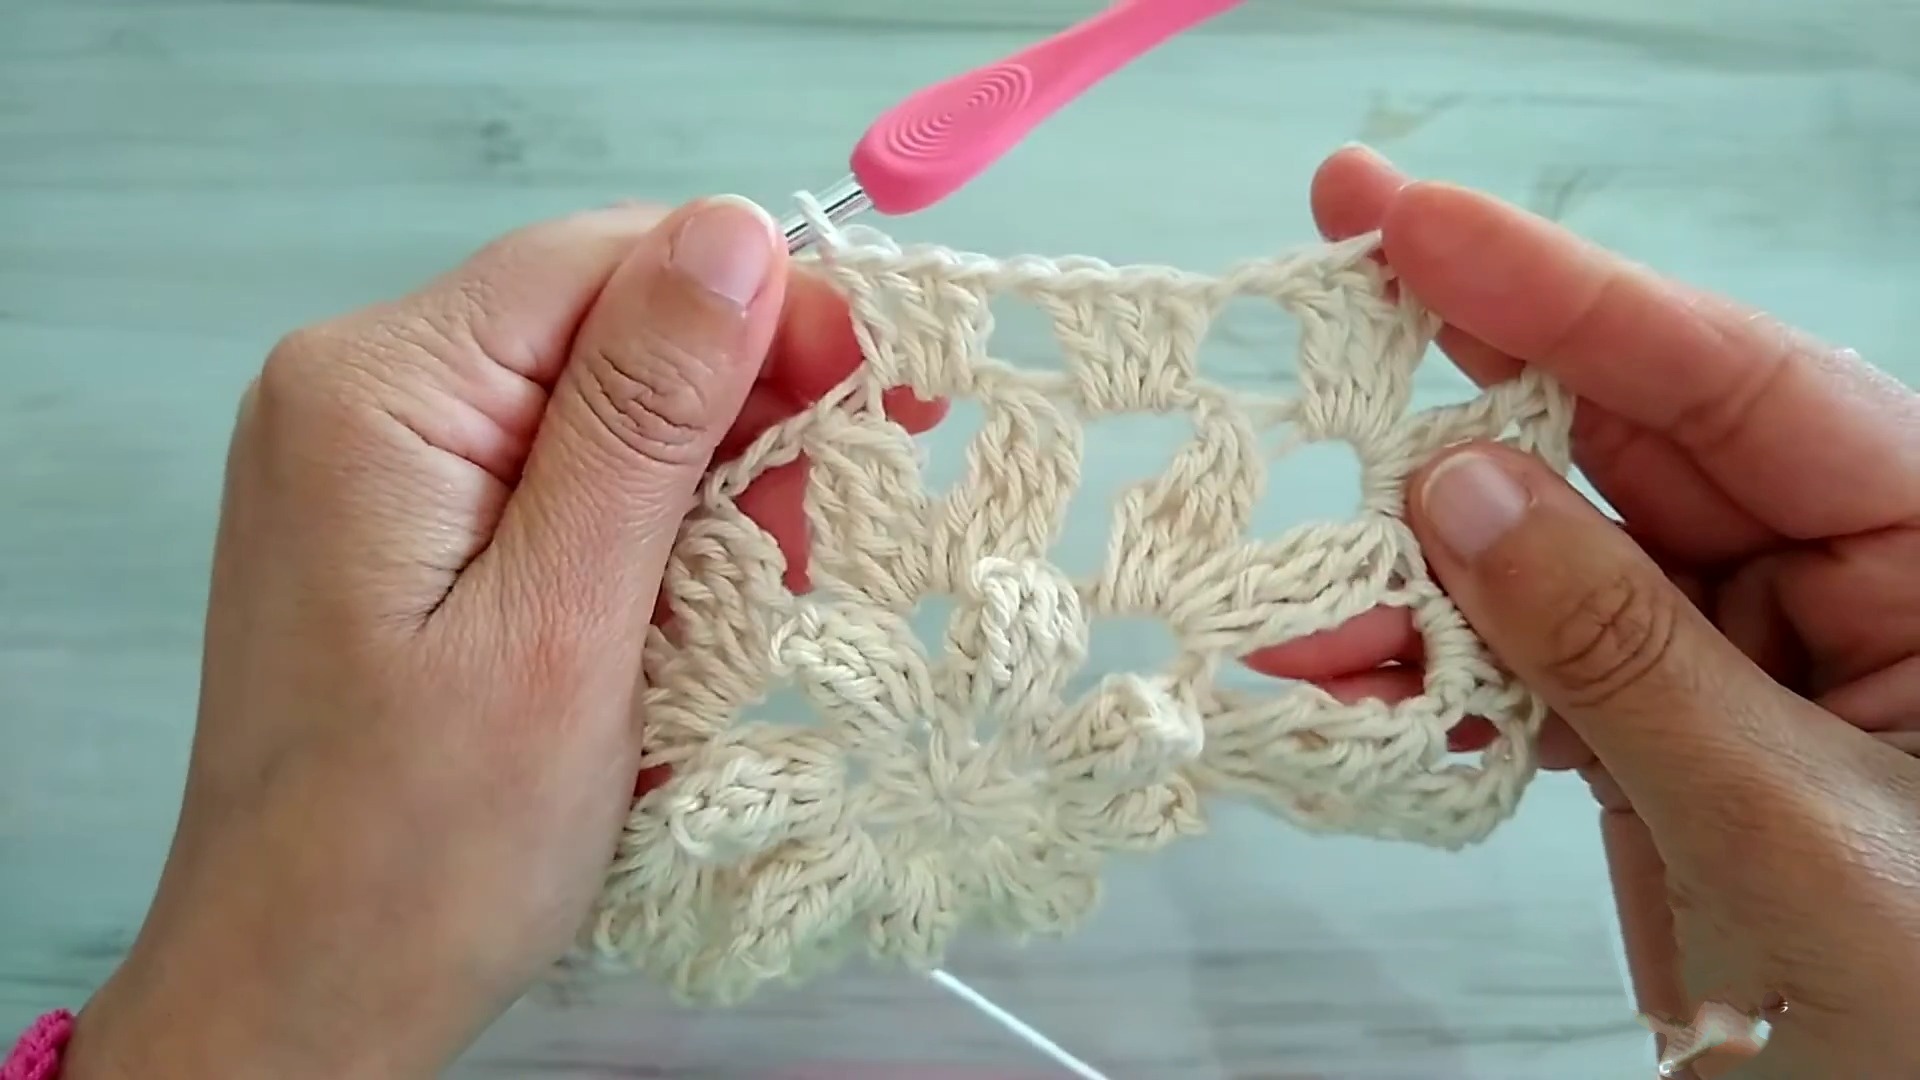
Step 3: Second Round
CH 3 (acts as the first DC).
Work 2 DC into the nearest CH space (corner space), then CH 2, and add 3 DC into the same space, creating a corner.
In the next CH space, work 3 DC, CH 2, and another 3 DC to form the next corner (repeat for all CH spaces in this round).
SL ST into the top of starting CH-3 to close the round.
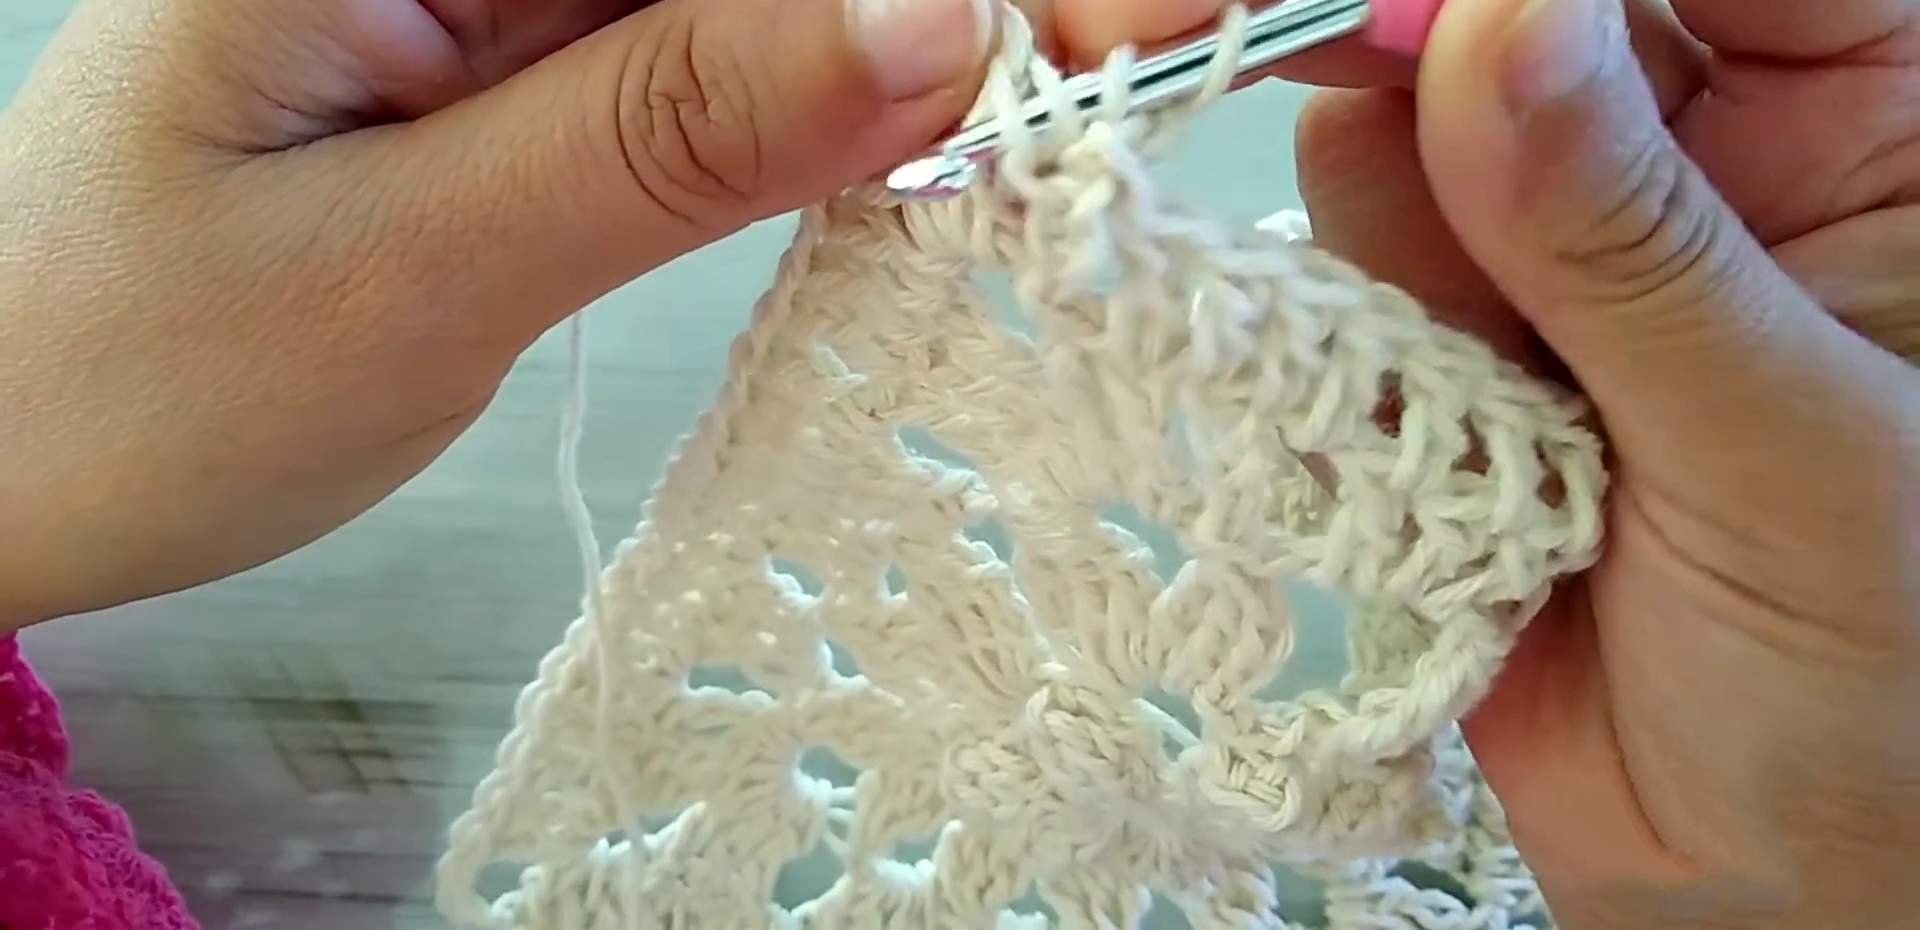
Step 4: Third Round
Switch to Color B (optional). Attach yarn to any corner.
CH 3 (acts as the first DC), 2 DC in the corner, then CH 2, and another 3 DC into the same corner.
Along the sides, work 3 DC into the larger gaps (between corner spaces). Repeat until you complete all corners and side gaps.
SL ST into the top of starting CH-3, fasten off.
Final Step: Weaving in Ends and Blocking
Use a yarn needle to weave in any loose ends.
If your coaster isn’t lying flat, lightly block it by dampening the square and pinning it into shape until dry.
Your Granny Square Coaster is now complete! Experiment with multiple colors in different rounds to create vibrant coasters perfect for any occasion.
Key to Success
- Use medium-thick yarn for a balance of durability and elegance.
- Choose a crochet hook size appropriate to the yarn thickness (recommendations include 5 MM and 3 MM sizes).
- Focus on achieving even and tight stitches for a clean finish.
- Start with a magic circle and follow patterns closely to ensure proportion.
- Experiment with colors to match your project theme or decor.