Crochet Pumpkin Key Holder

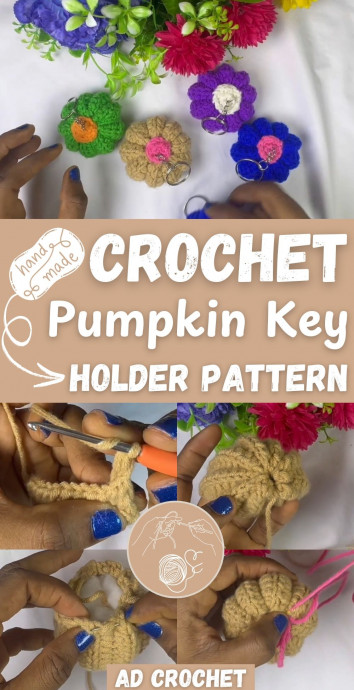
Hey there! Crochet Pumpkin Key Holders are not just practical but also super adorable. The charm of these handmade creations is that they add a cozy and crafty touch to your space while keeping your keys organized. Whether you hang them by the front door or use them as cute decorations around the house, these little pumpkins are sure to bring a smile to your face every time you reach for your keys. Plus, they make fantastic gifts for friends and family who appreciate unique and thoughtful handmade items. Embrace the autumn spirit and add a touch of whimsy to your everyday life with these charming Crochet Pumpkin Key Holders!
Materials Needed
- Worsted weight yarn in orange, pink (for topper), and a small amount of green or brown (optional for stem)
- Crochet hook (size appropriate for yarn, typically 4mm–5mm)
- Yarn needle
- Scissors
- Stuffing (cutting wool or leftover yarn)
- Keyring or lobster clasp
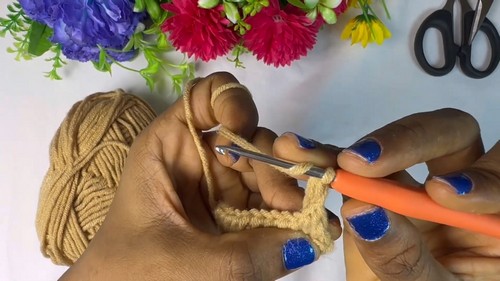
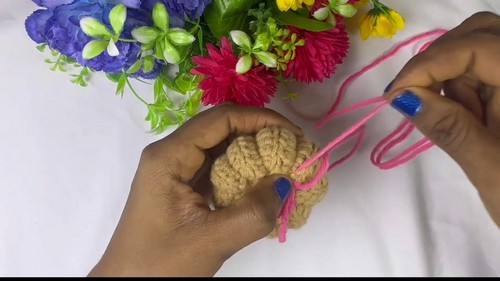
Pumpkin Body
Create a chain of 13.
Row 1: Work half double crochet (HDC) in each chain until the end.
Row 2: Turn the work, chain one, and work HDC in the back loop only across.
Repeat Row 2 until you complete 9 rows or reach your desired length.
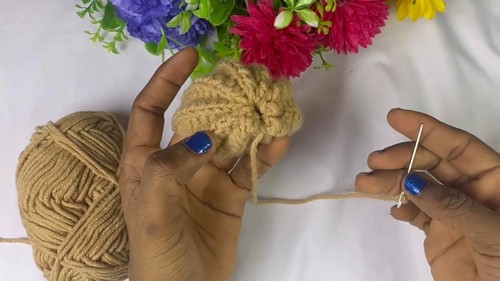
Shaping the Pumpkin
Fold the rectangle in half.
Use single crochet to close the sides.
Use a needle to sew the remaining open sides together.
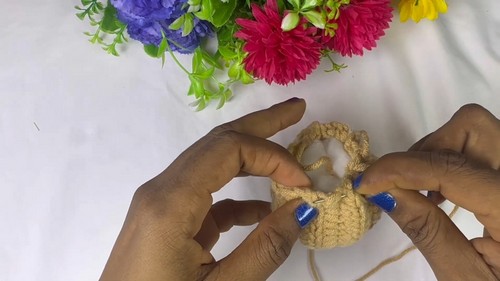
Turn the piece inside out.
Stuff the pumpkin with wool or yarn scraps.
Sew the top closed to form the pumpkin shape.
Creating the Ridges
Wrap yarn around the pumpkin several times from top to bottom.
Pull slightly to create visible pumpkin ridges.
Secure the wrapped yarn tightly at the center.
Adding the Topper and Loop
Use pink yarn to create a small decorative swirl or knot on top.
To create the key holder loop:
- Chain a small length (approx. 10–15).
- Attach to the top securely and fasten.
- Slip a keyring or clasp through the loop.
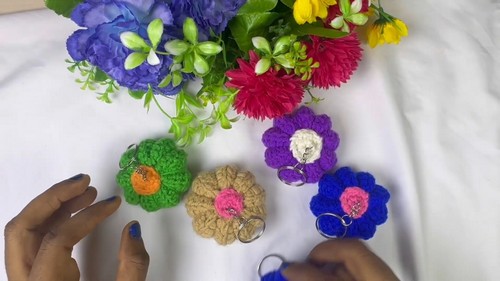
Finishing
Cut and secure all yarn ends neatly using your needle. Your crochet pumpkin key holder is now ready to use or gift!