Crochet Handmade Purse – A Unique and Stylish Accessory

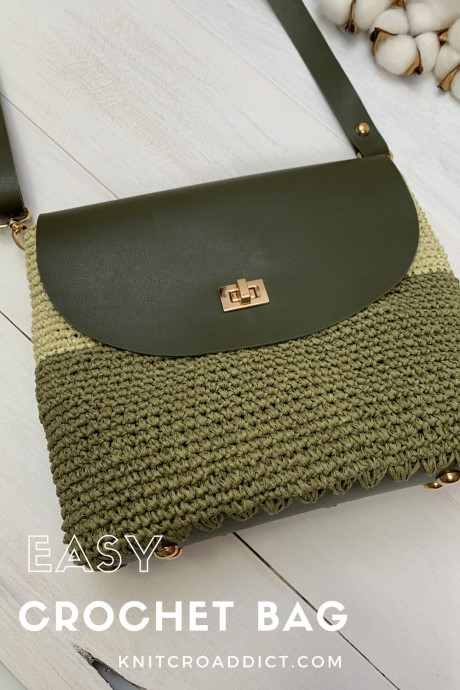
Looking for a unique accessory to add to your collection or gift to a loved one? A crochet handmade purse is a perfect choice! Handcrafted with care and attention to detail, these purses are not only stylish but also showcase the skill and creativity of the maker. Whether you want a pop of color, a classic design, or a personalized touch, a crochet handmade purse is a versatile accessory that can complement any outfit. Treat yourself or someone special to a one-of-a-kind piece that adds a touch of charm to every ensemble.
Materials Needed
Saddle bag leather set in color green
2 Colors of paper yarn, 230mm/251 yards of each skein
Color A: Green (150 yards)
Color B: Sage (120 yards)
Crochet hook size 2.5 mm
Scissors
Yarn needle
Stitch marker
Stitches Used & Code (US Terms)
sc = single crochet
REP = repeat
” = inches
Measurements
23″ Circumference X 8″ Tall
Notes
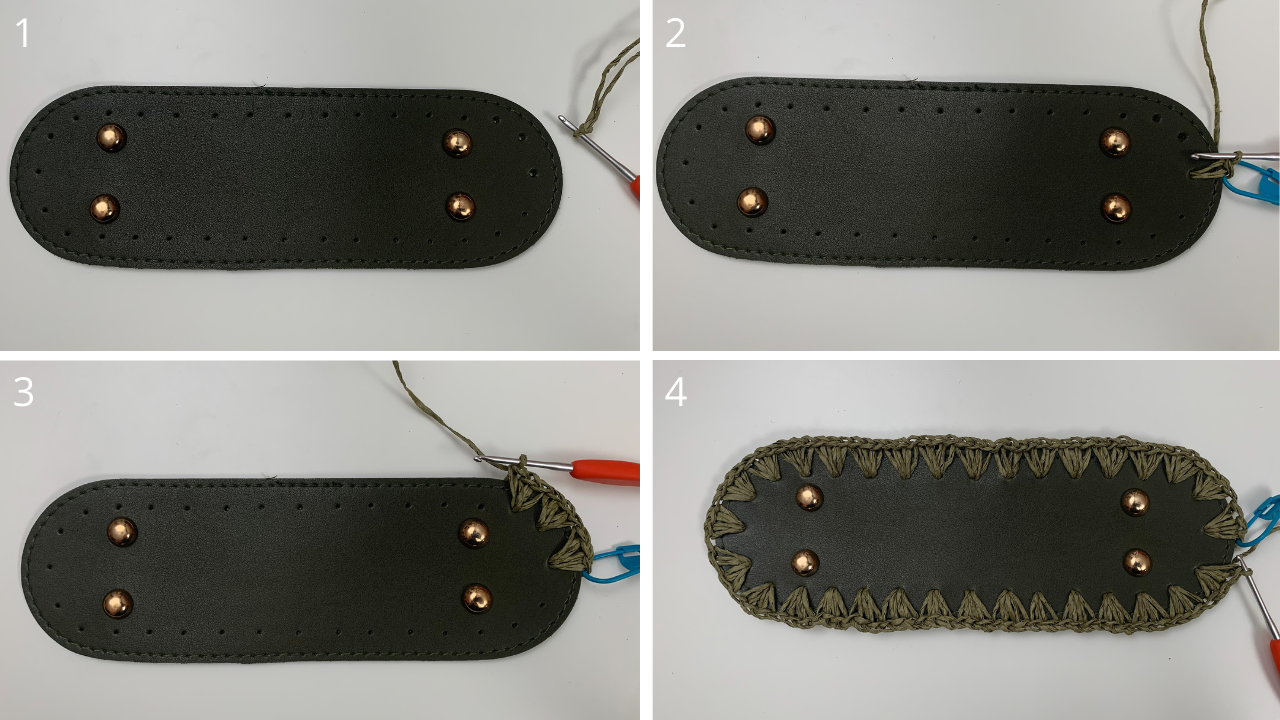
Place the bag bottom right side facing up; we’ll crochet on the right side. We’ll crochet the bag in a spiral, so make sure to place the stitch marker into the first stitch in every round.
Round Instructions
Round 1 (Color A): Make a slip knot and insert the hook into the slip knot. Then, insert the hook into the bag bottom at any hole that you prefer. Make 3 sc into each hole around the bag bottom (I have 32 holes on my bag bottom). Total of 96 sc. Check the picture below:
Round 2 (Color A): 1 sc into each stitch around. Total of 96 sc.
Rounds 3 – 20: REP Round 2 with Color A.
Rounds 21 – 36: REP Round 2 with Color B.
Finishing Touches
The end of round 36, cut the yarn and weave all the ends.
Sew the Flap to the Bag
To sew the cover flap to the bag, ensure your flap lines up in the center of the bag. You can sew your flap higher or lower, according to your preference; I sewed mine 4 rows from the top of the bag. Cut two new strands of yarn about 20″ long and hold them together. Sew together using your yarn needle and weave the ends. Check the picture below:

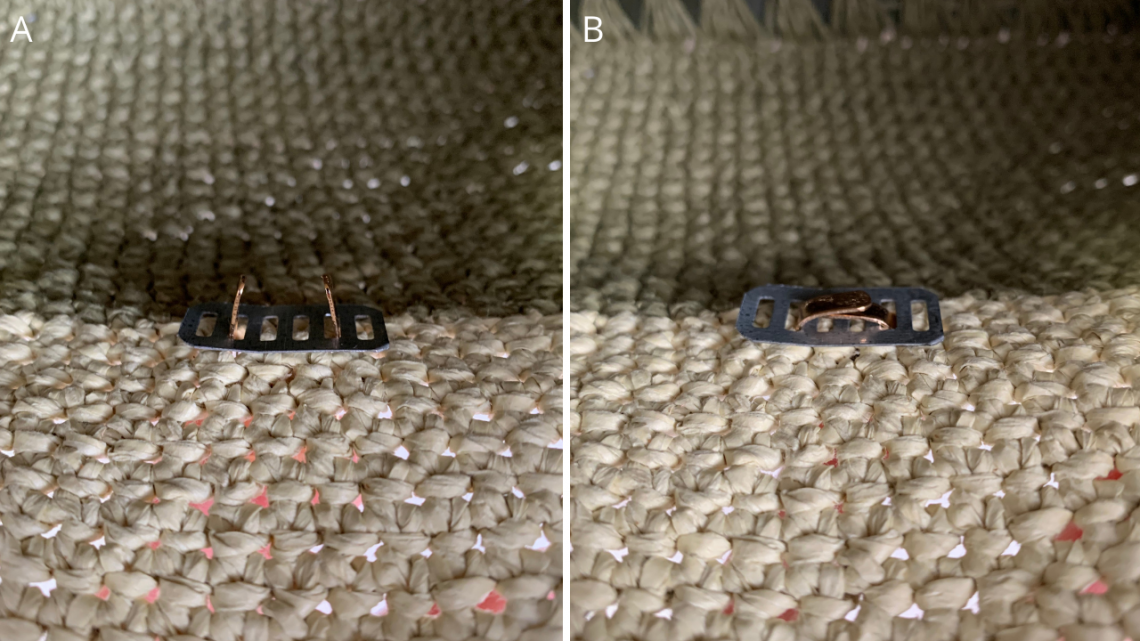
Adding the Latch
Line the latch up with the center of the bag as well. Depending on how low or high you want the cover flap to rest, line the latch up top to bottom. I chose to attach mine 13 rows down.
Affixing the Latch
The inside portion of the latch will have two prongs and a separate tab. Place the tab over the 2 prongs and bend them all the way over till the latch is secure. Check the picture below:
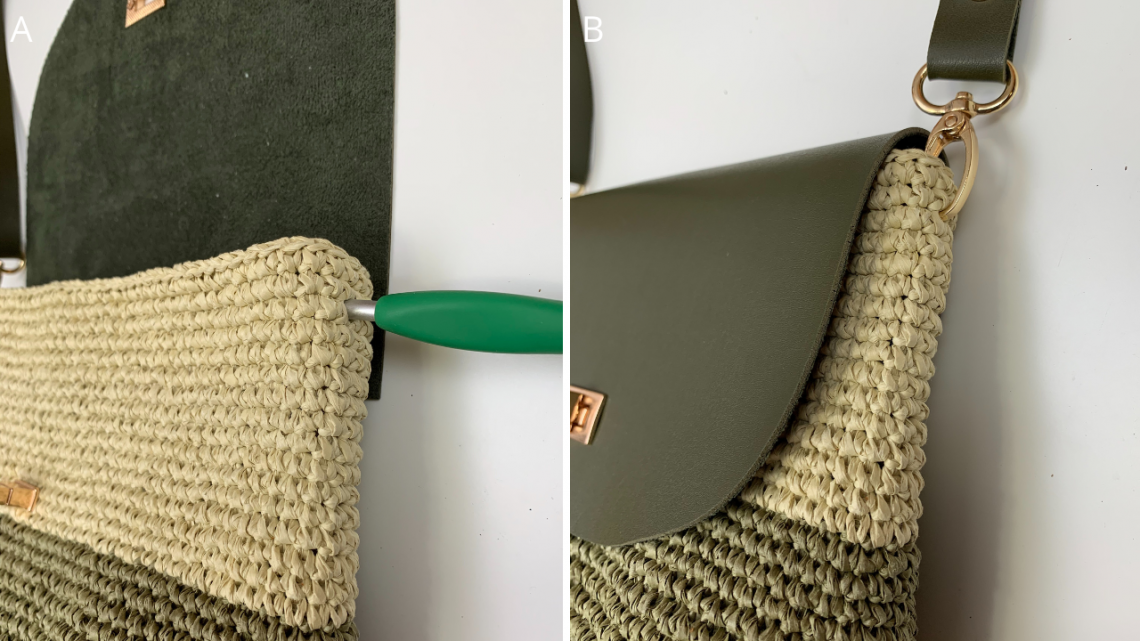
Attaching the Strap
You’ll need to open up a hole to attach the strap clasps. I used a 5 mm hook to open up a space two rows down from the top and centered to the side. Simply push the hook all the way through the space and then attach the strap. Check the picture below: