Crochet Handmade Bucket Bag

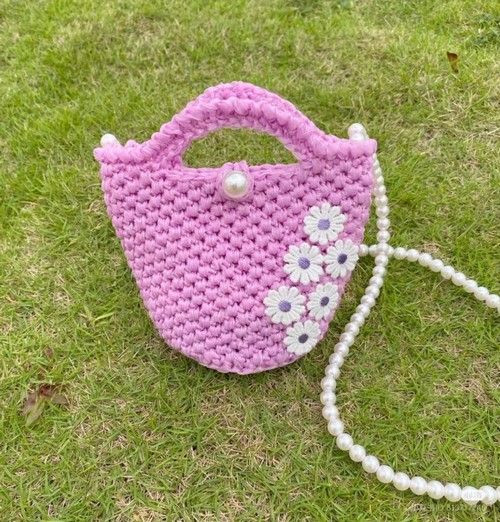
Looking for the perfect accessory to upgrade your style? Look no further than the Crochet Handmade Bucket Bag! This trendy and versatile bag is not only fashionable but also a practical choice for carrying all your essentials. Handcrafted with love and attention to detail, each bag is unique and adds a touch of charm to any outfit. Whether you're heading to the beach, running errands, or meeting friends for brunch, this bucket bag is sure to turn heads and make a statement. Embrace your individuality and support artisanal craftsmanship with this must-have accessory that combines style and sustainability in the most delightful way!
Materials
- 1 roll of 1.5 cm wide organza ribbon or similar sturdy yarn.
- Stitch markers.
- Crochet hook suitable for the ribbon.
- Yarn needle.
- Scissors.
- Lighter (optional, for sealing ribbon ends).
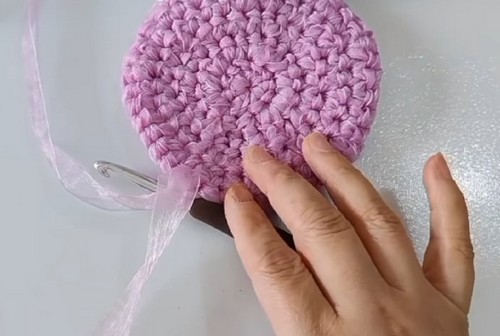
Base of the Bag
Preparing the Ribbon
Roll the organza ribbon into a small ball to make it easier to work with.
Use double strands for extra durability: hook two lines together before starting.
Magic Ring Foundation
Leave a short tail and form a magic ring with the double ribbon.
Work 10 single crochet (sc) stitches into the ring.
Secure the first stitch with a stitch marker to mark the beginning of the round.
Increasing Rounds
- Round 2: Work 2 sc into each stitch (20 sts total).
- Round 3: Alternate between 2 sc in one stitch and 1 sc in the next (30 sts).
- Round 4: Use a "3 sc, 1 inc" repeat pattern.
- Round 5: Use a "4 sc, 1 inc" repeat pattern.
Continue increasing with the formula: one more sc between each increase for each round. Make 5 increase rounds for a small/standard size bag. Add 1–2 extra rounds if you want a larger base.
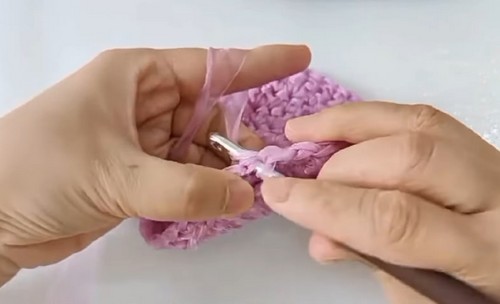
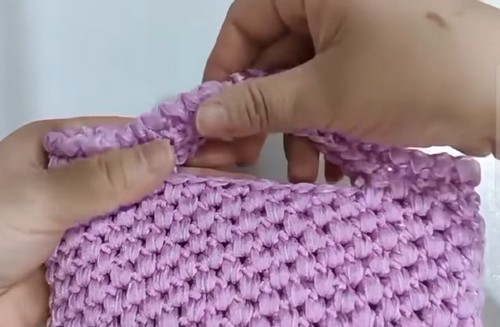
Body of the Bag
Stitch Pattern
Begin working in rounds without increases.
Use a combination of short and long stitches.
For each repeat: insert a short stitch, then insert a long stitch under the short stitch from the previous round.
Continue this pattern to form a textured fabric.
Height
Crochet the body up to 24 rows or to your preferred height.
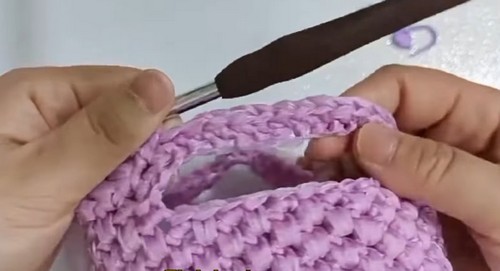
Handles
Placement
Divide the final round of the top edge into 4 equal parts. For a bag with 43 stitches, place handles after skipping 11 stitches from each side.
Creating Handles
Chain 15 stitches for each handle.
Attach each handle to its designated points on opposite sides of the bag.
Reinforcing the Handles
Crochet one full round of single crochet stitches around the top edge and over the handles. If the ribbon is too thick, use a needle to enlarge the holes before crocheting.
After completing the round, make 2 slip stitches to finish neatly.

Finishing Touches
Trim any excess ribbon.
Carefully melt the ends of the ribbon with a lighter to prevent fraying.
Use a yarn needle to weave in any remaining ribbon tails inside the stitches for a clean look.