Crochet Stretchy Headband Tutorial

Looking to add a touch of charm and comfort to your everyday look? Look no further than the Crochet Stretchy Headband! This versatile accessory combines style and functionality effortlessly. With its stretchy design, it provides a snug and comfortable fit, perfect for keeping your hair in place while adding a cute flair to your outfit. Whether you're heading to a casual brunch or a workout session, this headband is a must-have accessory that will keep you looking and feeling fabulous throughout the day.
Tools and Materials
To create your Crochet Stretchy Headband, you will need the following tools and materials:
- #4 Worsted Weight yarn (shown in Caron Cotton Cakes, “Hydrangea”)
- G hook (4 mm)
- Elastic hair tie (I got mine at Dollar Tree!)
- Scissors and yarn needle
Abbreviations
- st / sts – stitch, stitches
- hdc – half double crochet
- sc – single crochet
- sc3rdloop – single crochet in the exposed 3rd loop of the hdc in the previous round
- sl st – slip stitch
Instructions
Row Instructions
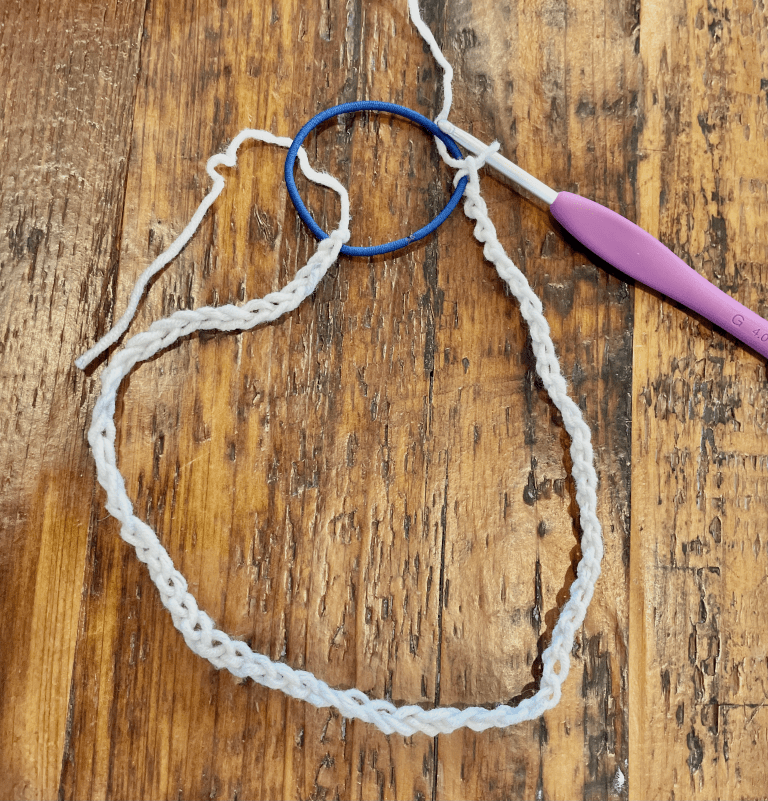
Row 1: Attach yarn to hair tie with a sl st and chain 60. Being careful not to twist the chain, attach to hair tie with another sl st as shown.
Row 2: Ch 1, turn and work a hdc in each chain. Sl st back into hair tie.
Row 3: Ch 1, turn and work a sc3rdloop in each st, sl st back into hair tie.
Row 4: Ch 1, turn and work a hdc in each st, sl st back into hair tie.
Row 5: Ch 1, turn and work a sc3rdloop in each st, sl st back into hair tie.
(Feel free to keep repeating rows 4-5 for a wider headband)
Row 6: Ch 1, turn and work a sc in each st, sl st back into hair tie.
Covering the Hair Tie
Now we will cover that ugly hair tie!
*Working over BOTH sides of the hair tie to completely cover it, work a repeating (sl st, ch 1) 20 times across the hair tie, sl st into the other side of the headband to close. I love the stretchy look of this stitch combo.
Fasten off and weave in ends.
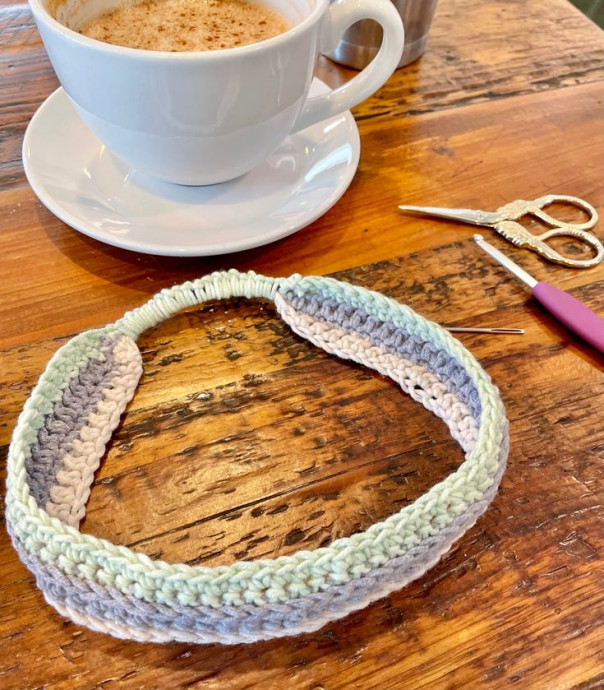
Your headband is ready to wear!