Deprecated: Creation of dynamic property myadv::$cms_config is deprecated in /home/www/web/craftorator.com/public_html/system/core/controller.php on line 156
Deprecated: Creation of dynamic property myadv::$cms_user is deprecated in /home/www/web/craftorator.com/public_html/system/core/controller.php on line 156
Deprecated: Creation of dynamic property myadv::$cms_config is deprecated in /home/www/web/craftorator.com/public_html/system/core/controller.php on line 156
Deprecated: Creation of dynamic property subscribe::$cms_config is deprecated in /home/www/web/craftorator.com/public_html/system/core/controller.php on line 156
Deprecated: Creation of dynamic property tune::$cms_config is deprecated in /home/www/web/craftorator.com/public_html/system/core/controller.php on line 156
Deprecated: Creation of dynamic property myvotes::$cms_config is deprecated in /home/www/web/craftorator.com/public_html/system/core/controller.php on line 156
Deprecated: Creation of dynamic property mybookmarks::$cms_config is deprecated in /home/www/web/craftorator.com/public_html/system/core/controller.php on line 156
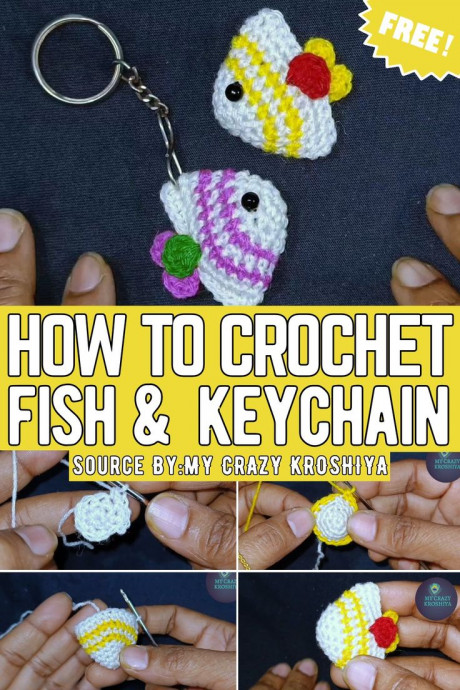
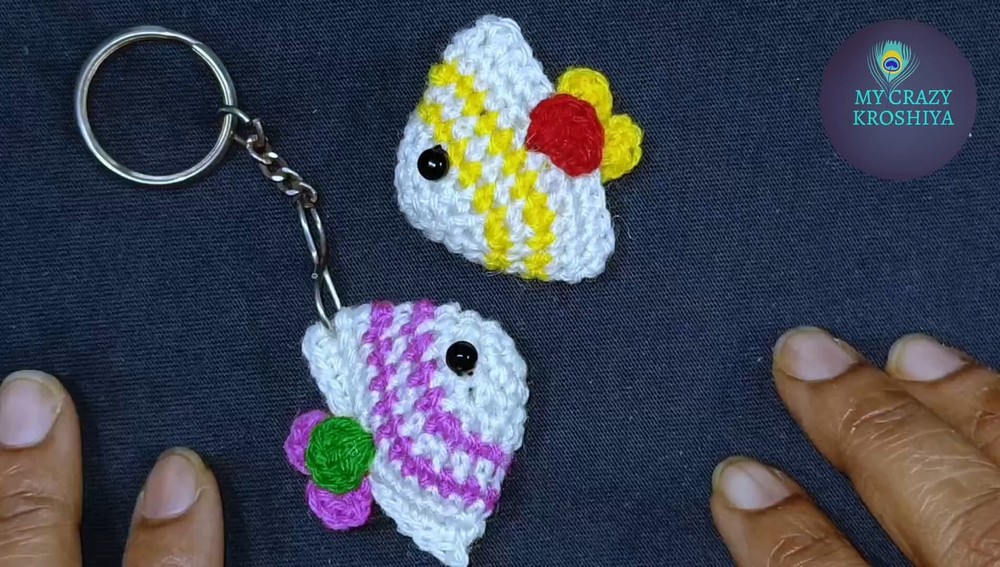
Crochet Fish Amigurumi Keychain Tutorial
Deprecated: Creation of dynamic property cmsCore::$cats_by_ids is deprecated in /home/www/web/craftorator.com/public_html/system/controllers/tune/frontend.php on line 1521

Deprecated: Creation of dynamic property printview::$cms_config is deprecated in /home/www/web/craftorator.com/public_html/system/core/controller.php on line 156
Deprecated: Creation of dynamic property tune::$cms_config is deprecated in /home/www/web/craftorator.com/public_html/system/core/controller.php on line 156
Deprecated: Creation of dynamic property tune::$cms_config is deprecated in /home/www/web/craftorator.com/public_html/system/core/controller.php on line 156
Deprecated: Creation of dynamic property myadv::$cms_config is deprecated in /home/www/web/craftorator.com/public_html/system/core/controller.php on line 156
Deprecated: base64_decode(): Passing null to parameter #1 ($string) of type string is deprecated in /home/www/web/craftorator.com/public_html/system/controllers/myadv/model.php on line 30
Deprecated: base64_decode(): Passing null to parameter #1 ($string) of type string is deprecated in /home/www/web/craftorator.com/public_html/system/controllers/myadv/model.php on line 30
Deprecated: Creation of dynamic property myadv::$cms_config is deprecated in /home/www/web/craftorator.com/public_html/system/core/controller.php on line 156
Deprecated: Creation of dynamic property myadv::$cms_user is deprecated in /home/www/web/craftorator.com/public_html/system/core/controller.php on line 156
Deprecated: Creation of dynamic property myadv::$cms_config is deprecated in /home/www/web/craftorator.com/public_html/system/core/controller.php on line 156
Deprecated: Creation of dynamic property myadv::$cms_config is deprecated in /home/www/web/craftorator.com/public_html/system/core/controller.php on line 156
Deprecated: Creation of dynamic property myadv::$cms_user is deprecated in /home/www/web/craftorator.com/public_html/system/core/controller.php on line 156
Deprecated: Creation of dynamic property tune::$cms_user is deprecated in /home/www/web/craftorator.com/public_html/system/core/controller.php on line 156
Deprecated: Creation of dynamic property tune::$image_index_to_html is deprecated in /home/www/web/craftorator.com/public_html/system/controllers/tune/frontend.php on line 3176
Deprecated: Creation of dynamic property myadv::$cms_config is deprecated in /home/www/web/craftorator.com/public_html/system/core/controller.php on line 156
Crochet Fish Amigurumi Keychains are just the cutest addition to your keys or bags! These little handmade treasures bring a touch of whimsy and charm wherever you go. With their vibrant colors and intricate details, they not only personalize your belongings but also spread joy to anyone who catches a glimpse of them. Whether you're a crochet enthusiast or just love unique accessories, these mini fish amigurumi keychains are sure to make you smile every time you reach for your keys.
Materials Needed
- Yarn: Yellow and blue yarn (soft acrylic or cotton yarn is recommended).
- Crochet hook: Ensure it matches the yarn size (e.g., 3.5mm or 4mm).
- Marker: To track rounds and stitches.
- Fiber filling: To stuff the fish.
- Scissors: For trimming the yarn.
- Large-eye needle: For sewing parts together.
Abbreviations
- MR: Magic Ring
- SC: Single Crochet
- Dec: Decrease
- Ch: Chain
- Sl St: Slip Stitch
Step-by-Step Pattern
Part 1: Body
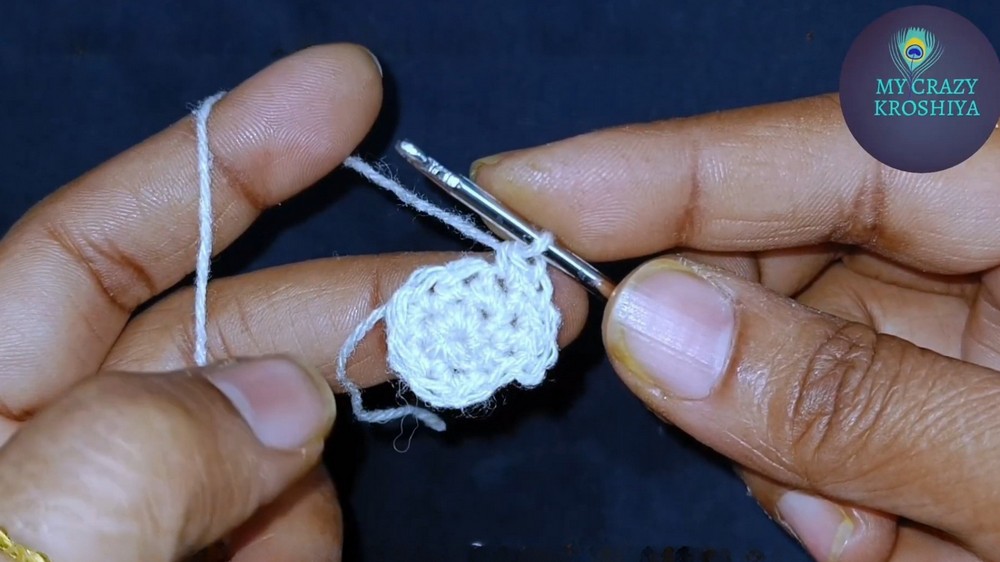
Round 1
Start with a magic ring. Make 5 single crochets (SC) into the ring.
Round 2
Create a marker where your round starts. Crochet 1 SC into each chain (5 SC total).
Round 3-8
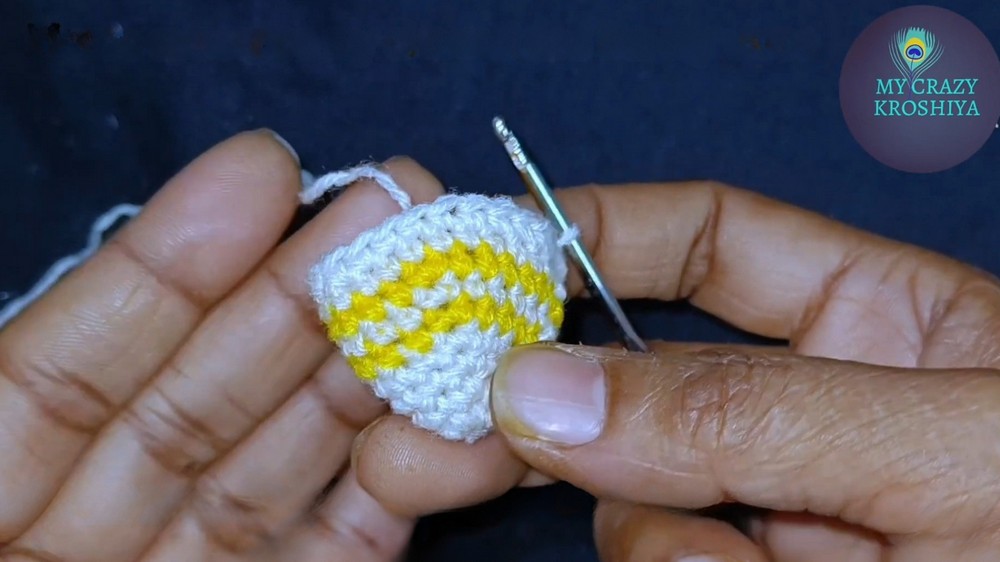
Crochet 1 SC into each chain, repeating for each round. Total stitches will increase to 36 SC by the end of Round 8.
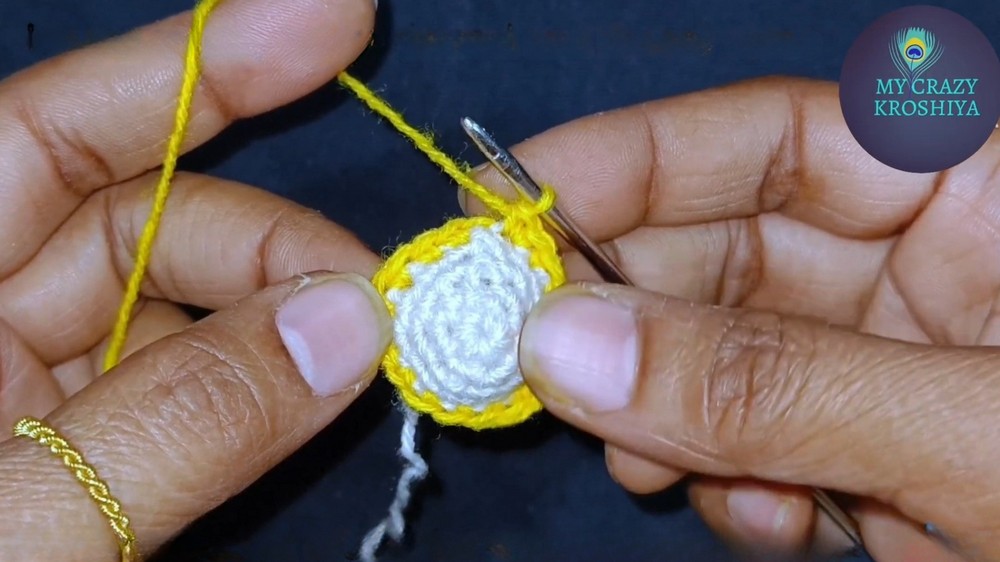
Round 9
Crochet 1 SC into each chain in the round. Adjust yarn colors: Attach blue yarn after 20 stitches, and continue working with yellow yarn after another 16 stitches.
Round 10-14
Repeat the same steps for changing colors as described in Round 9.
Round 15-16
Continue creating rounds using alternating blue and yellow yarn. Round 16: Adjust the pattern for decreases by reducing 1 SC every few stitches.
Round 17-18
Begin stuffing the body with fiber filling. Crochet decreases and finalize shaping the fish body. Leave a long thread for sewing.
Part 2: Tail
Create 10 chains for the tail's foundation. Skip 1 stitch, and crochet a single crochet (SC) into the next chain. Continue crocheting along the foundation row. Follow the instructions to decrease at the base of the tail and form the tail shape.
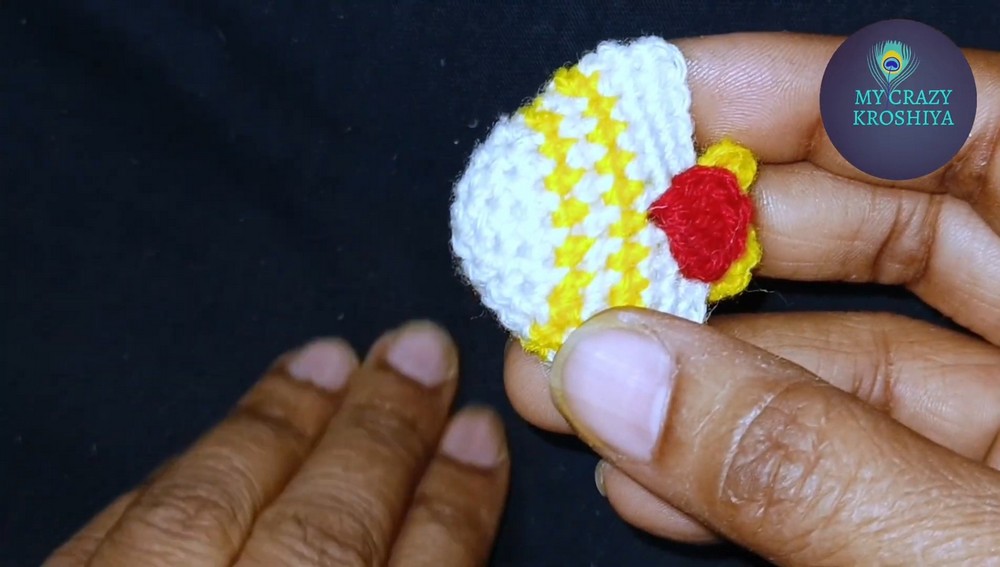
Part 3: Fins
First Fin
Start with a magic ring, and complete a small round with SC stitches. Repeat as needed to shape the fin. Switch to the blue yarn towards the end to add detail.
Second Fin
Create a foundation with 16 chains. Follow the shaping and decreasing pattern for the fin as described for the first fin.
Final Assembly
Attach all parts (tail, fins) to the body using a needle and thread. Ensure the seams are tight and secure. Check that the filling is evenly distributed.
Deprecated: Creation of dynamic property tune::$cms_config is deprecated in /home/www/web/craftorator.com/public_html/system/core/controller.php on line 156
Deprecated: Creation of dynamic property myadv::$cms_config is deprecated in /home/www/web/craftorator.com/public_html/system/core/controller.php on line 156
Deprecated: Creation of dynamic property myadv::$cms_config is deprecated in /home/www/web/craftorator.com/public_html/system/core/controller.php on line 156
Deprecated: Creation of dynamic property myadv::$cms_user is deprecated in /home/www/web/craftorator.com/public_html/system/core/controller.php on line 156
Deprecated: Creation of dynamic property Myseo::$cms_config is deprecated in /home/www/web/craftorator.com/public_html/system/core/controller.php on line 156
Deprecated: Creation of dynamic property tune::$cms_config is deprecated in /home/www/web/craftorator.com/public_html/system/core/controller.php on line 156
Deprecated: preg_match_all(): Passing null to parameter #2 ($subject) of type string is deprecated in /home/www/web/craftorator.com/public_html/system/controllers/tune/frontend.php on line 688
Deprecated: Creation of dynamic property Myseo::$cms_template is deprecated in /home/www/web/craftorator.com/public_html/system/core/controller.php on line 156
Deprecated: Creation of dynamic property cmsCore::$renderedContentItem is deprecated in /home/www/web/craftorator.com/public_html/templates/m1/controllers/content/item_view.tpl.php on line 6
Deprecated: Creation of dynamic property tune::$cms_config is deprecated in /home/www/web/craftorator.com/public_html/system/core/controller.php on line 156
Deprecated: Creation of dynamic property myadv::$cms_config is deprecated in /home/www/web/craftorator.com/public_html/system/core/controller.php on line 156
Deprecated: Creation of dynamic property myadv::$cms_config is deprecated in /home/www/web/craftorator.com/public_html/system/core/controller.php on line 156
Deprecated: Creation of dynamic property myadv::$cms_user is deprecated in /home/www/web/craftorator.com/public_html/system/core/controller.php on line 156
Deprecated: Creation of dynamic property tune::$cms_config is deprecated in /home/www/web/craftorator.com/public_html/system/core/controller.php on line 156
Deprecated: Creation of dynamic property tune::$cms_config is deprecated in /home/www/web/craftorator.com/public_html/system/core/controller.php on line 156
Deprecated: Creation of dynamic property myreauth::$cms_config is deprecated in /home/www/web/craftorator.com/public_html/system/core/controller.php on line 156
Deprecated: Creation of dynamic property tune::$cms_config is deprecated in /home/www/web/craftorator.com/public_html/system/core/controller.php on line 156
Deprecated: Creation of dynamic property tune::$cms_config is deprecated in /home/www/web/craftorator.com/public_html/system/core/controller.php on line 156