Crochet Wispweave Square Dishcloth

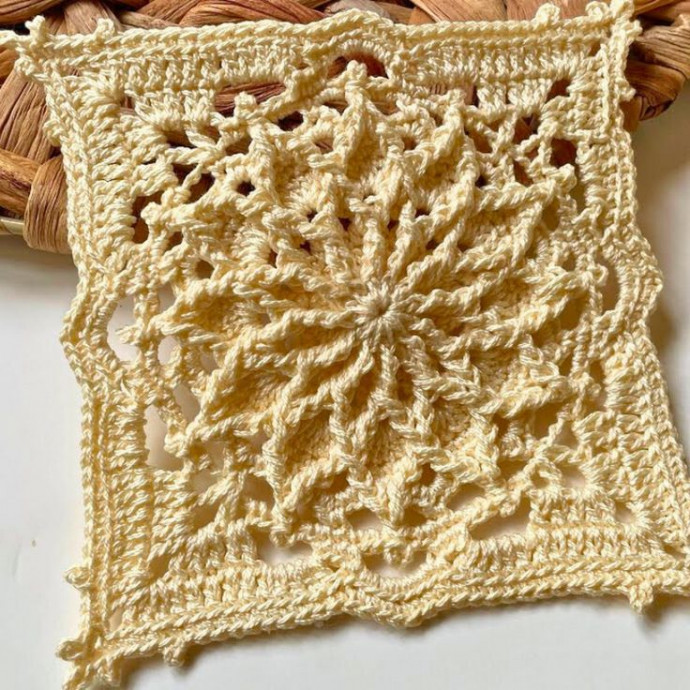
The Crochet Wispweave Square Dishcloth is the perfect addition to your kitchen! This charming dishcloth combines functionality with a touch of handmade elegance. Its intricate wispweave design adds a delightful texture, making it not only great for scrubbing dishes but also a lovely accent in your home. Crocheted with care, this dishcloth is durable and can be easily tossed in the wash for reuse. Say goodbye to boring dishcloths and hello to a cheerful and practical addition to your kitchen essentials!
Materials and Preparation
To create the Wispweave Square pattern, you will need the following materials:
Yarn: Cotton yarn. The tutorial uses Anchor brand cotton yarn.
Crochet Hook: 1.5mm crochet hook.
Additional Tools: Scissors, yarn needle (to weave in ends).
Yarn Weight Requirements: Light or fingering weight cotton yarn is recommended for this project.
Abbreviations and Notes
Below is a list of all abbreviations used in the pattern:
| Abbreviation | Explanation |
|---|---|
| CH | Chain |
| SL ST | Slip Stitch |
| SC | Single Crochet |
| DC | Double Crochet |
| TR | Treble Crochet |
| PST | Post Stitch |
| FP | Front Post |
| CL | Cluster |
| PE | Picot (chain and slip stitch for decorative points) |
Important Notes
- Chains at the beginning of rounds count as the first stitch.
- Ensure you work tight and uniform stitches to maintain the square shape.
- The FP (front post) stitches are worked around the posts of the stitches from previous rows for added texture.
- You'll need to block the finished square for the best results.
Gauge, Approximate Size, and Pattern Notes
Gauge: 8 stitches × 8 rows in SC = 1 inch.
Approximate Finished Size: 10 cm x 10 cm (4 in. x 4 in.).
Pattern Notes:
- The Wispweave Square involves textured stitches created with front post techniques and clusters.
- Blocking is recommended after the project is completed to highlight the intricate patterns.
- Ensure you maintain consistent tension to keep the square even.
Step-by-Step Pattern
Round 1
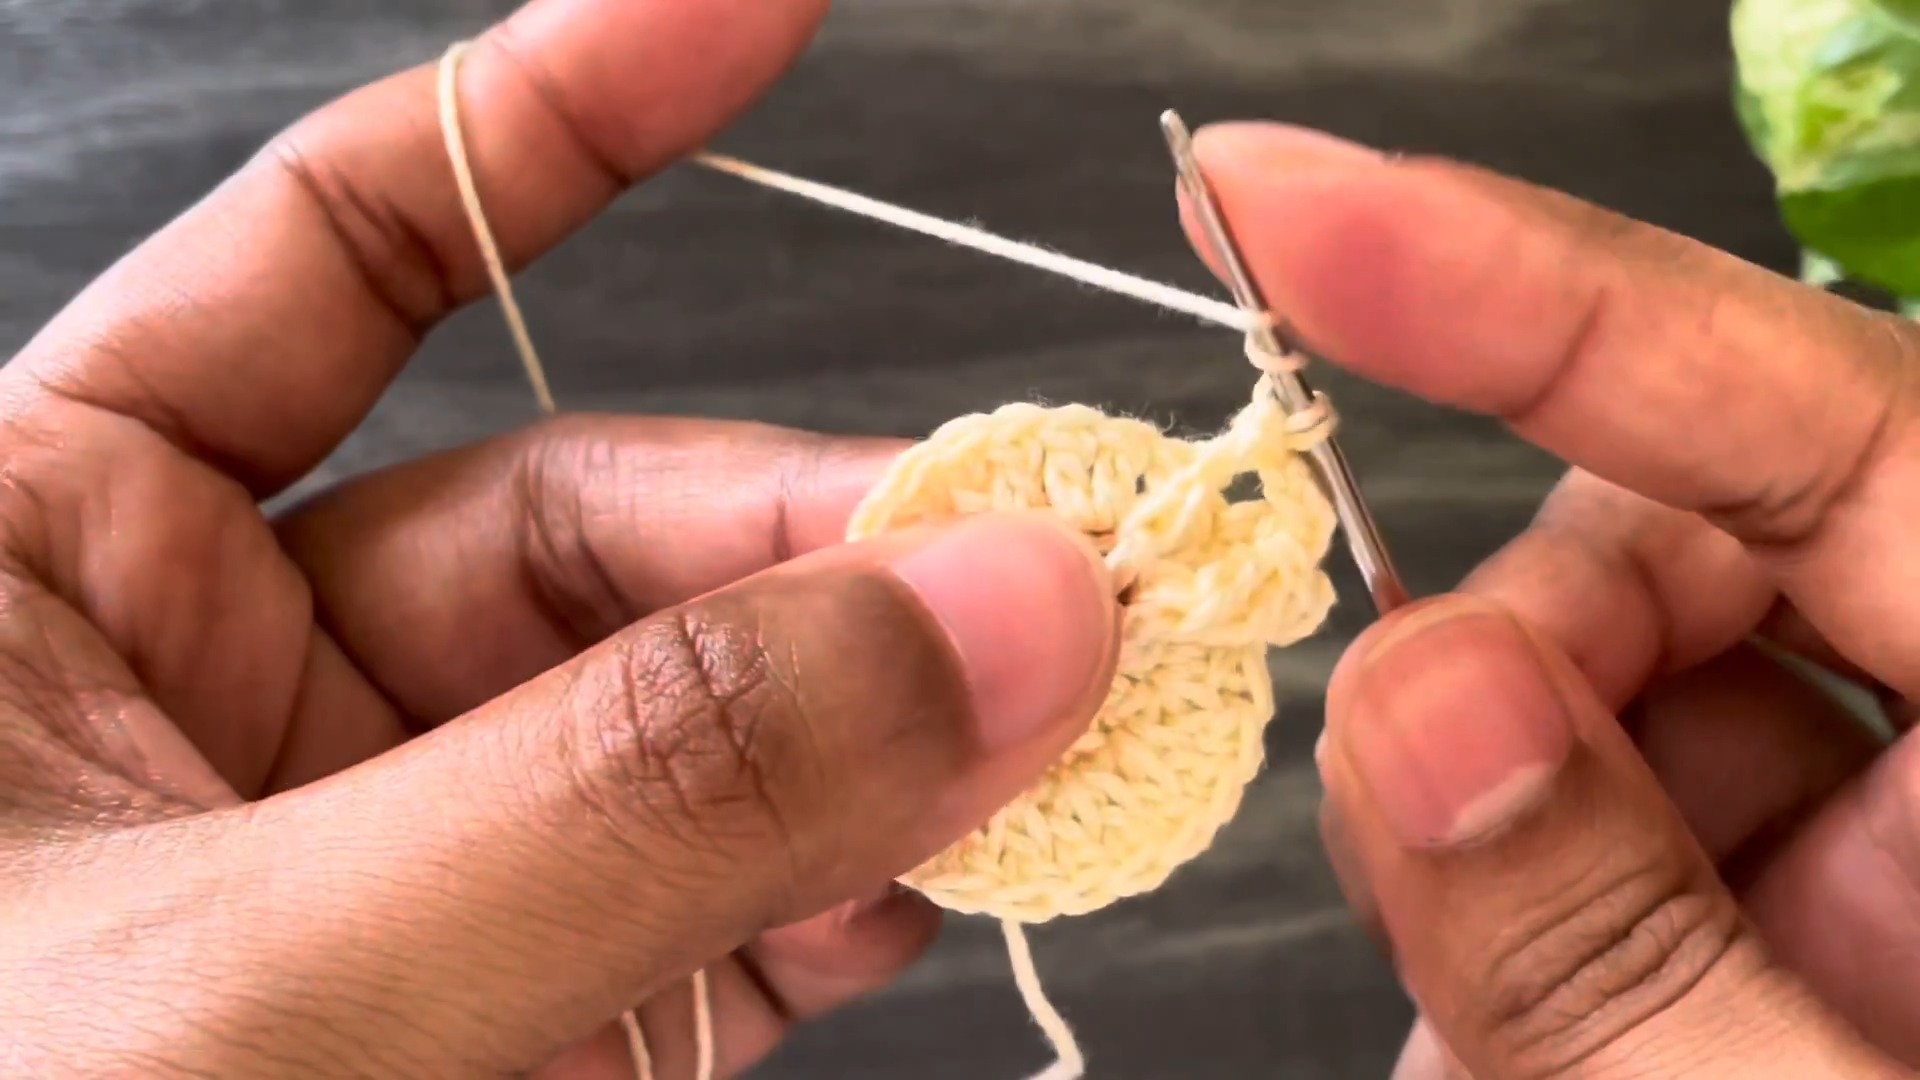
Begin with a slip knot. CH 4, and join into a ring with a SL ST. CH 3 (counts as the first DC), then work 11 DCs into the ring.
SL ST into the top of the beginning CH-3. (Total: 12 DCs)

Round 2
CH 3 (counts as the first DC). Work 1 DC into the same stitch. Work 2 DCs in each stitch around for a total of 24 DCs. Join with a SL ST into the top of the beginning CH-3.
Round 3
CH 3 (counts as the first DC). Work 2 FP Tr Cl (Two-Post Treble Crochet Cluster) in the CH-3 from Round 1:
Yarn over (YO) twice, insert the hook from front to back around the post of the CH-3. YO and pull up a loop. [YO, pull through two loops] twice. Do not finish the TR.
Repeat this twice more, then YO and pull through all loops on the hook. Work 1 DC in the next stitch, CH 3. Repeat the following: DC into the next chain space, then work a Front Post TR Cluster (FPTr CL) into the next space. Continue until all FP TR CL stitches are complete.
Join with an SL ST and finish the round (24 stitches and front-post clusters).

Round 4
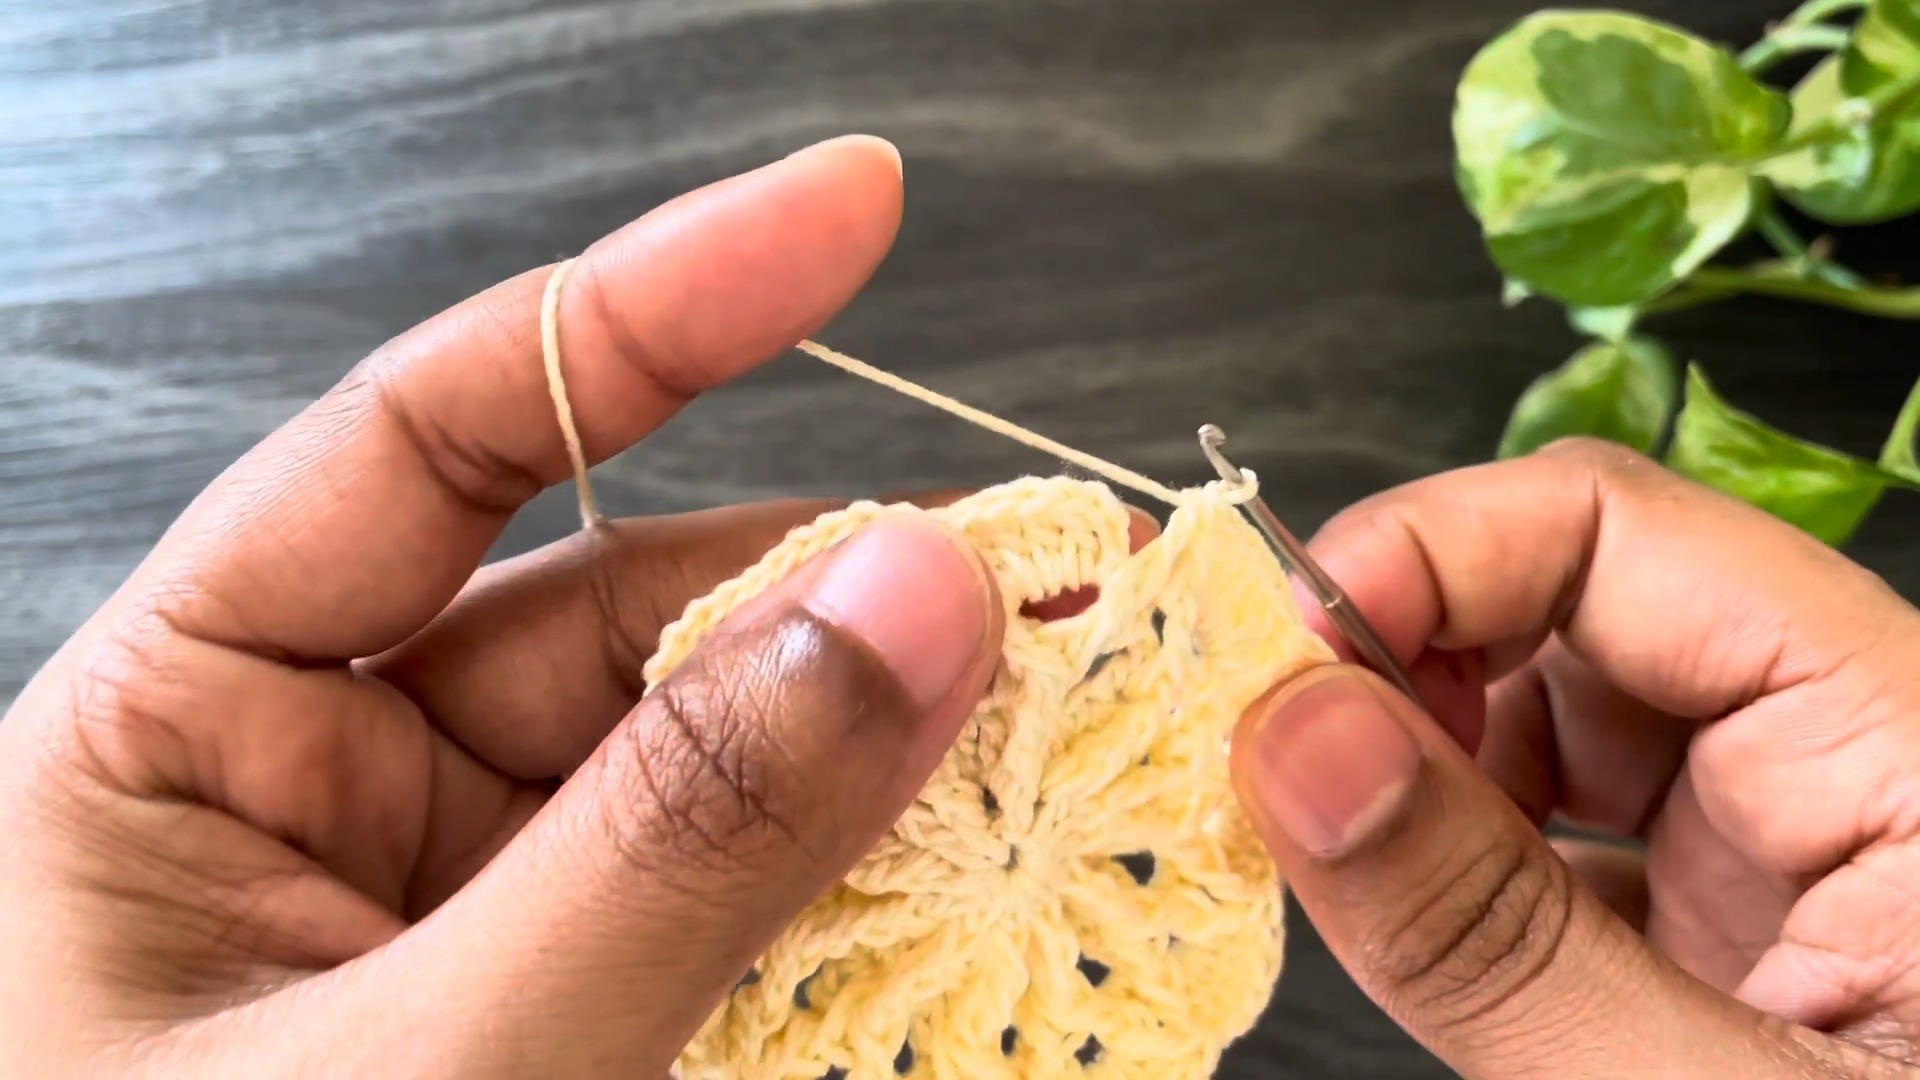
CH 1 and SC into the same space. Work front post double crochet (FP DC) into the front-post clusters of the previous row. After each FP DC, CH 3 and SC into the next CH-3 space. Continue this pattern to the end. SL ST to the beginning SC.
Round 5
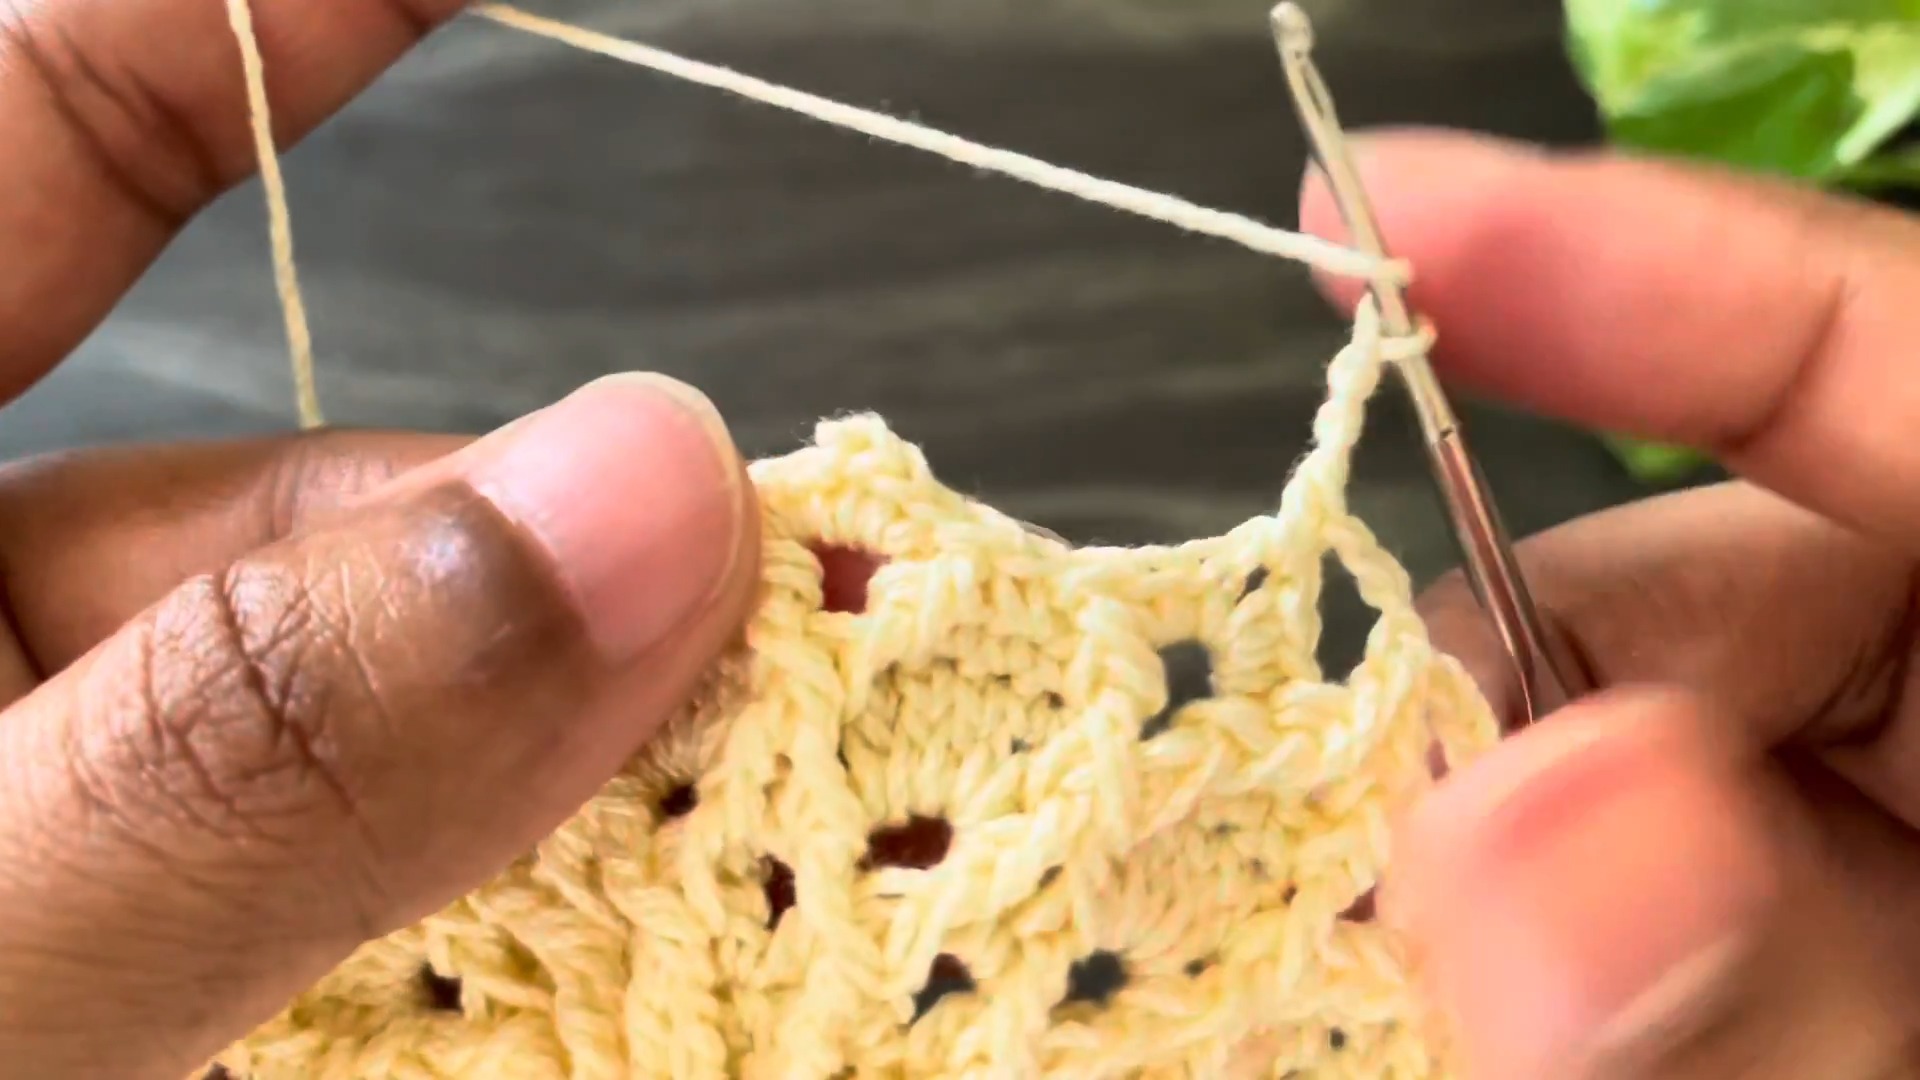
Work SL ST into the next chain space. CH 3 (first DC). Work 4 DCs into the current space (total: 5 DCs).
Work FP DC decreases across the next two FP DCs (combine the two FP DC into one by YO, inserting the hook into the first post, drawing up a loop, pulling through), then finish with CH 3.
Alternate DC stitches and FP decreases around. SL ST to complete the round.
Continue this structure for subsequent rounds:
- Rounds 6–8:
- Introduce Picot stitches (PE) at key points to create texture and edging details.
- Work evenly spaced SC and DC combinations, maintaining front post techniques where specified.
Round 9 (Adding Corners)
Begin creating clear square corners for the motif. Incorporate CH-3 spaces at corners for easier alignment in the final block.

Final Round (10):
Finish with a round of SCs worked into back loops only for a defined edge. Add Picot (PE) details at the corner points for decoration.
Finishing Touches
Weave in all remaining yarn ends using a darning needle. Block the square by pinning it onto a foam board and spraying it lightly with water to shape and set. Allow it to fully dry.
