Crochet the Flora Granny Square


Crochet the Flora Granny Square
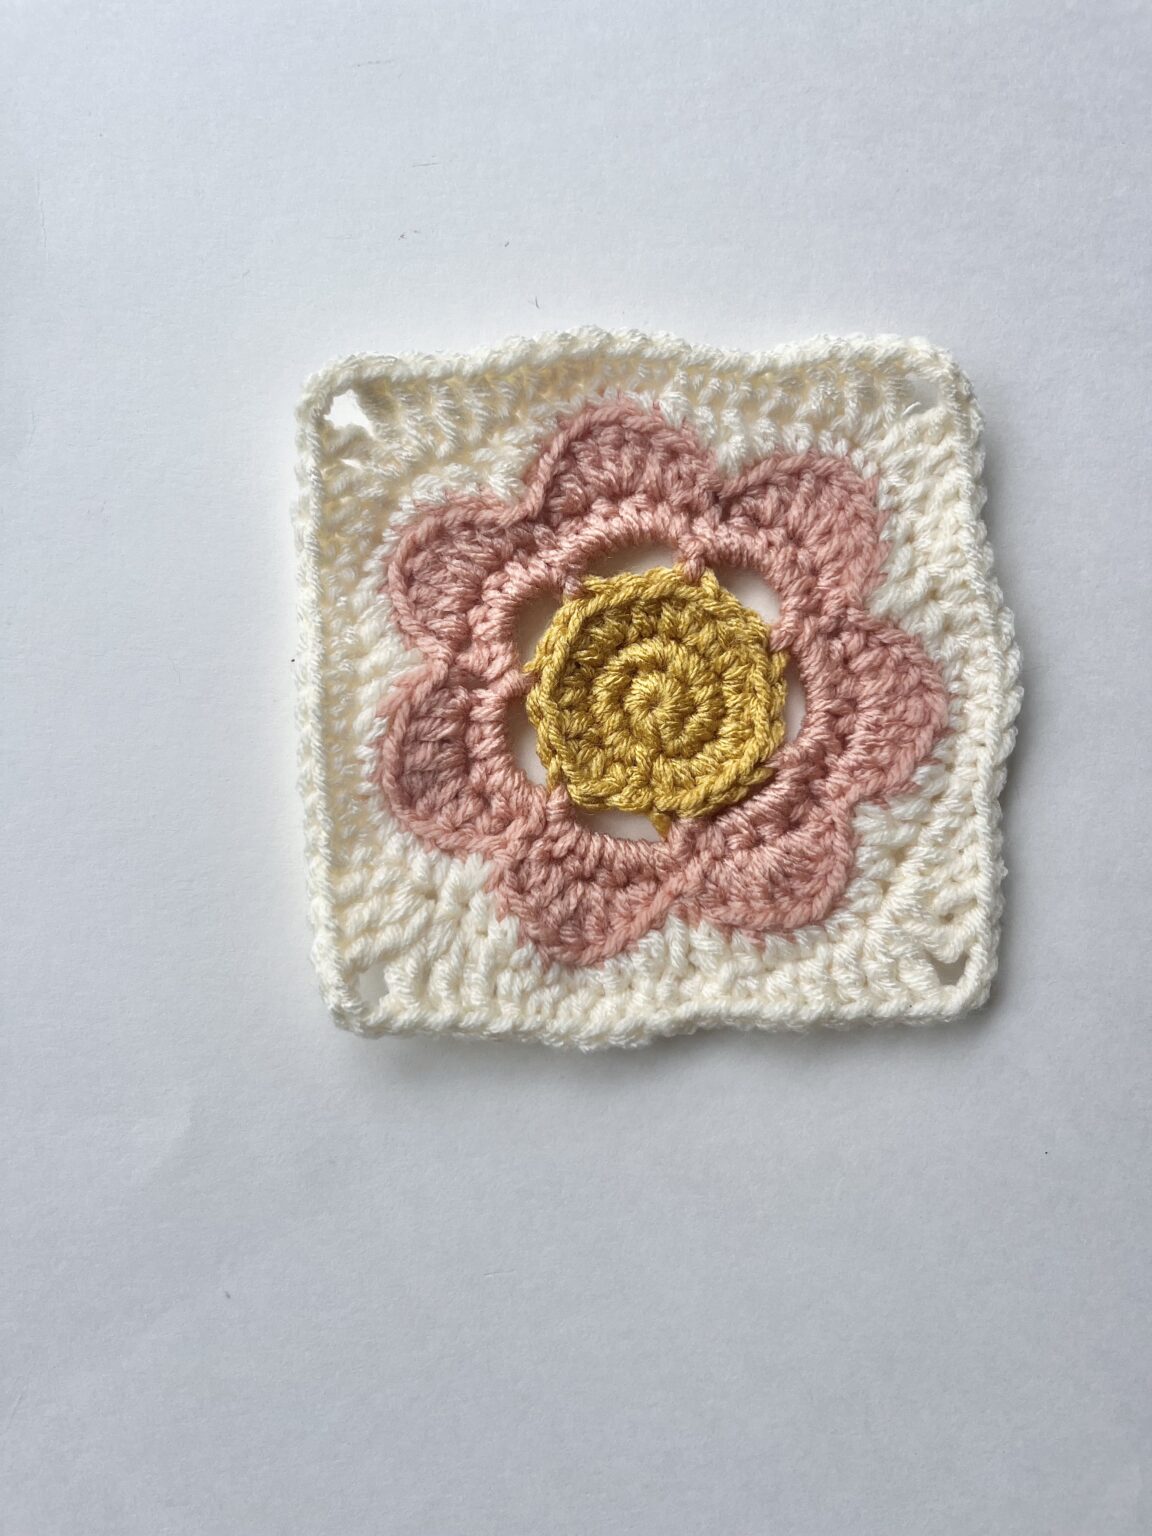
Crocheting the Flora Granny Square can be such a delightful experience! The intricate floral pattern with its vibrant colors is sure to bring a touch of charm to any project you incorporate it into. Whether you're a beginner or a seasoned crocheter, this pattern offers a fun and rewarding challenge. From choosing your favorite yarn to completing each stitch with love and care, creating the Flora Granny Square allows you to showcase your creativity and craftsmanship in a truly beautiful way. So grab your crochet hook and let's dive into a world of colorful blooms and endless possibilities!
Materials
Hook(s)
4.0 mm • US size G
Yarn Suggestions
- Weight: Worsted
- Hobby Lobby
- I Love This Yarn (ILTY) or Soft and Sleek (SS)
Notions
- Darning Needle
- Scissors
- Stitch Marker, if desired
Gauge
Gauge is not essential unless you want your square to end up the exact same size as pictured.
Using a 4.0 mm hook, one unblocked square is ~4.5″ x 4.5″.
Abbreviations
- BLO back loop only
- ch chain
- dc double crochet
- dec decrease
- hdc half double crochet
- inc increase
- mr magic ring
- sc single crochet
- sk skip a stitch
- sl st slip stitch
- sp space
- st(s) stitch(es)
- tr treble crochet
- ( ) work these sts in the same space
- [ ] repeat instructions within brackets x number indicated
Flora Granny Square Pattern
Making the Flower
You’ll use three colors to make the Flora Granny Square – the center color in the middle of the flower, the petal color, and the square color. To get started on the flower square, grab the desired color for the center. You will make the circular middle first and then add the flower petals around the center. Then, you’ll continue to create the rest of the granny square.
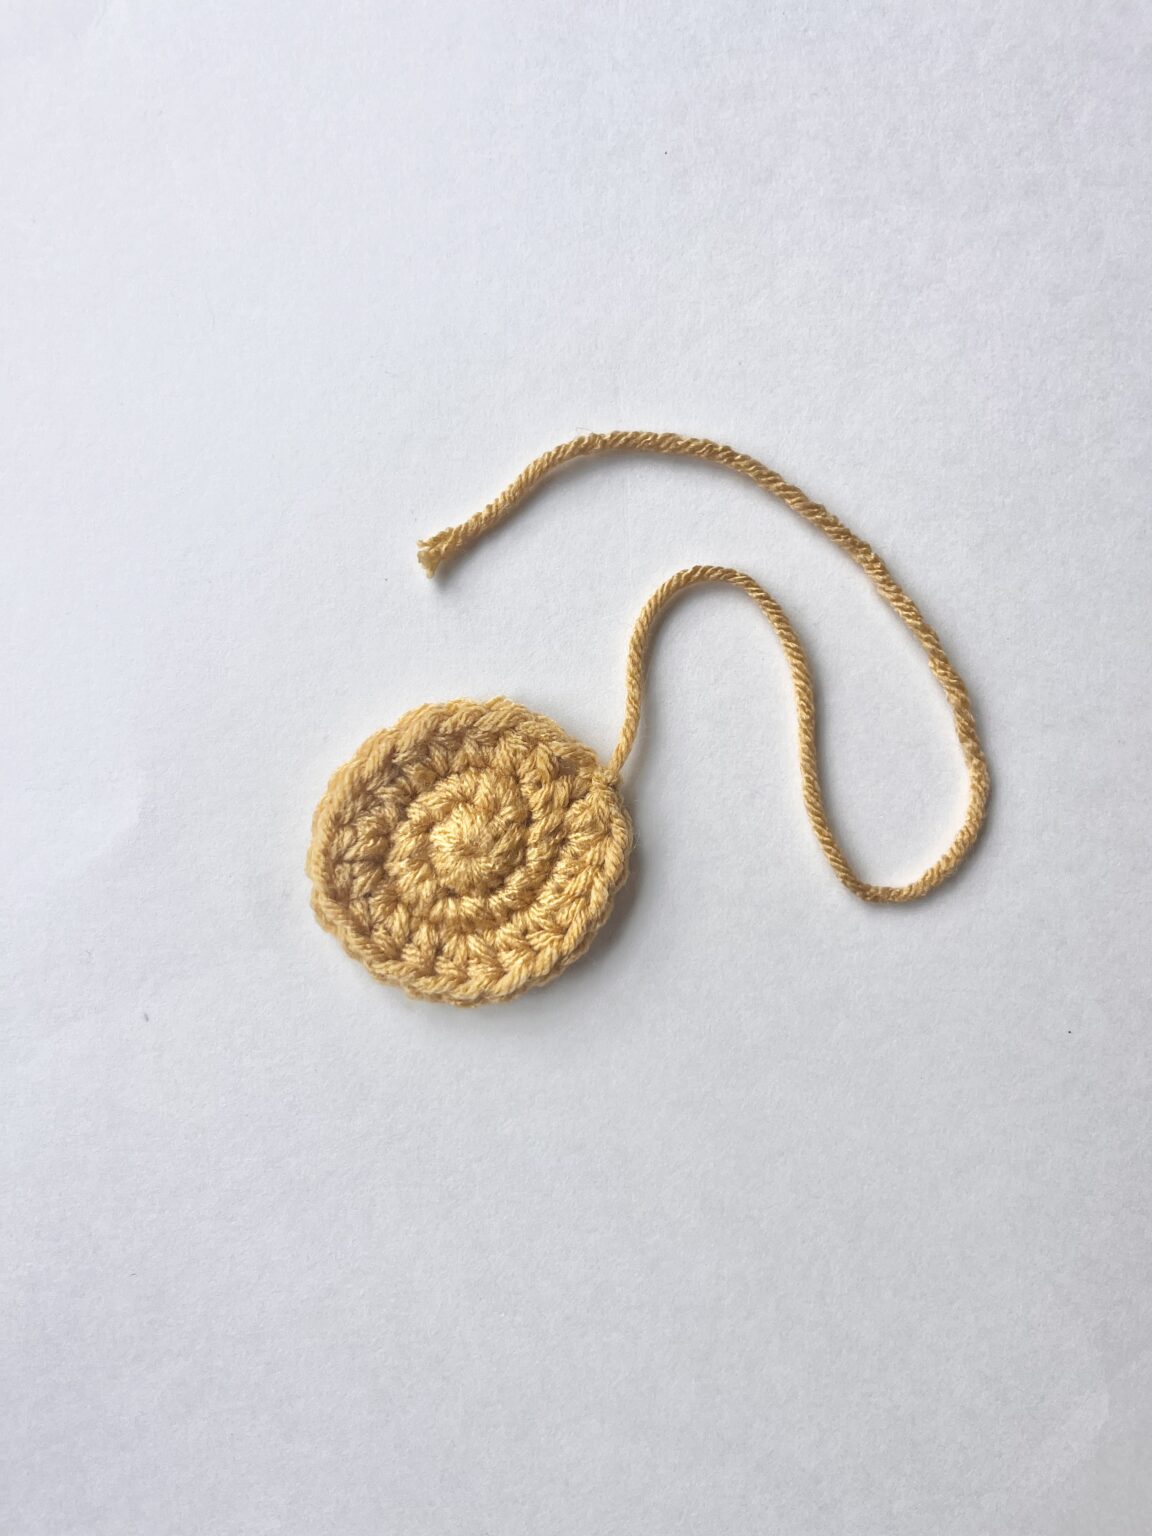
Using a 4.0 mm hook, begin by making a mr with your center color. Ch 1.
Round 1: 7 sc in mr. Do not slip stitch and join. Do not turn. Continue working in the round. [7] If desired, use a st marker at the beginning of each round.
Round 2: Place 2 sc in each st around. [14]
Round 3: [hdc, hdc inc] x 7 around. [21]
Tie off using an invisible fasten and weave in the ends.
In any stitch on the center, join with the flower petal color in the BLO. If desired, work through both the BLO and the third loop when joining with the petal color.
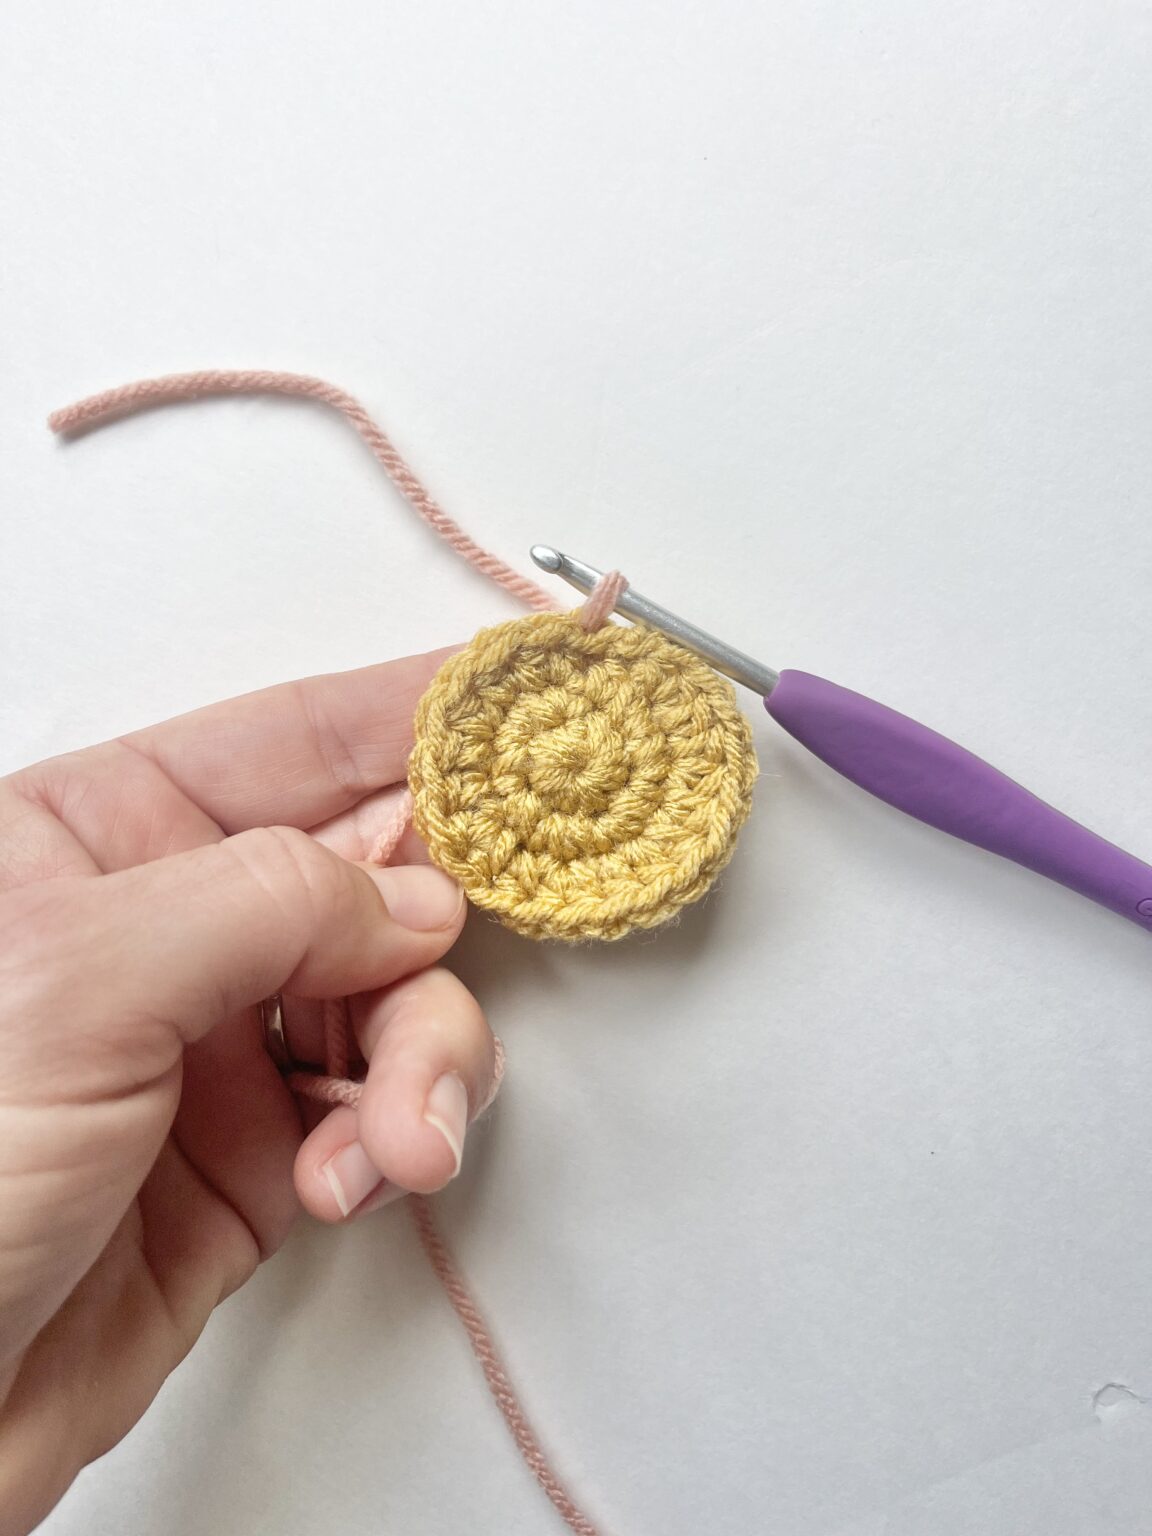
Round 4: [Ch 4, sk 2 sts, sl st into the BLO/third loop in the next st] x 7. After the final ch, sl st to the same sp as the initial ch. [28]
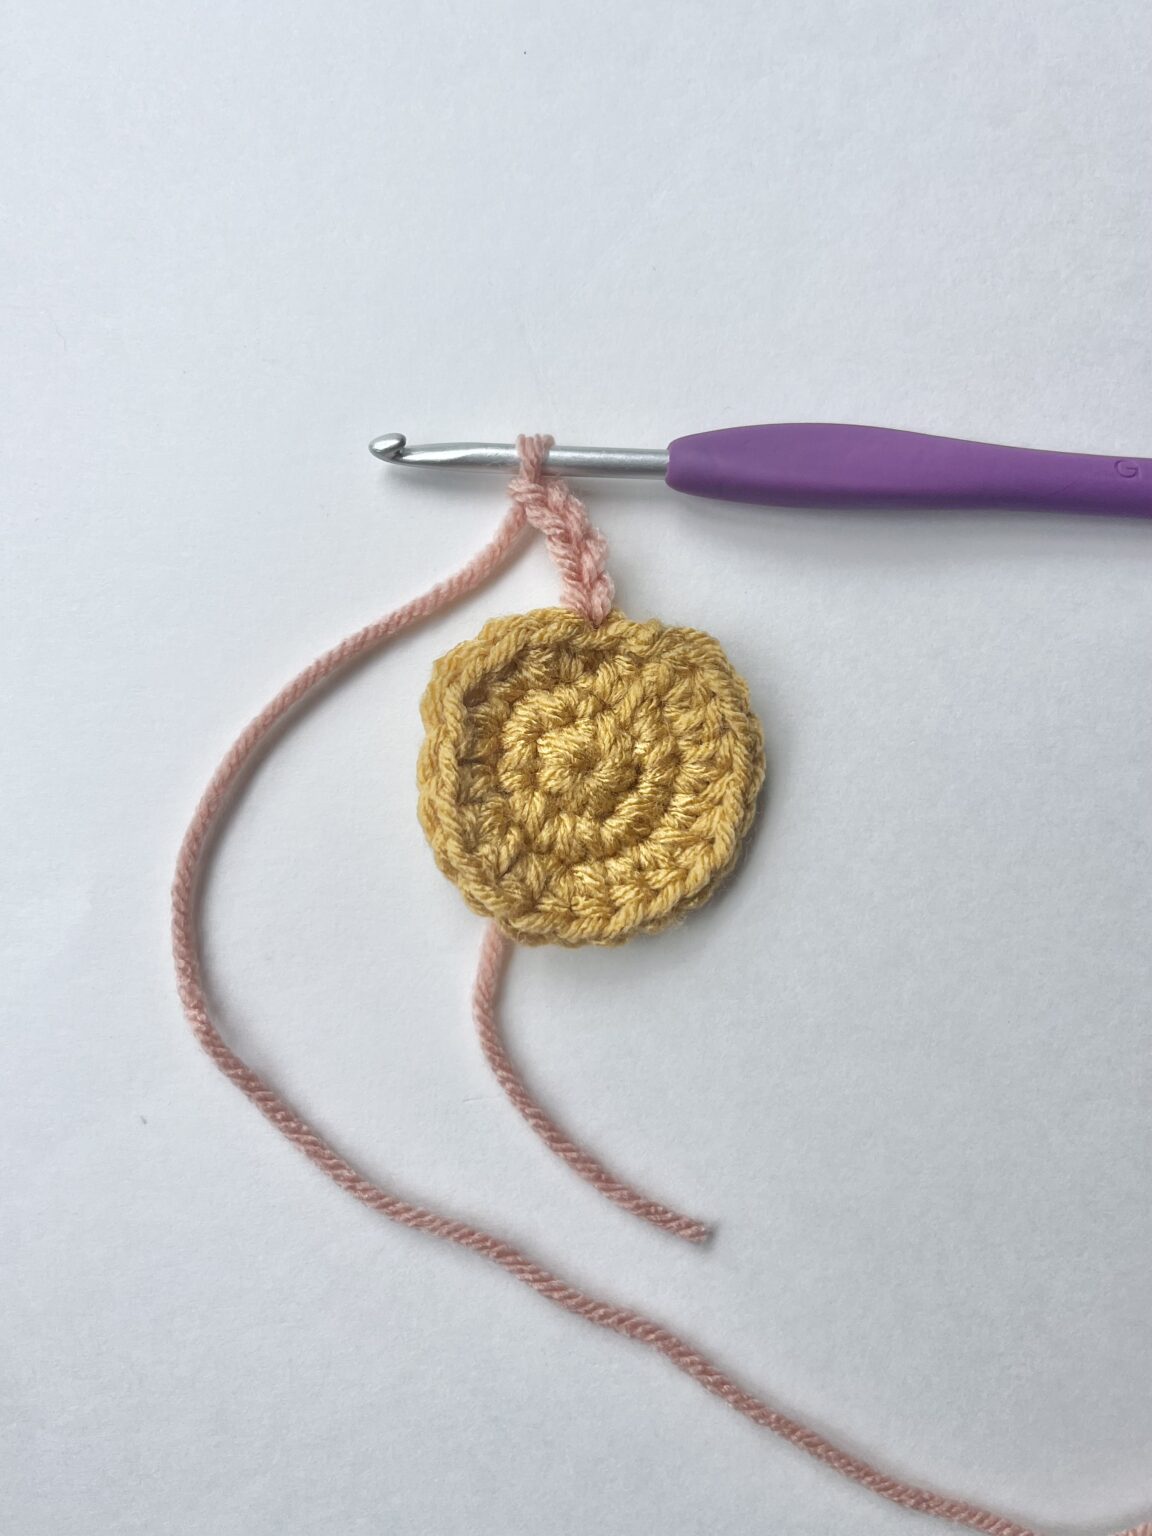
After attaching the petal color yarn, chain four.
Sk 2 sts and sl st into the BLO/third loop.
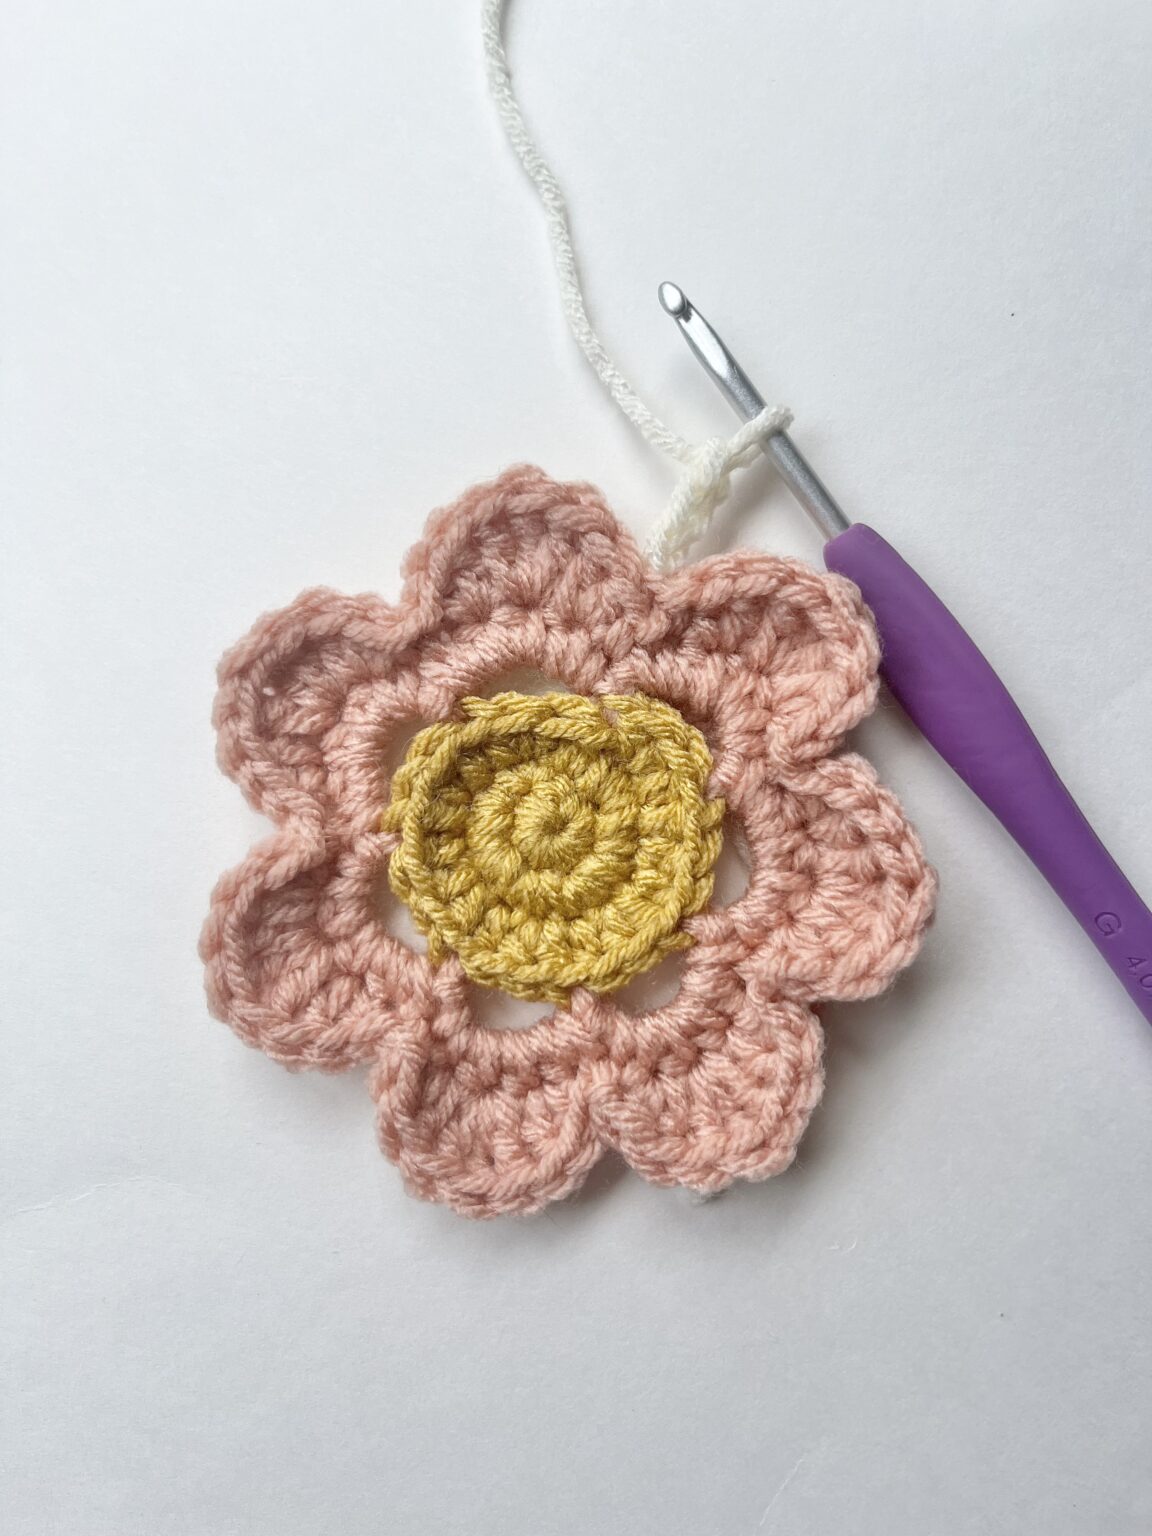
Round 5: Working into the ch space/around the chains, [sc, hdc x 3, sc] x 7. Do NOT sl st after the last st. Continue to Round 6. [35]
Round 6: Working along each petal, [sl st, (hdc, dc), (dc, tr, dc), (dc, hdc), sl st] x 7. After the final sl st, cut yarn, but do not tie off so new color can be joined in Round 7 for the square. [63]
Making the Square
To move onto turning the flower into a square, switch to the desired color for the main square. You will work around each of the petals to make a circular shape first, and then square off the circle.
Round 7: Working in the BLO of the first stitch of Round 6, change color to the desired square color yarn. This color change will be in the space between two flower petals. Ch 3. This counts as the first dc stitch.
Between round 6 and round 7, change colors to the square color. This color change will occur in between two of the petals.
Continue working, starting in the BLO of the next stitch – [hdc x 2, sc x 3, hdc x 2, dc dec] x 6, hdc x 2, sc x 3, hdc x 2. [56]
Work around each of the petals placing the stitches in the BLO. This will create a ridge on the front to define the flower.
At the end of Round 7, you should have worked all the way around the flower with the square colored yarn.
Sl st to the top of the ch 3. You will have one st from round 6 unworked.
Round 8: Ch 1. Working in the same st as the ch 1, place a sc st and then sc in the next 3 sts.
Working around the flower, [hdc, dc, (dc, tr), ch 3, (tr, dc), dc, hdc, sc x 8] x 3. The (dc, tr) and (tr, dc) are NOT in the same st. Hdc, dc, (dc, tr), ch 3, (tr, dc). dc, hdc, sc x 4. Join to the top of the first stitch. This will square off the circle, so you are left with a granny square!
If you are planning to make multiple squares to use for a larger project such as the Flora Blanket, you can cut the yarn, tie off with an invisible fasten and weave the ends. Then you’ll set the squares aside for joining.
If you would like to just make a single square, you can give your square a more finished look by placing sc stitches around the edge. After the sl st in Round 8, ch 1 and sc in each st around the square. Place 3 sc stitches in each corner. Block the square if desired and voila, that’s it!