Crochet Sherpa Dumpling Clutch

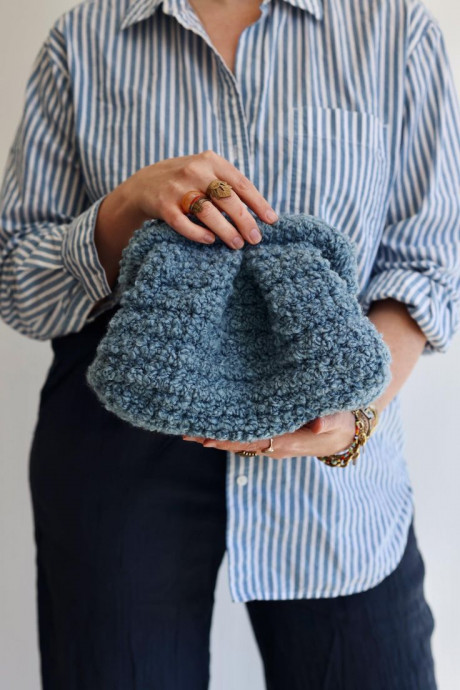
The Crochet Sherpa Dumpling Clutch is the perfect accessory to add a touch of coziness and style to any outfit! Its unique design combines the classic charm of crochet with the softness of sherpa, creating a trendy and versatile accessory that is bound to turn heads. Whether you're heading out for a casual brunch or a night on the town, this clutch is sure to be your new favorite go-to piece. With its adorable dumpling shape and friendly vibe, it's a must-have for anyone looking to spice up their look with a touch of warmth and charm!
Materials
3 (4, 5) skeins Lion Brand Feels Like Sherpa (bulky, weight 5; 68yds/63m per 100g/3.5oz skein)
Shown in colors Sagebrush (161-178AJ) for mini size, Elmwood (161-123AC) for medium size, and Heather Grey (161-149AY) for maxi size
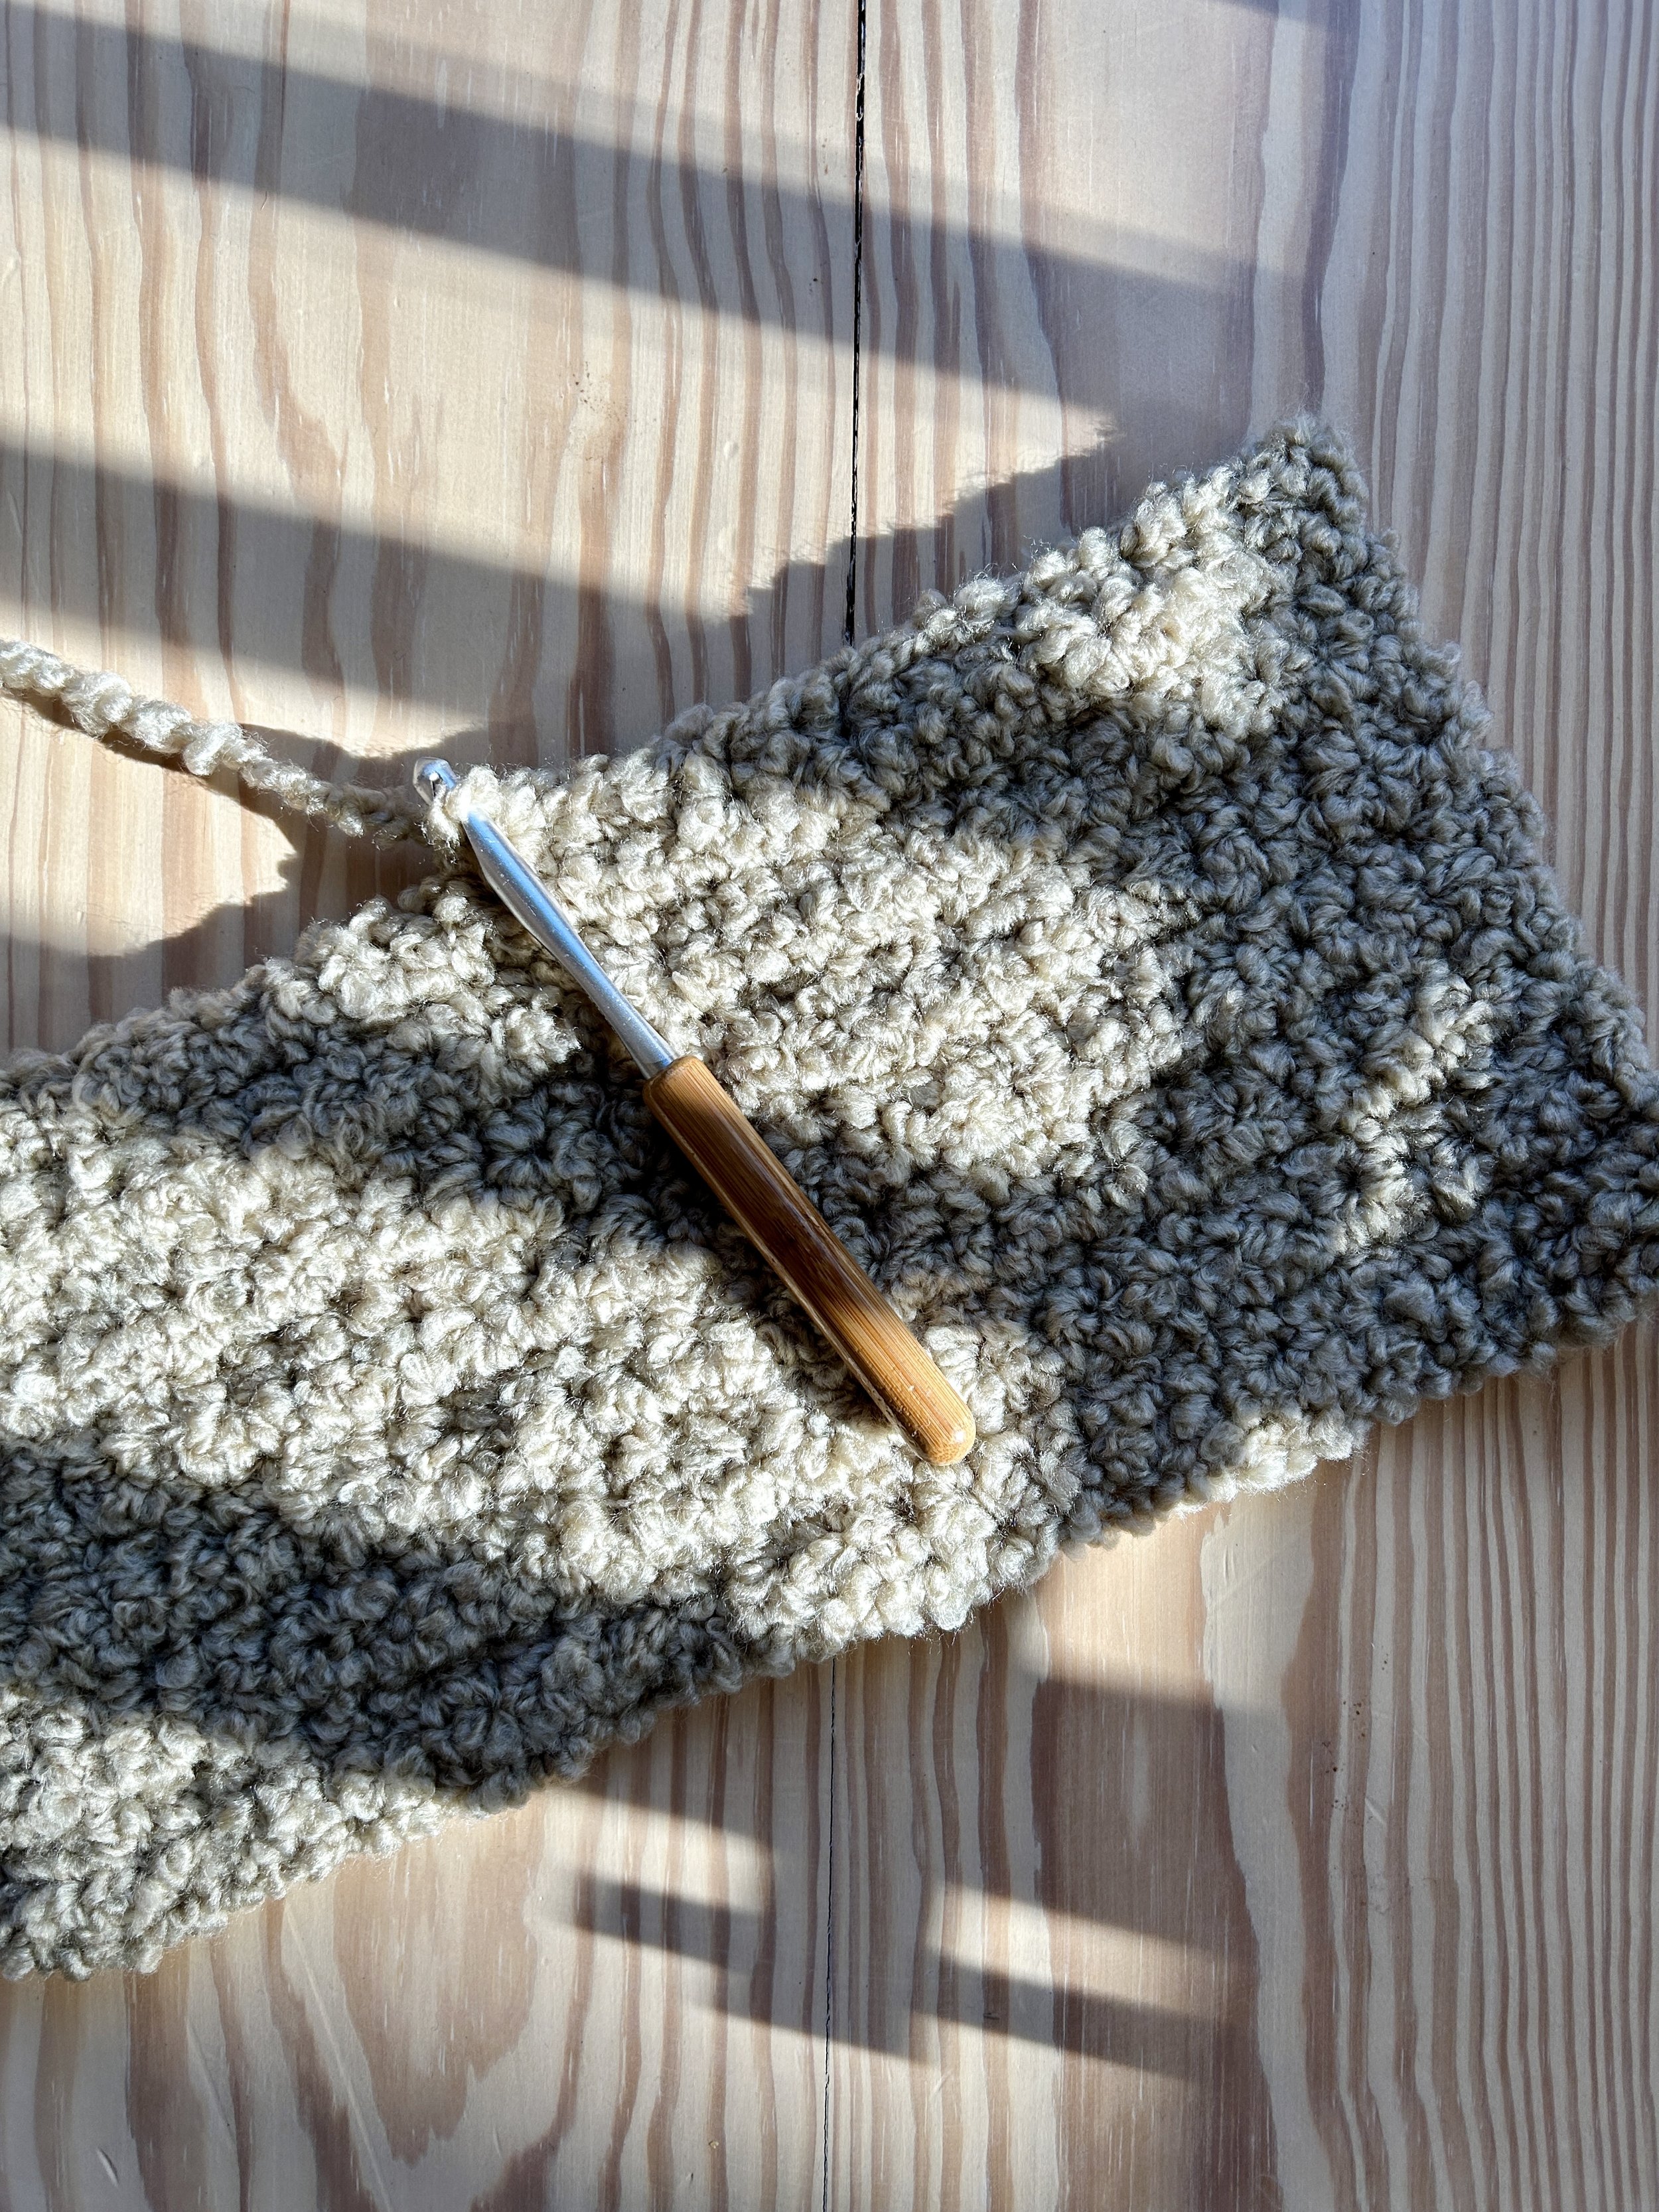
Size US L/11 (8mm) crochet hook
Stitch markers
Tapestry needle
8 (10, 12)”/20.5 (25.5, 30.5)cm rectangle lock purse frame
Gauge
8 sts + 9 rows = 4”/10cm in single crochet
Finished Dimensions
Sizes: mini (medium maxi)
Length: 11 (18, 20)”/28 (46, 51)cm
Depth: 6.25 (6.25, 7)”/16 (16, 18)cm
Height: 6.75 (7.75, 9.5)”/17 (20, 24)cm
Abbreviations
*All Two of Wands patterns are written in standard US terms.
Ch(s) – chain(s)
LP – left pleat
Pm – place marker
Rep – repeat
Rnd(s) – round(s)
RP – right pleat
RS – right side
Sc – single crochet
Sl st – slip stitch
St(s) – stitch(es)
WS – wrong side
Stitch Explanation
Left Pleat (LP)
Worked over 9 sts; insert hook into the 1st st from front to back, then directly into the 6th st from back to front, then directly into the 7th st from front to back, yarn over and draw up a loop, yarn over and pull through both loops on hook to single crochet all three layers together; then insert hook into the 2nd st from front to back, then directly into the 5th st from back to front, then directly into the 8th st from front to back, yarn over and draw up a loop, yarn over and pull through both loops on hook to single crochet all three layers together; then insert hook into the 3rd st from front to back, then directly into the 4th st from back to front, then directly into the 9th st from front to back, yarn over and draw up a loop, yarn over and pull through both loops on hook to single crochet all three layers together. You can place markers on the 9 sts to be worked over prior to making the pleat to help better identify them.
Right Pleat (RP)
Worked over 9 sts; insert hook into the 7th st from front to back, then directly into the 6th st from back to front, then directly into the 1st st from front to back, yarn over and draw up a loop, yarn over and pull through both loops on hook to single crochet all three layers together; then insert hook into the 8th st from front to back, then directly into the 5th st from back to front, then directly into the 2nd st from front to back, yarn over and draw up a loop, yarn over and pull through both loops on hook to single crochet all three layers together; then insert hook into the 9th st from front to back, then directly into the 4th st from back to front, then directly into the 3rd st from front to back, yarn over and draw up a loop, yarn over and pull through both loops on hook to single crochet all three layers together. You can place markers on the 9 sts to be worked over prior to making the pleat to help better identify them.
Notes on yarn: Fuzzy yarn can be a bit tricky to work with as the stitches are not visible and you will need to “feel” for them. That being said, the fabric is very forgiving and mistakes are virtually impossible to see. Practice with a regular yarn to feel and understand where the hook should go, and then pay attention to – and feel for – the center of each stitch to help guide your hook into the right places. Carefully count your stitches with each row and round to ensure you have the correct stitch count as this is really what matters, not necessarily if the stitches are in the correct places.
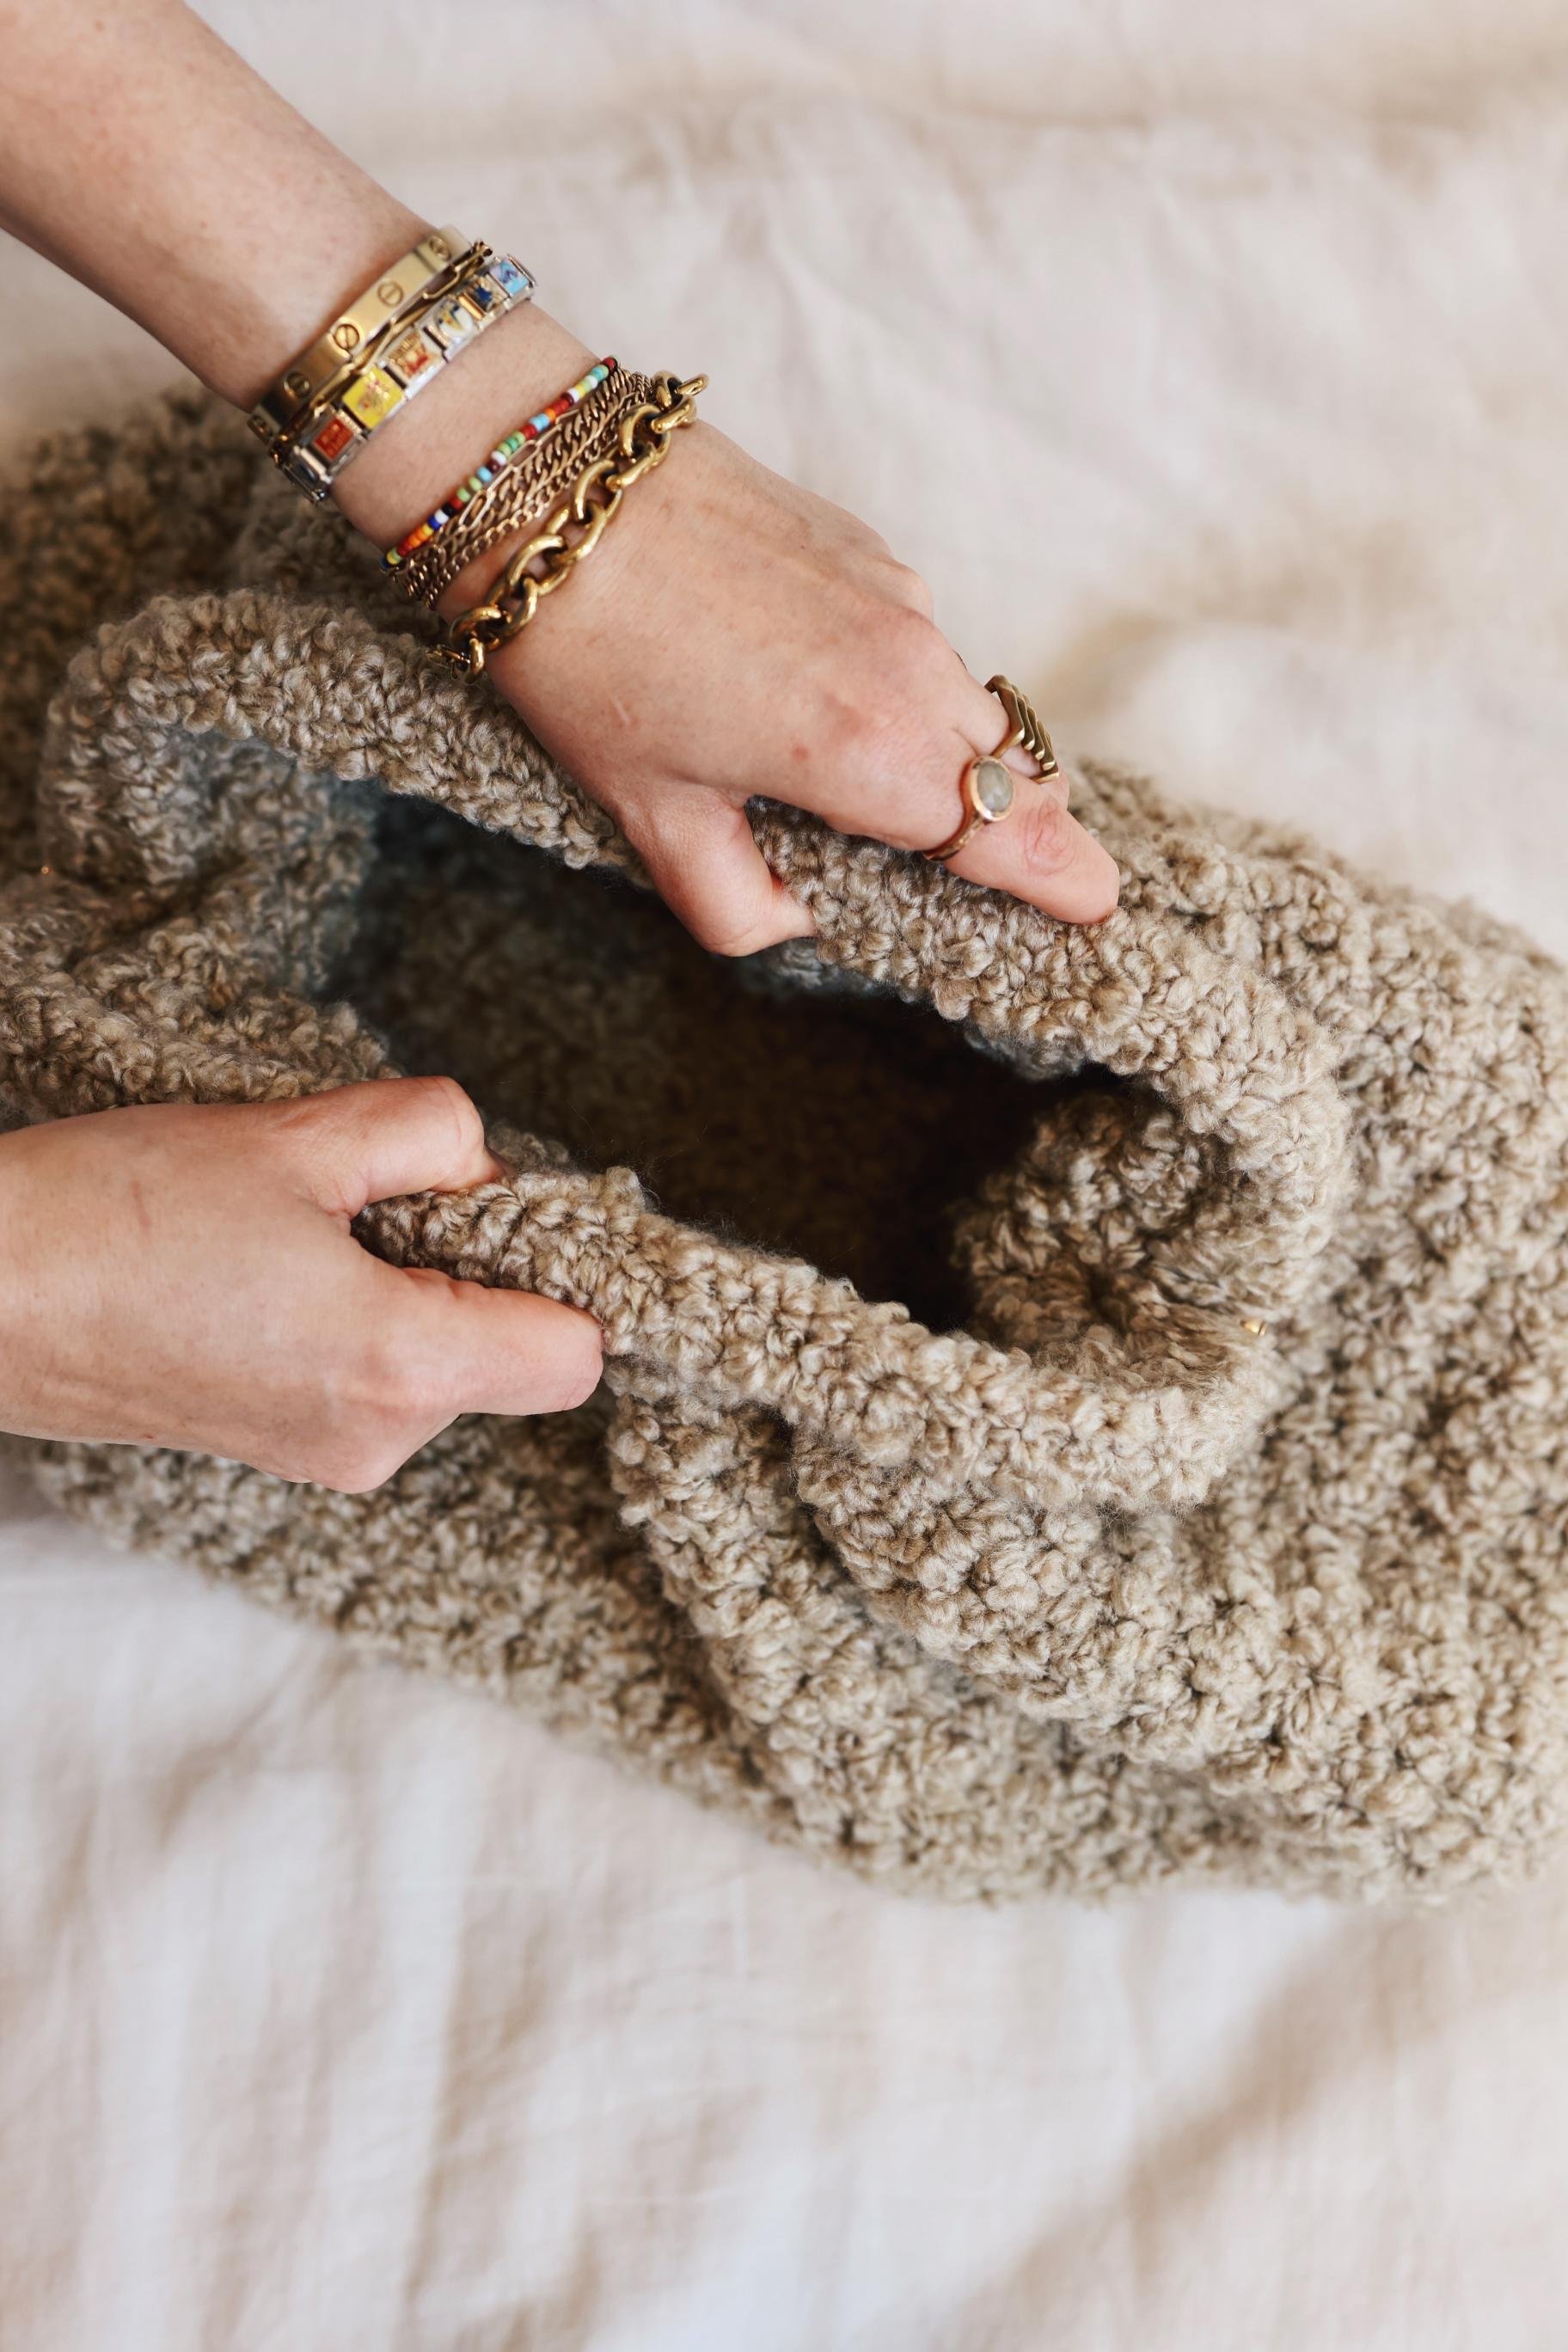
Notes on pattern: Bag begins with a rectangular base worked flat in back and forth rows. The body is then crocheted around all four sides of the base and continues from the bottom up in joined, turned rounds. Finally, the body of the clutch is crocheted onto the frame. Turn at the end of each row and round. Pattern is written for three sizes: mini (medium, maxi).
Base
Ch 23 (37, 41).
Row 1 (RS): Starting in 2nd ch from hook, sc across row. (22 (36, 40) sts)
Tip: Place a marker at the end of each row to keep track of them so you don’t lose count.
Rows 2-14 (14, 16): Ch 1, sc across row.
Fasten off.
Body
Rotate work so that the left side edge is now at the top. Rejoin yarn at the middle point of this edge by inserting the hook into a space along the edge and drawing up a loop.
Rnd 1 (RS): Ch 1 and sc 6 (6, 7) evenly down the left side of this edge to the corner, rotate work to begin working across foundation ch, sc in each of the 22 (36, 40) chs across to the next corner, rotate work to begin working up side edge, sc 12 (12, 14) evenly up side edge to the next corner, sc 22 (36, 40) across last row of base to the next corner, rotate work to begin working down side edge, sc 6 (6, 7) evenly to 1st sc of rnd, sl st to 1st sc of rnd to join. (68 (96, 108) sts)
Tip: Place a marker on the first st of each rnd to identify it at the end of the rnd, and place a st marker at the end of each rnd to keep track of them so you don’t lose count. Remember to turn here and at the end of each rnd.
Rnds 2-12 (14, 18): Ch 1, sc around, sl st to 1st sc to join. Note: to keep “seam” straight, place 1st sc in the last sc of the previous rnd, not the sl st that joined the rnd. It can be difficult to determine where the last sc of the rnd should be placed, so count your sts on the first few rnds to ensure there aren’t any skipped or added as you get used to the placement.
Next rnd: Ch 1, sc 8 (6, 9), LP 1 (2, 2) time(s), RP 1 (2, 2) time(s), sc 9 (7, 10), pm on last (9th (7th, 10th)) st, sc 7 (5, 8), LP 1 (2, 2) time(s), RP 1 (2, 2) time(s), sc 8 (6, 9), sl st to 1st sc to join.
Do not fasten off. Turn work to begin a WS rnd.
Attach body to frame:
Hold the frame on top of the previous row. Bring the working yarn to the interior of the frame. Starting to the left of one side hinge, sc twice into each st, working over the frame as well, across to the marked st; then, sl st into marked st without working over the frame, and now working to the left of the opposite hinge, sc twice into each st, working over the frame as well, to the last st, sl st in last st without working over the frame.
Fasten off.
Secure and weave in all ends.