Crochet Carrot Treat Bag Pattern

Overview
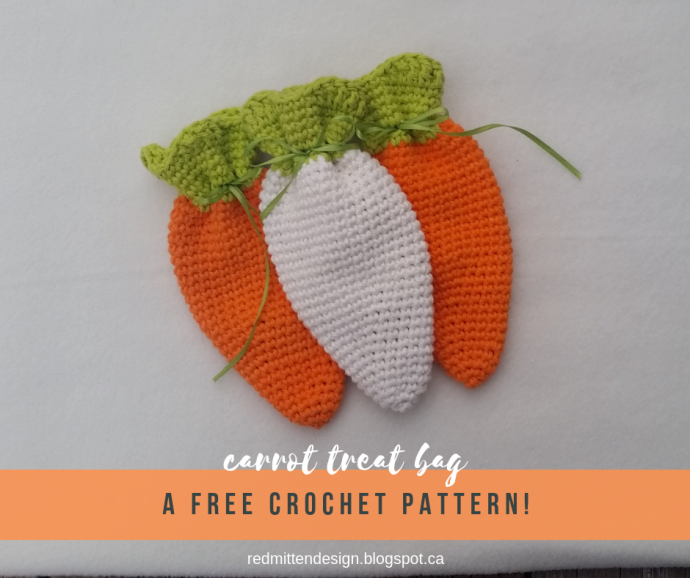
The Crochet Carrot Treat Bag is a delightful and whimsical accessory that will add a touch of charm to your Easter celebrations or any festive occasion. This cute bag, shaped like a carrot, is perfect for holding sweet treats, small gifts, or even as a decorative piece on its own. With its vibrant orange color and intricate crochet detailing, it is sure to bring a smile to anyone who receives it. Handmade with love and attention to detail, this crocheted carrot treat bag is a fun and unique way to add a little extra joy to your festivities. Whether you use it as a gift bag, party favor, or simply as a decorative accent, this sweet accessory is sure to be a hit with kids and adults alike.
Skill Level
Advanced beginner
Size
Approx. 8" x 4"
Materials Needed
- 5mm hook
- Tapestry needle
- Stitch marker (optional)
- Approx. 20 inch, 3mm satin ribbon, lime green
Suggested Yarn
- Bernat Handicrafter, hot orange, approx. 45 yds
- Bernat Handicrafter, hot green, approx. 20 yds
Gauge
16 sc sts = 4 inch
Pattern Instructions
Special Note: The treat bag is worked in a continuous spiral without a join or chain. Due to this, I recommend using a stitch marker to mark the beginning of rounds and move the marker up progressively. Begin working with hot orange.
Rounds 1-29
Rnd 1: In a magic loop, ch 1 (does not count as a stitch). 3 sc into loop. Mark 1st sc as beginning of round. Carry marker up work progressively. Begin working in rounds for the remainder of the carrot.
Rnd 2: *2 sc in each st around (6)
Rnd 3: *2 sc in each st around (12)
Rnd 4 and even till Rnd 14: sc around
Rnd 5: *2 sc in next st. sc in each of the next 3 sts. Repeat around (15)
Rnd 7: *2 sc in next st. sc in each of the next 4 sts. Repeat around (18)
Rnd 9: *2 sc in next st. sc in each of the next 5 sts. Repeat around (21)
Rnd 11: *2 sc in next st. sc in each of the next 6 sts. Repeat around (24)
Rnd 13: *2 sc in next st. sc in each of the next 7 sts. Repeat around (27)
Rnd 15: *2 sc in next st. sc in each of the next 8 sts. Repeat around (30)
Rnds 16 - 29: sc around
Changing Yarn Color
Cut hot orange and attach hot green. I recommend using your favorite "jogless join" and weaving in ends as you go.
Rnd 30: sc around
Finishing Rounds
Rnd 31: *sc in next st. ch 1. sk 1. Repeat around (15 sc and 15 chain spaces)
Rnd 32: *sc in next st. sc in chain space. Repeat around (30)
Rnd 33-35: sc around
Rnd 36: *sc in each of next 3 sts. HDC. DC. TRDC in each of the next 3 sts. DC. HDC. Repeat around (30)
Conclusion
Bind off and weave in ends. Cut a piece of the satin ribbon at approximately 20 inches. Cut ends of ribbon on an angle to prevent fraying. Weave ribbon through chain spaces as pictured, tie a small bow and leave long ends trailing.
Voila!! All done.