How to Crochet a Mini Pumpkin for Fall Decor

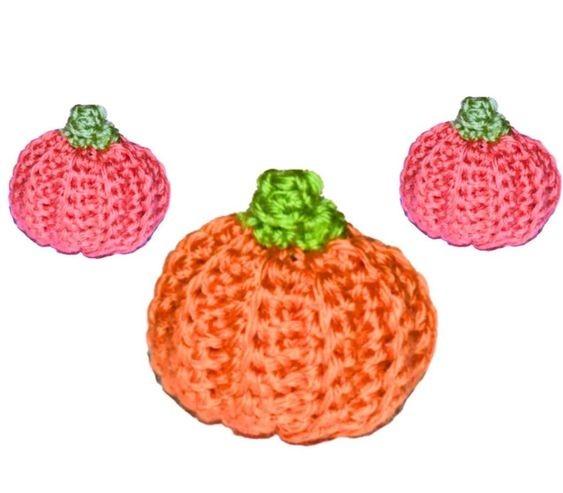
Crocheting a fun mini pumpkin can be such an enjoyable and creative project! It's a perfect way to celebrate fall and add a cozy touch to your home decor. With just a few simple crochet stitches and some orange yarn, you can create a cute little pumpkin that will bring a smile to your face every time you see it. Whether you're a seasoned crocheter or just starting out, this project is a great way to practice your skills and unwind with a bit of crafting fun. So grab your crochet hook, pick out your favorite pumpkin spice latte, and get ready to create something adorable that will brighten up your space!
Supplies Needed
Green and orange yarn
H hook and G hook
Abbreviations
- sc = single crochet
- ch = chain
- sl st = slip stitch
Instructions
Body of the Pumpkin
Row 1: Ch 12, sc in the second chain from the hook.
Rows 2–20: Ch 1, turn, sc in each back loop. Repeat for 20 rows.
Now sew the ends together and then stuff it with stuffing or yarn and sew the other ends together.
Stem
Use G hook and green yarn.
Ch 4, sl st in the first chain to create a ring.
Rounds for the Stem
Rnd 1: Ch 1, sc 5 times into the ring. Sl st in beginning stitch.
Rnd 2: Ch 1, sc in each sc around, sl st – 5 sc.
Rnd 3: Ch 1, work 2 sc in each sc around, sl st – 10 sc.
Attach the stem on top of the pumpkin with a yarn needle and yarn.