Crochet Scrubby Duster: The Perfect Blend of Style and Functionality
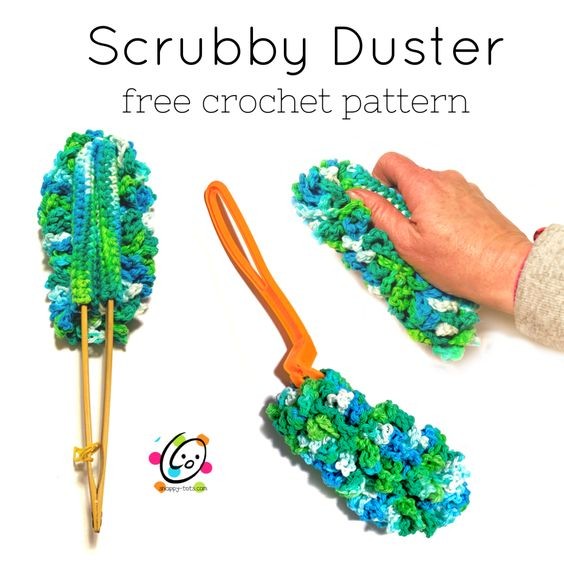
Introducing the Crochet Scrubby Duster, the ultimate cleaning tool that combines the art of crochet with practicality. This innovative creation is designed to make your cleaning routine a breeze while adding a touch of handmade charm to your home. Crafted with love and attention to detail, the Crochet Scrubby Duster is made from high-quality yarn that is both durable and gentle on surfaces. The unique crochet pattern creates a textured surface that effortlessly traps dust and dirt, making it perfect for tackling any cleaning task. Whether you're dusting shelves, wiping countertops, or polishing furniture, this versatile duster will leave your surfaces sparkling clean. Not only is the Crochet Scrubby Duster functional, but it also adds a decorative touch to your cleaning routine. With a variety of vibrant colors and patterns to choose from, you can personalize your duster to match your home decor. Hang it on a hook in your kitchen or bathroom for easy access, and let its handmade beauty brighten up your space. Say goodbye to boring cleaning tools and hello to the Crochet Scrubby Duster - the perfect blend of style and functionality.
Materials and Details
- Yarn: 200 yards WW cotton
- Crochet Hook: H (5mm)
- Notions: Yarn needle for weaving in ends
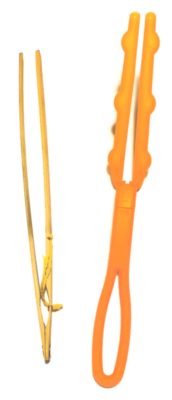
- Optional: Duster handle or toaster tongs
- Measurement: 6” long x 2.5” high x 3” across
Tips
- Numbers at the beginning of each line may refer to steps and might not indicate the number of rows.
Special Stitch
FPSLST: Front Post Slip Stitch
Insert hook around the next post from the front of the piece, pull up a loop and through the loop on the hook.
Directions
This project starts at the bottom, flat edge, and is worked back and forth in rows.
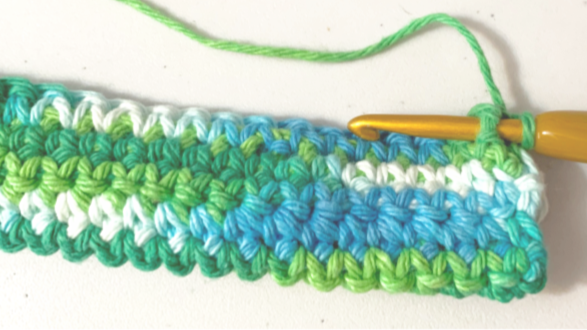
1. With an H hook, ch 39, sc in the 2nd ch from hook and in each ch across. (38sts)
2. Ch 1, turn, sc in the same st and in each st across.
3. Repeat the previous row for an additional 6 rows.
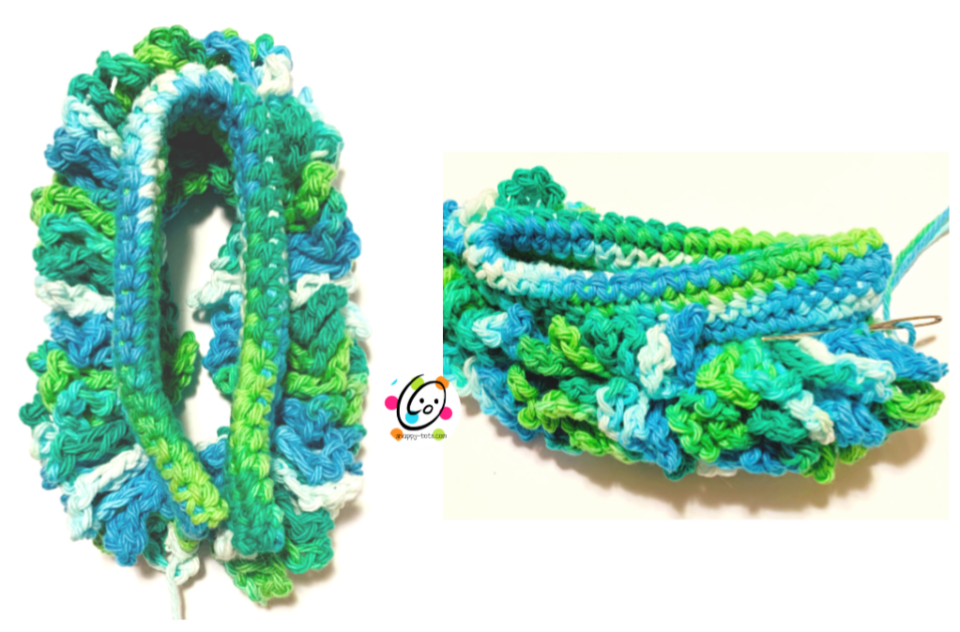
4. Fold the piece in half lengthwise (bottom photo below). Ch 1, turn, working through both layers, sc in each st across. (38sts)
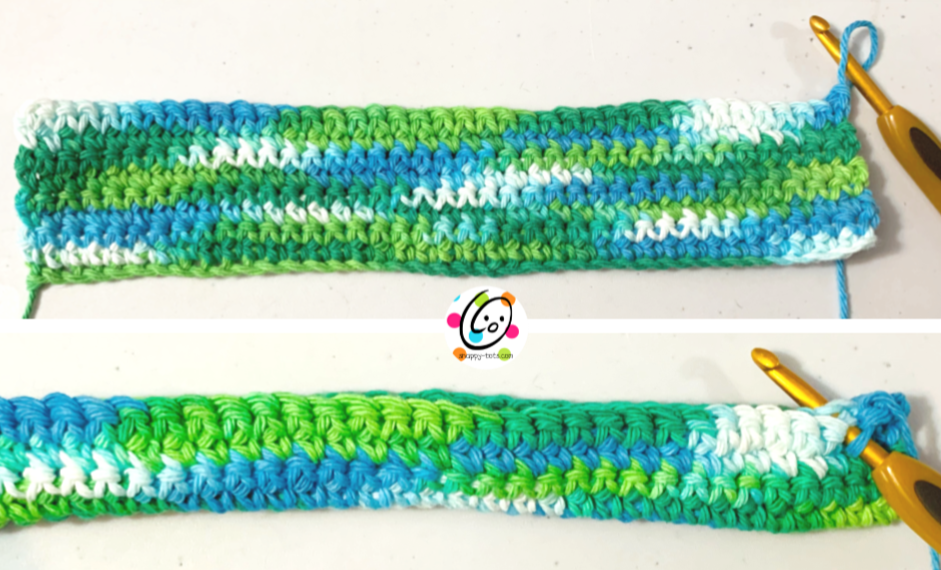
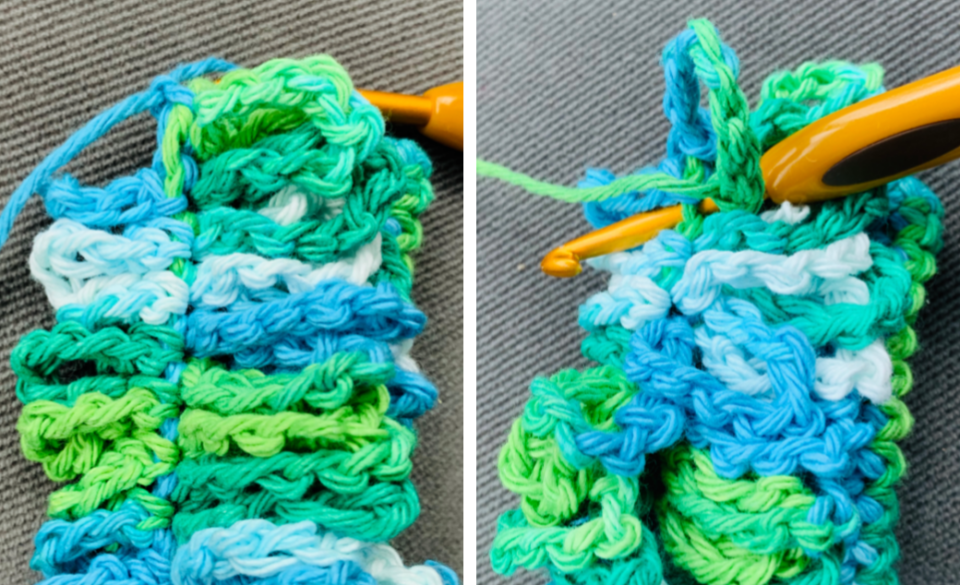
5. This is the first row of loops. Ch 1, turn, *FPSLST around the next post (see “special stitch”), ch 10*, repeat until 2 sts remain, FPSLST around each of the next 2 sts.
6. Ch 1, turn, sc in each st to end of row. Note: This row is worked into the sts at the top of the posts from the previous row/step.
7. This is the second row of loops. Ch 1, turn, *FPSLST around the next post, ch 10*, repeat until 2 sts remain, FPSLST around each of the next 2 sts.
8. This is the third row of loops and these sts are worked IN the stitch and not as post sts. Ch 1, turn, sl st in the same st, sl st in the next st, *ch 8, sl st in the next st*, repeat until 2 sts remain, sl st in each of the next 2 sts.
Extra Row
This step is optional. Continue to step 9 if you choose to skip this row.
Ch 1, turn. Fold back the last two rows of loops. This step is worked between these two layers to add fullness.
Sl st in the first st, *ch 8, sl st in the st at the base of the loop*, repeat until the last loop. Ch 8, sl st in the st at the base of the last loop, ch 8, sl st in the st after the last loop, sl st in the last st.
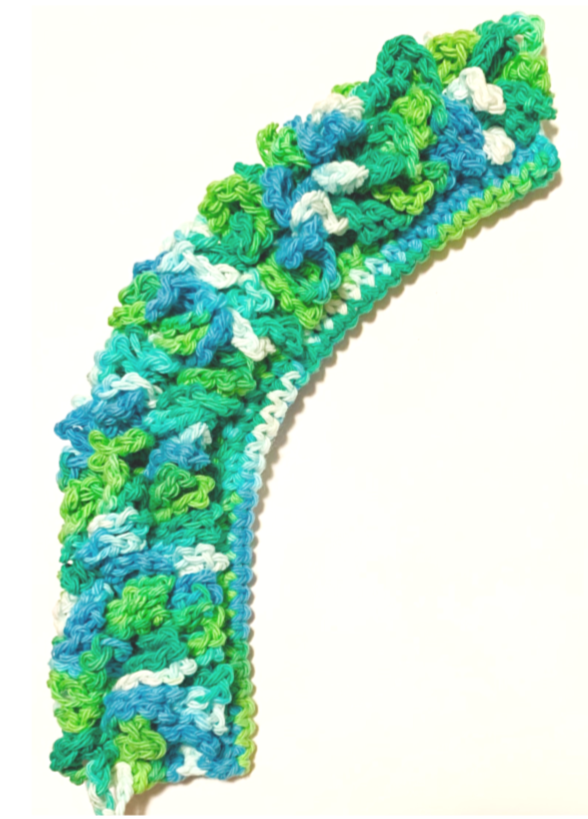
9. Finish off, leaving approximately 18” of yarn. Fold the piece to match the short ends. With a yarn needle, use the yarn tail to sew the layers together next to the first row of loops for approximately 2” (see photo below right). This keeps the ends together and will help keep the duster from slipping off of the handle.
