Handmade Crochet Pot Holders: A Step-by-Step Guide

Create Your Own Crochet Pot Holders
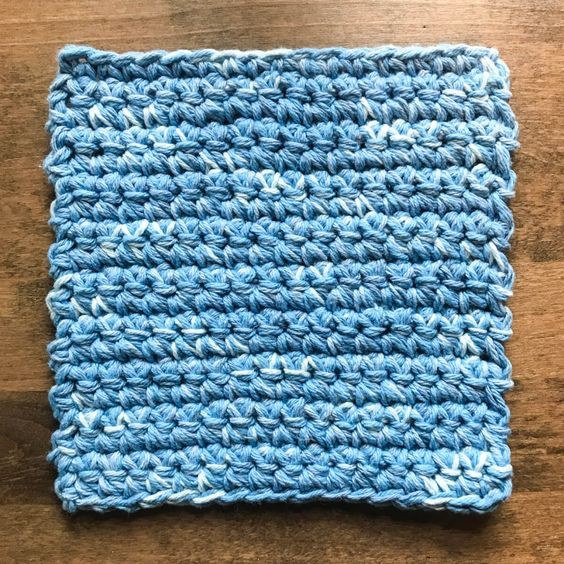
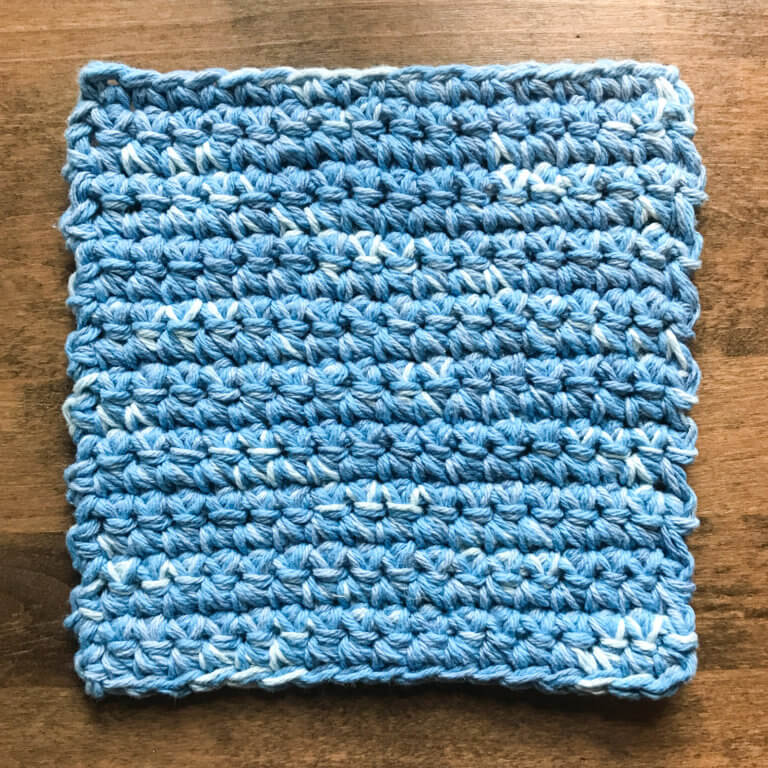
Create your own set of handmade crochet pot holders to add a touch of charm and functionality to your kitchen. These crochet hot pads are not only practical for protecting your hands and surfaces from heat, but they also make for a lovely decorative accent. Choose your favorite colors and yarn textures to customize your hot pads to match your kitchen decor.
Whether you prefer a simple single crochet design or a more intricate pattern, the possibilities are endless when it comes to creating your own crochet hot pads. These handmade hot pads also make for thoughtful gifts for friends and family members who appreciate the beauty of handmade items. Whether you are a seasoned crocheter or just starting out, crocheting hot pads is a great way to hone your skills and create something beautiful and useful at the same time.
Materials Needed
Here is what you will need:
- 2 colors (approx. 60 yd. /55 m each) or 1 color (120 yd. / 109 m split into two balls) worsted weight cotton yarn (shown here in Lily Sugar’n Cream Solids in Hot Blue and Ombres in Faded Denim Ombre)
- US I-9 / 5.5 mm crochet hook
- Scissors and yarn needle for finishing
This pattern is written in U.S. crochet terms and abbreviations.
Important Notes
- Gauge is approximately 9 single crochets and 10 rows = 4 in.
- Finished crochet hot pads as written measure approximately 8 in. x 8 in.
- Pattern is worked with two strands of yarn held together throughout.
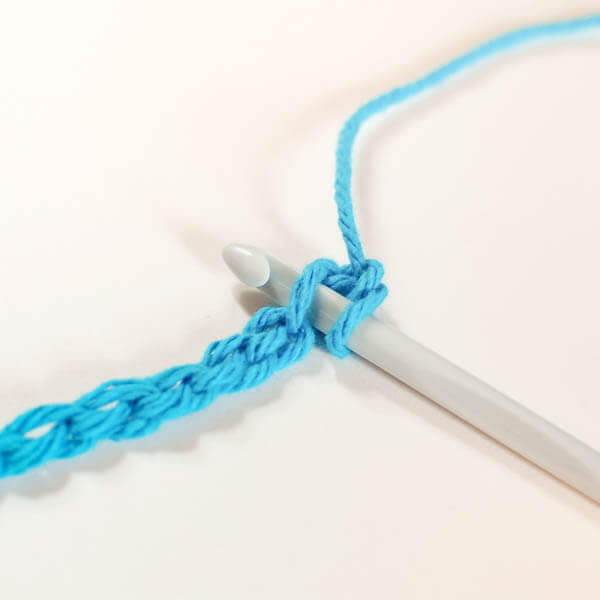
- To give my beginning edge the same look as my finishing edge, I like to work in the back ridge (or bump) of the foundation chain.
Helpful Tips
Tip: Work your first row into the back ridge (or bump) of the foundation chain to give your beginning edge the same look as my finishing edge.
Instructions
Chain 18.
Row 1: Work 1 sc in second chain from hook and each chain across, turn – 17 sts.
Rows 2 through 19: Ch 1 (does not count as stitch), work 1 sc in each st across, turn – 17 sts.
Fasten off and weave in ends.