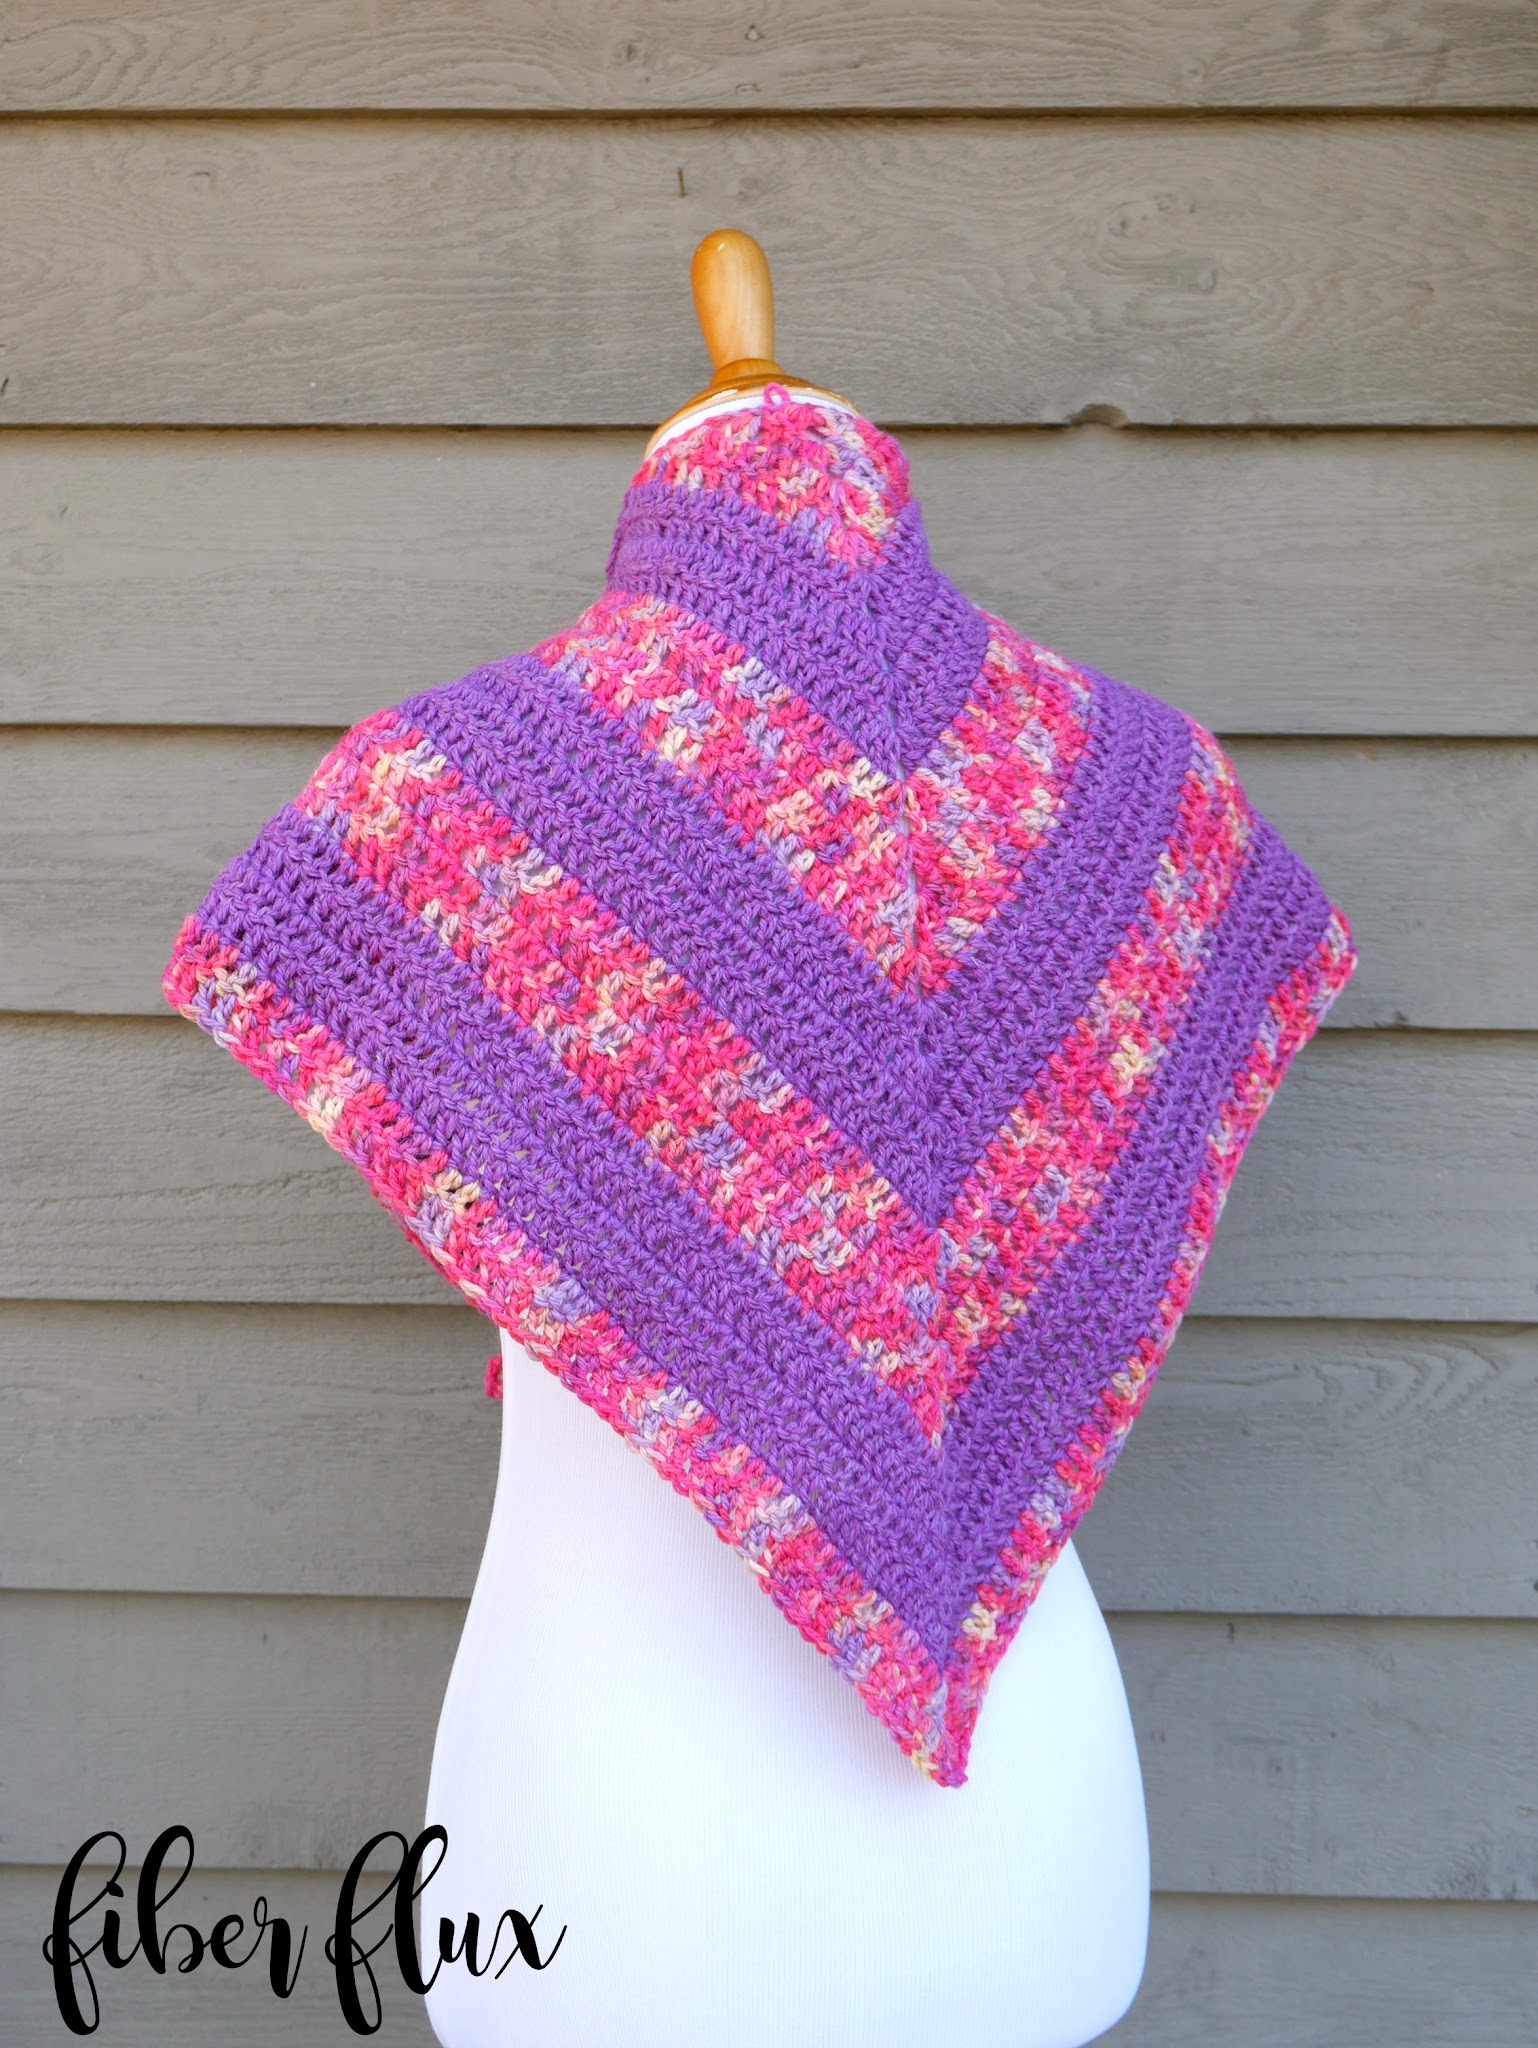
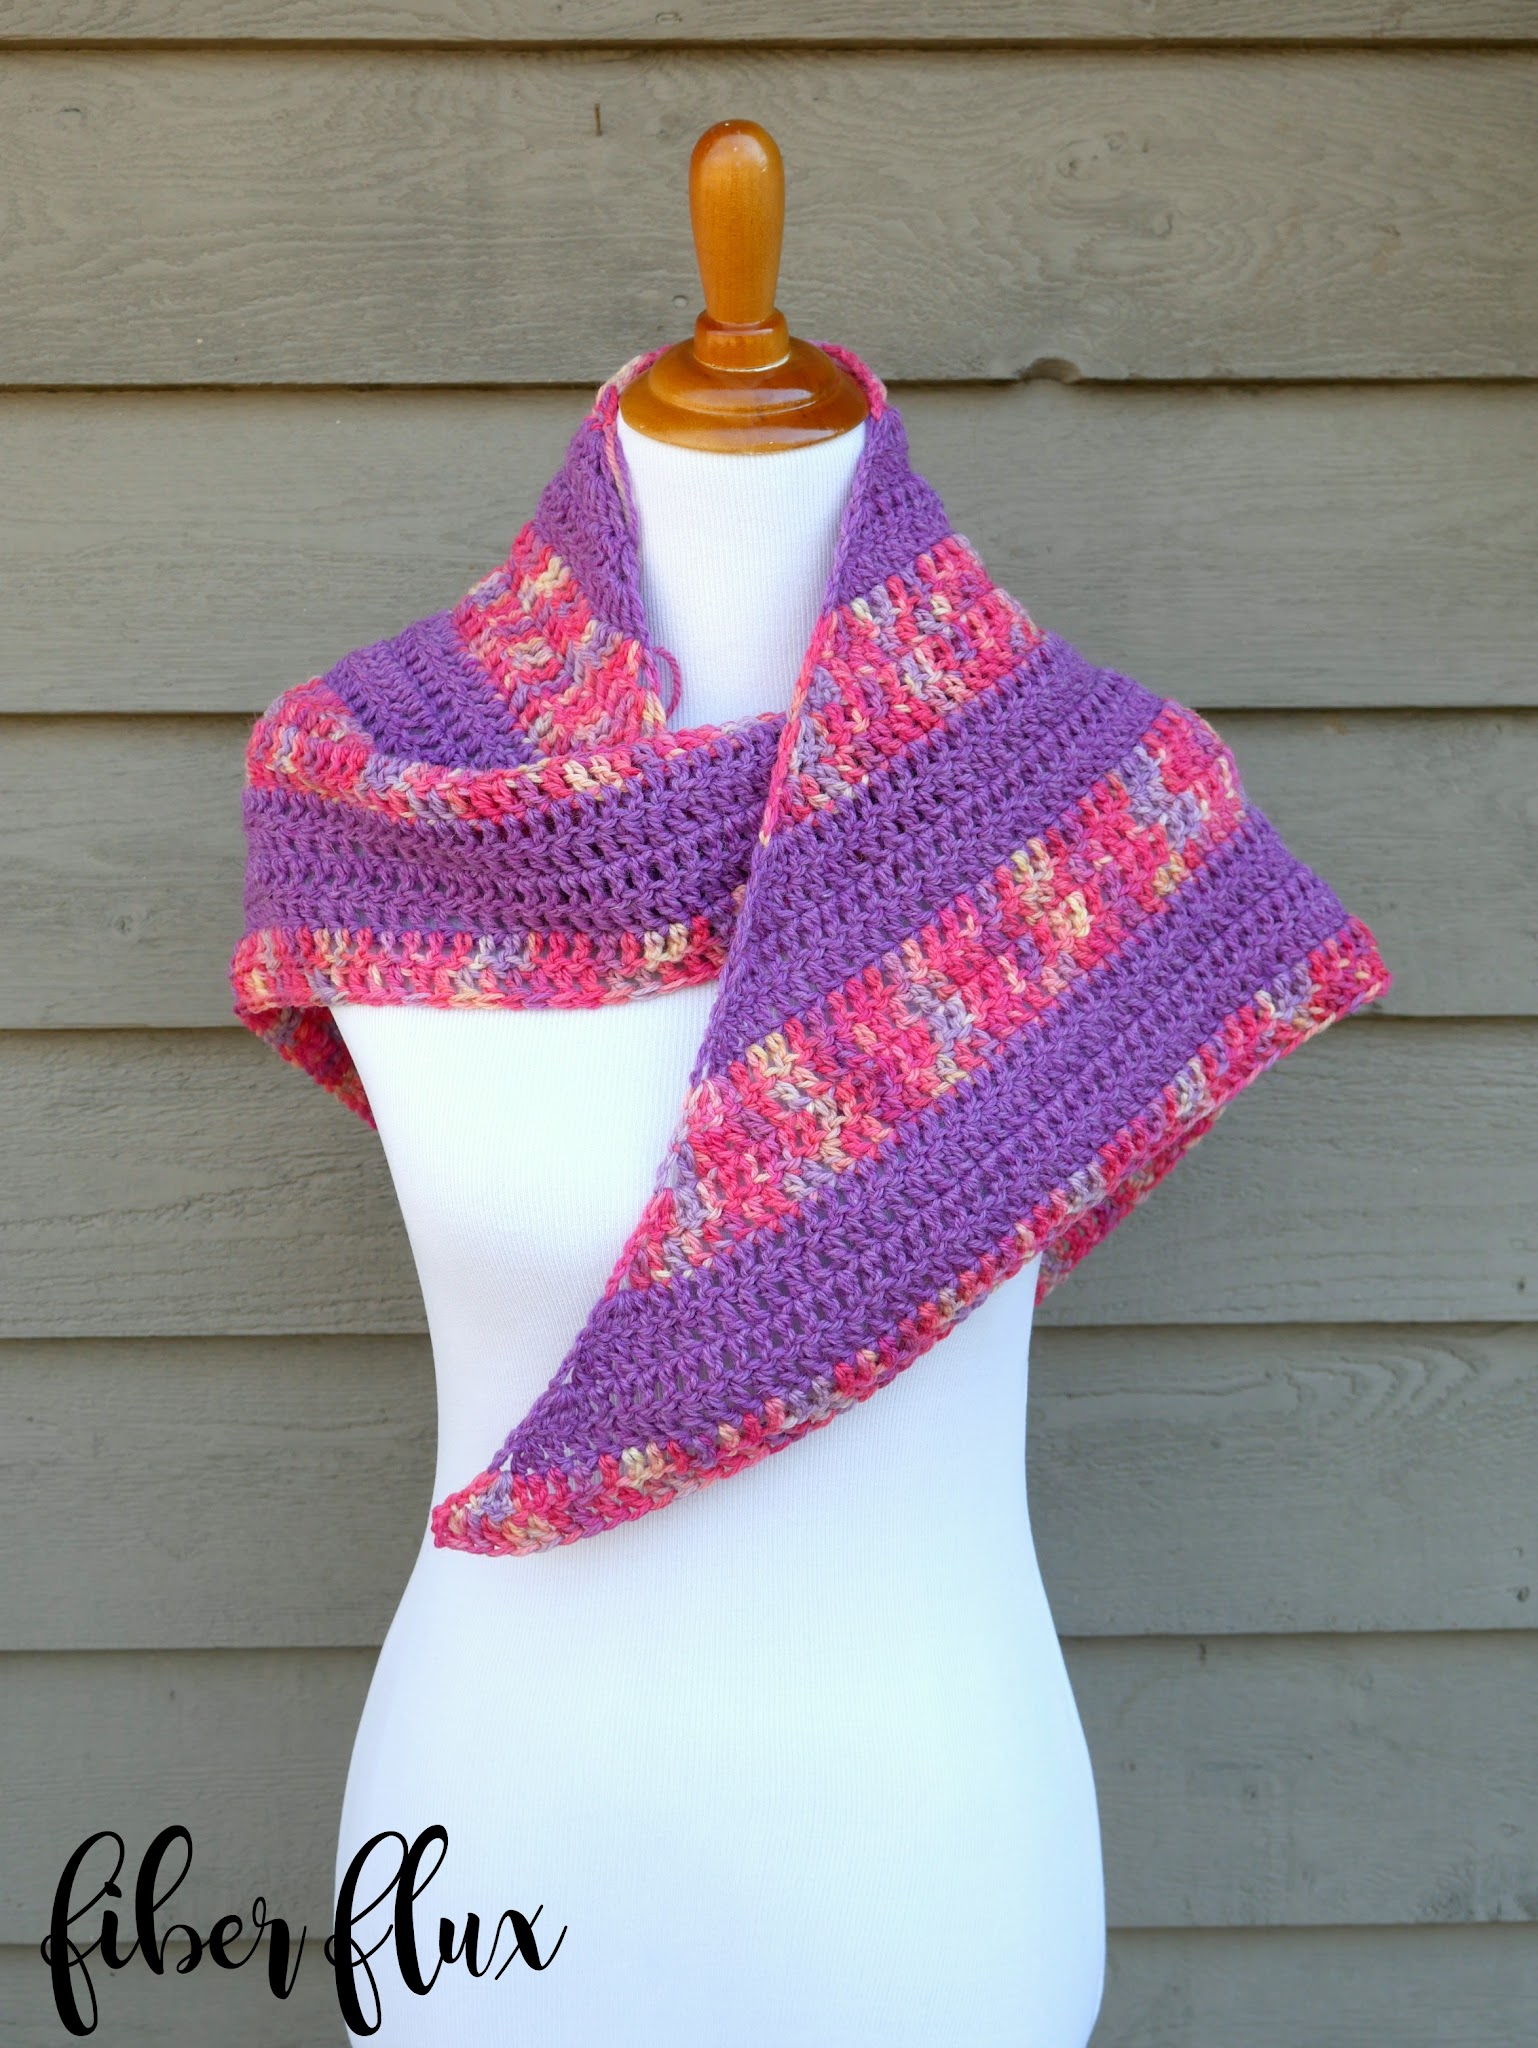
Crochet Tulip Patch Shawl Tutorial

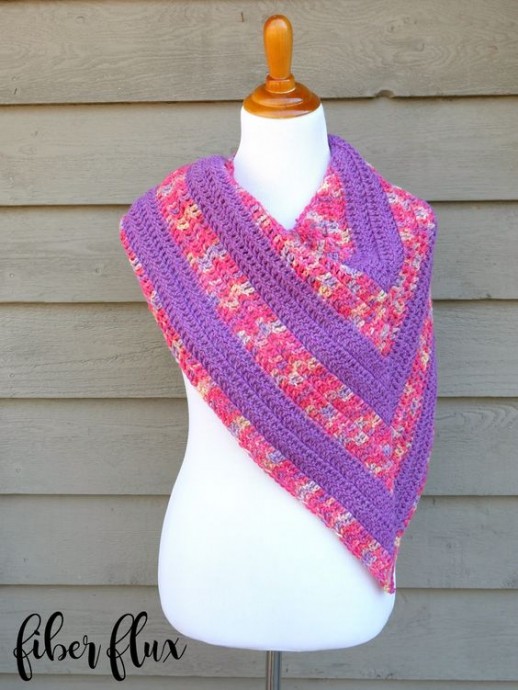
Introducing the Crochet Tulip Patch Shawl, a stunning accessory that will add a touch of elegance to any outfit. This beautifully crafted shawl features intricate crochet work, with delicate tulip patches scattered throughout the design. The combination of the soft, flowing fabric and the vibrant tulip motifs creates a truly eye-catching piece. Whether you're attending a special event or simply want to elevate your everyday style, the Crochet Tulip Patch Shawl is the perfect accessory. Its versatility allows you to wear it as a traditional shawl, draped over your shoulders, or even as a scarf for a more casual look. With its unique design and attention to detail, this shawl is sure to become a cherished addition to your wardrobe.
Materials
- 6.0 mm “J” crochet hook
- 2 Skeins of Naturally Nazareth by Kraemer Yarns in “Dawn” and “Twilight” (Note: If you need to substitute yarn, 400 yards of any worsted weight will work well)
- Tapestry Needle
- Scissors
Sizing
- 50 inches across the top edge
- 36 inches along each side
Abbreviations and Tutorial Links
- Chain (ch)
- Double Crochet (dc)
Instructions
Note: I worked 4 rows of each color, and then two more rows of the variegated yarn. To see how to change colors, check out the video!
Ch 4 and join the chain furthest from the hook to create a ring.
Row Instructions
Row 1: Ch 3, then in the center of the ring work (2 dc, ch 2, 3 dc).
Row 2: Ch 3 and turn. In the very first stitch (at the base of the chain 3) work 2 dc. Work a dc in each of the next 2 stitches, then in the corner space, work (2 dc, ch 2, 2 dc). Work a dc in each of the next two stitches, then work 3 dc in the turning chain space.
*Note: For row 3 and each row after, you’ll work it like row two, but adding side stitches to each row. This is how the triangle will grow wider and taller. The points of the triangle are always worked the same. In the video, I work the first 5 rows of the pattern stitch by stitch if you need the visual.
Row 3: Ch 3 and turn. In the very first stitch (at the base of the chain 3) work 2 dc. Work a dc in each of the side stitches of the triangle, then in the corner space, work (2 dc, ch 2, 2 dc). Work a dc in each of the side stitches, then work 3 dc in the turning chain space.
Repeat row 3 until the shawl is 36 inches down each side and 50 inches across the top edge or until desired length. Fasten off and weave in any ends that remain.