Crochet Tulip Bandana Tutorial

Introduction
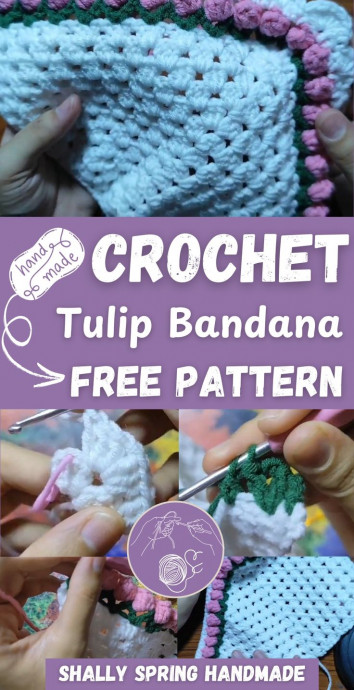
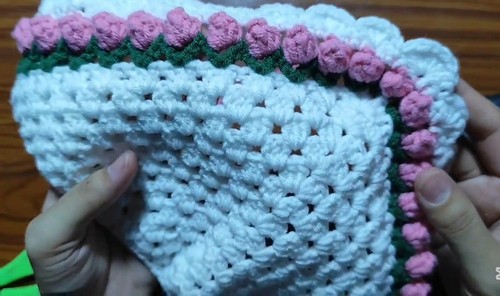
The Crochet Tulip Bandana is a delightful accessory perfect for adding a pop of color and style to any outfit. With its charming tulip design and cozy yarn, it's not just a fashion statement but a fun and practical piece to wear. Whether you're looking to stay warm in style or simply brighten up your day, this bandana is sure to bring a smile to your face. Grab your crochet hook and yarn, and let's create a fabulous accessory that will have you feeling fabulous in no time!
Materials
- White yarn (for the base and border)
- Pink yarn (for tulip flowers)
- Green yarn (for leaves)
- 3mm crochet hook
- Yarn needle for weaving ends
- Scissors
Stitches & Techniques Used
- Magic Circle
- Chain (ch)
- Double Crochet (dc)
- Slip Stitch (sl st)
- Single Crochet (sc)
- Bobble Stitch (5 dc bobble)
Bandana Base
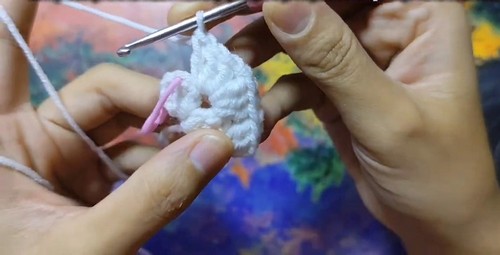
Row 1
- Begin with a magic circle.
- Ch 3 (counts as first dc).
- Make 2 dc into the magic circle.
- Ch 1.
- Make 3 dc into the magic circle.
- Pull the tail to close the circle.
Row 2
- Ch 3 and turn.
- Make 2 dc in the first stitch.
- In the ch-1 space: 3 dc, ch 1, 3 dc.
- In the last stitch: 3 dc.
Row 3
- Ch 3 and turn.
- Make 2 dc in the first stitch.
- Make 3 dc in the next space between dc groups.
- In the ch-1 space: 3 dc, ch 1, 3 dc.
- Make 3 dc in the next space.
- Make 3 dc in the last stitch.
Rows 4 to 13
Repeat the same increase pattern as in Row 3:
- 2 dc at the start,
- 3 dc in each space between groups,
- 3 dc, ch 1, 3 dc in the center ch-1 space,
- and 3 dc at the end.
After completing Row 13, ch 1 and fasten off.
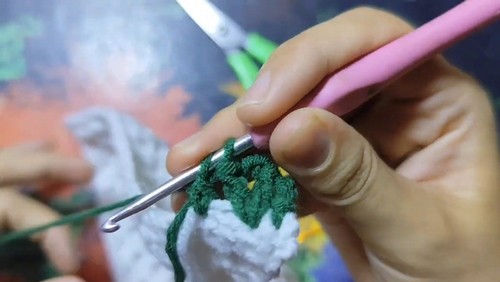
Adding Green Leaves
- Join green yarn to the last stitch of Row 13.
- Ch 3.
- In the next stitch: dc, ch 2, dc (this forms a V-stitch).
Repeat V-stitch (dc, ch 2, dc) in the middle dc of each 3-dc cluster across the edge.
- In the center V-stitch of the bandana: dc, ch 2, dc.
- Continue V-stitches across the other edge.
- In the last stitch: 1 dc.
- Ch 1 and fasten off.
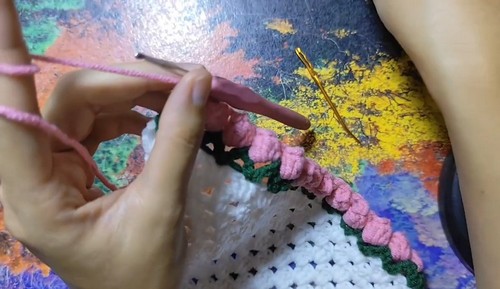
Adding Pink Tulip Flowers
- Join pink yarn in the first ch-2 space of a green V-stitch.
- Ch 3.

Work a bobble stitch in the ch-2 space:
- 5 dc into the space, then yarn over and pull through all 5 loops.
- Ch 2.
Repeat bobble stitch + ch 2 in each ch-2 space along the edge.
- In the center V-stitch: bobble stitch, ch 2.
- Continue bobble stitches on the opposite edge.
- In the last stitch: 1 dc.
- Ch 1 and fasten off.
Adding White Border & Ties
- Join white yarn at one side corner.
- Ch 1.
- Sc in the same stitch.
- Work 2 sc in each ch-2 space along the straight edge.
- Continue making sc evenly along the side edges.
- At the top corner: sc, ch 50 (for tie), then sl st back down the chain.
- Continue sc along the top edge.
- At the opposite top corner: sc, ch 50 (for second tie), sl st back down the chain.
- Continue sc down the final edge.
- Join with sl st to first sc.
- Ch 1 and fasten off.
- Weave in all loose ends.