Sign in Create account
Search

How to Make a Thread Holder

Penelope
Penelope
Feb 10, 2020 02:47 AM
A Comprehensive Guide on How to Make a Thread Holder for Organized Crafting
A Comprehensive Guide on How to Make a Thread Holder for Organized CraftingWe will need two pieces of corrugated cardboard . Cut out the details so that the direction of the corrugations were in different directions, it will make the tough part.
A Comprehensive Guide on How to Make a Thread Holder for Organized CraftingWe merge details and check sizes.
A Comprehensive Guide on How to Make a Thread Holder for Organized CraftingAwl outline the necessary holes so that they are on the back of selling too little. I usually marks the point at the distance of 3 cm from each other. In this case, the skewers are still under the glomeruli, so the distance is different.
A Comprehensive Guide on How to Make a Thread Holder for Organized CraftingPaste the item with a cloth. Through the wrong side again pierce our holes, to see them from the front.
A Comprehensive Guide on How to Make a Thread Holder for Organized CraftingThat’s the wrong side.
A Comprehensive Guide on How to Make a Thread Holder for Organized CraftingFrom cardboard cut out a piece a little smaller (for a couple of mm), paste it with a cloth, as well as the previous one. This Circuits we close the wrong side of everything to be beautiful.
A Comprehensive Guide on How to Make a Thread Holder for Organized CraftingCut the skewers (my 8 cm). Drips a little glue (titanium, the dragon) in the hole and a little tip palochki.vstavlyaem stick into the hole and a little scrolls of her, so she went through two layers of cardboard.
A Comprehensive Guide on How to Make a Thread Holder for Organized CraftingDone
A Comprehensive Guide on How to Make a Thread Holder for Organized CraftingThat’s all
A Comprehensive Guide on How to Make a Thread Holder for Organized CraftingBut in life

Introduction to Thread Holders

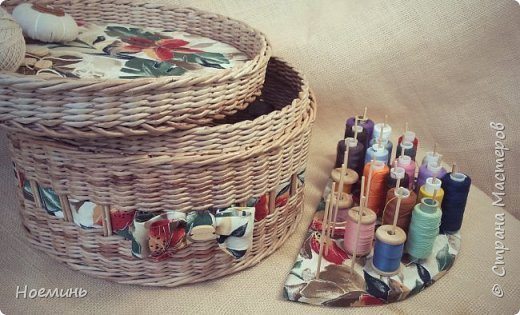
Keeping your threads organized is essential for any crafting enthusiast. A DIY thread holder can help you easily access your sewing supplies while keeping your workspace neat.

Materials Needed

  • Wooden board or dowel
  • Hooks or pegs
  • Drill
  • Screws
  • Sandpaper
  • Paint or stain (optional)
  • Measuring tape
  • Pencil

Steps to Create Your Thread Holder

Step 1: Prepare the Base

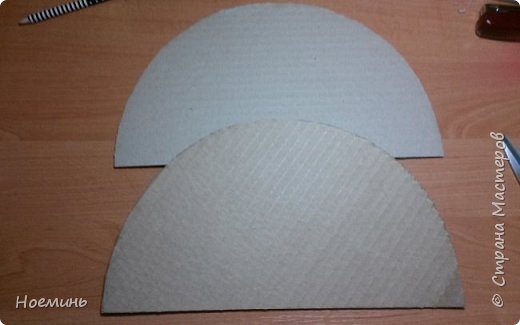
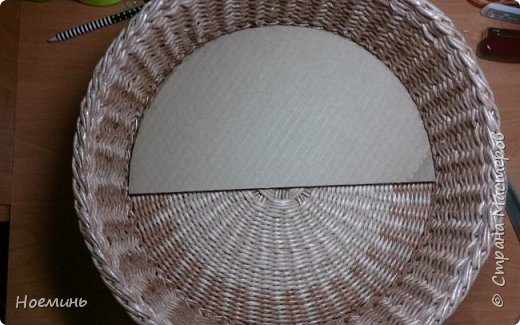
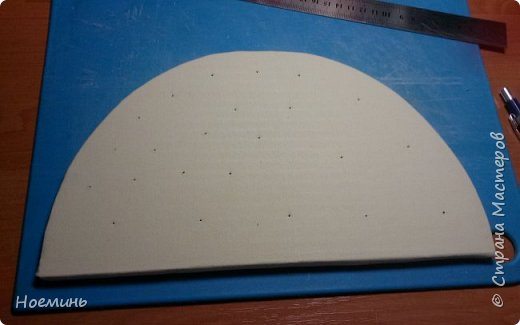
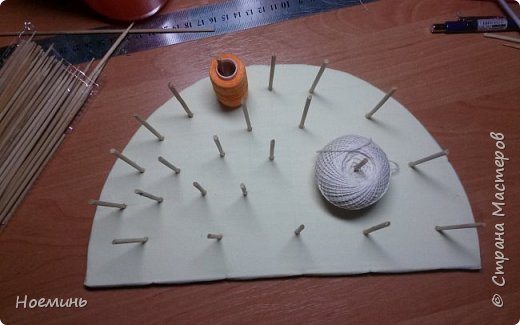
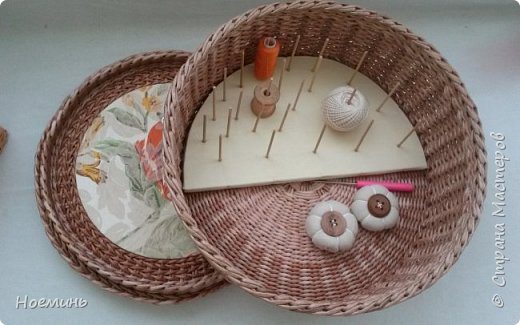
Choose a sturdy wooden board as the base of your thread holder. Measure and cut it to your desired size, ensuring it's large enough to hold all your thread spools.

Step 2: Sand the Edges

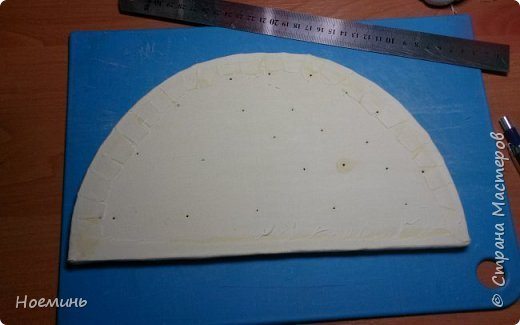
Use sandpaper to smooth the edges of the wooden board to avoid any splinters.

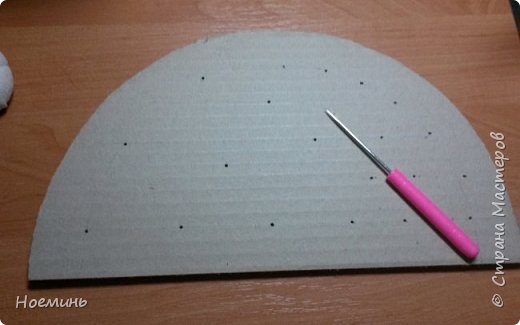
Step 3: Mark the Placement for Hooks

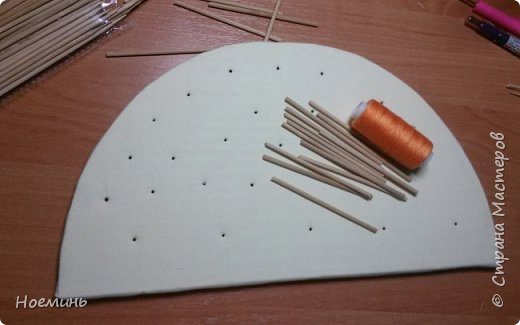
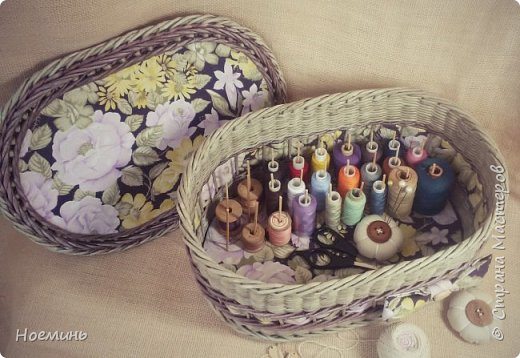
Decide how many thread spools you want to display and mark the placement of the hooks or pegs evenly along the board.

Step 4: Drill the Holes

Drill holes in the marked spots for the hooks. Make sure the holes are aligned properly to ensure stability.

Step 5: Attach the Hooks

Secure the hooks or pegs into the drilled holes using screws for added durability.

Step 6: Optional Finishing Touches

If desired, paint or stain the wooden base to match your sewing area. Allow it to dry completely before use.

Conclusion

Your DIY thread holder is now complete! This simple and practical solution will help you maintain an organized workspace while keeping all your sewing threads neatly displayed.

Like!4
1071
No comments