How to Crochet a Beautiful Square Napkin


Materials
Beige cotton yarn
Hook 0.95 mm
Instructions
Row 1
Crochet an amigurumi circle and close it.
Row 2
Make 3 stitches for lifting, then repeat 1 stitch * 1 BP dc, then 1 stitch* until the end of the row. Finish with a lark stitch.
Row 3
Combine 3 stitches with 2 BP and 1 dc, then repeat *2 stitches 3 BP dc, crocheted around the stitch of the previous row* until the end.
Finish with 1 BP dc knitted in the top of the stitch.Row 4
You will now have a square. Cast on 7 stitches (4 for lifting, 3 for crocheting the edge), then around the lower stitch, knit 3 BP 2 dc. Continue with *3 BP dc, 5 BP sc, 3 BP dc, 3 BP 2 dc, 3 stitches, 3 BP dc.* Repeat this motif around the circle and finish with 3 BP dc, 5 BP sc, 5 BP dc, then complete with a lark stitch.
Row 5
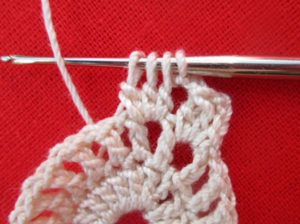
Cast on 3 stitches for lifting. Create an edge using *3 BP dc, 3 stitches, 3 BP dc, 6 BP dc, 5 stitches, 1 BP dc, 5 stitches, 6 BP dc*, repeating this motif until the end but finish with 5 BP dc and a lark stitch.
Row 6
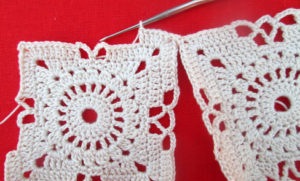
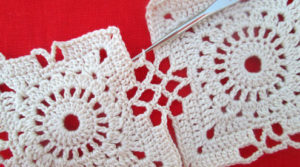
This is the final line. At this stage, you can finish crocheting a motif or smoothly move on to work on the next one, connecting them together. The pattern of completion of the first motif is repeated with 5 rows of the square. For the following elements, as you reach the last corner, crochet not 3 stitches, but only 1, and knit the next stitch through the corner of the finished element. Then continue to work using the above schemes.
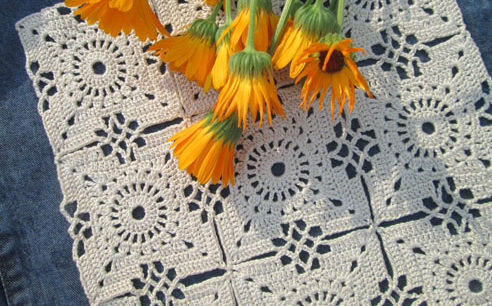
It is necessary to crochet the desired number of motifs, combine them during work or afterward, and your beautiful square napkin will be ready. Typically, difficulties in such work do not arise, and a clear and detailed scheme can help at any time.


