CrochetKnittingMenScarvesHatsGlovesSweatersCardigansSocksOther clothingWomenScarvesHatsGlovesShawls and cover upSweatersCardigansSocksSlippersBagsOther clothingChildrenScarvesHatsGlovesSweatersCardigansSocksSlippersBagsOther clothingHomeBlankets and plaidsRugsHome decorationsPetsSchemesOther hand-madeChat
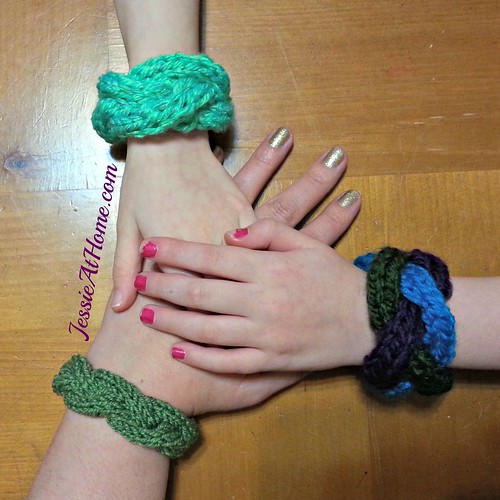
DIY Guide to Knitting a Stylish Bracelet


Size
1 to 3 inches wide, depending on yarn, and any length you need.
Yarn
Just about any DK or larger yarn, not much is needed.
Needle
Use needles about one size larger than suggested by your yarn, plus you will need one cable needle (or an extra double pointed needle) as well.
Gauge
Doesn’t really matter!
Stitches and Skills Used
- k ~ knit
- p ~ purl
- pco ~ provisional cast on *optional*
- st(s) ~ stitch(es)
Pattern Instructions
PCO 9
Row 1: K all
Row 2, 4, 6, 8: P all
Row 3: Slip 3 st to cable needle, hold in front, K3, K3 from cable needle, K to end
Row 5: K all
Row 7: K3, Slip 3 to cable needle, hold in back, K3, K3 from cable needle
Repeat rows 1 ~ 8 until bracelet is desired length.
Kitchener stitch (graft) start and end of bracelet together to complete. Weave in ends.
No comments
Write a comment
