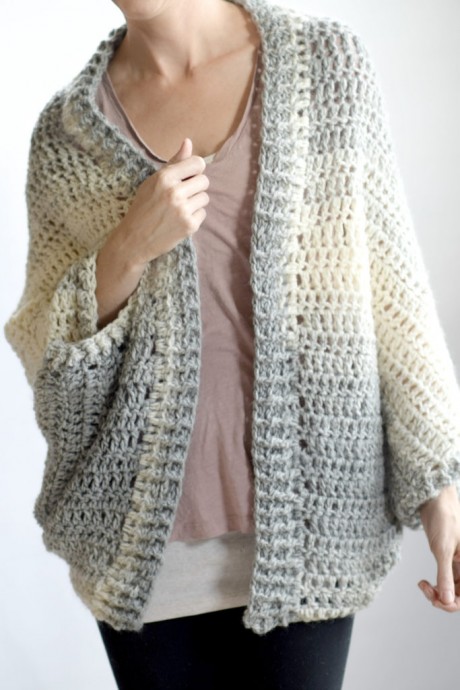
How to Crochet a Stylish Shrug with Ribbed Collar


You’ll Need:
3 skeins Lion Brand Yarn Scarfie (312 yards/skein) 150 g/skein. The pattern uses approximately 307 g.
Crochet hook 8 mm.
Scissors.
Tapestry needle.
Size:
The length is approximately 27″ and the bust circumference is about 44″.
Instructions
Ch 39.
Row 1: Dc in 3rd ch from hook and each st across the row (37).
Row 2: Ch 3 (counts as dc), turn, dc in each st across the row (37). Note: After a couple of rows, measure your piece - it should be at least 18″ wide. You can adjust the length of your original chain if needed to make it wider; any number of chains will work in this pattern.
Repeat Row 2 until the piece measures approximately 22″ or for about 28 rows.
Once the piece measures approximately 22″, finish the current row and ch 17 stitches.
Next, dc in 3rd ch from hook and each st across the row (52).
Next, dc across each row until the entire piece measures approximately 37″ inches (you’ve worked about 15″ of this middle section, or what I’ll also refer to as the “tail”).
Once the piece measures approximately 37″, tie off at the end of the row. Pick up yarn to match the opposite end, 37 stitches from the top.
Double crochet each row across until the entire piece measures approximately 59″ across.
Below: This is what your piece will look like at this point. It measures approximately 59″ from end to end, including that middle “tail” section that’s 15″ wide. You are now done with the main section, and you will fold, seam, and crochet the ribbed edge.
Tie off and weave in ends. Next, you will fold it to assemble! See the pictures on how to do that below.
Assembly
Fold your wrap as pictured below and seam. Finally, you will want to add the ribbed collar. This ribbing is worked by alternating front post and back post double crochet stitches evenly along the collar edge. Make your collar as wide as you’d like by crocheting as many or as few rows as you want.
To assemble this shrug, you will be folding each side inward and seaming to the middle “tail” and up the side of it as pictured below. Leave about 7″ of the side at the bottom, which gives you a good size arm opening.
