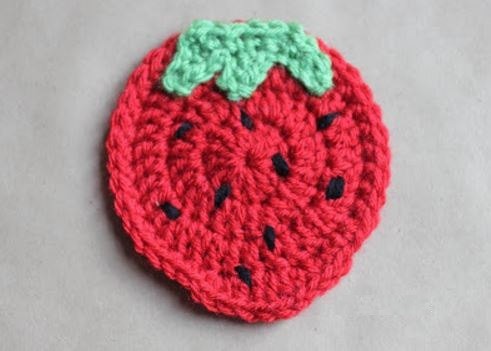
Step-by-Step Amigurumi Crochet Instructions

1st Row
Make an amigurumi ring with red yarn, 2 chain stitches, and 12 double crochets in the ring. Complete the circle with a double crochet and finish with 2 chain stitches.
2nd Row
Work 2 double crochets in each stitch around the circle, followed by 2 chain stitches. This will result in 24 double crochets.
3rd Row
Repeat the following pattern: *2 double crochets in the 1st stitch, followed by 1 double crochet in the next 2 stitches*. Continue this from * to *, creating a circle. Finish with 1 chain stitch, resulting in 36 double crochets.
4th Row
Single crochet in each stitch until you reach the last 5 stitches. In the next stitch, work 2 half double crochets, then 2 double crochets in the next stitch, followed by 2 half double crochets in the next stitch, and finally 2 single crochets in the last stitch. Complete the circle in the 1st single crochet, bind off the last stitch, and weave in the ends.
Leaves
Make 5 chain stitches with green yarn. Work single crochets to the end of the chain, then make another 5 chain stitches and perform single crochets to the end of this chain as well. Lastly, make single crochets to the end of the chain and along the upper part of the first 2 leaves. Bind off the last stitch, leaving a long thread for sewing.
Final Touches
Weave in the ends of the threads and embroider black seeds to complete your amigurumi project.
