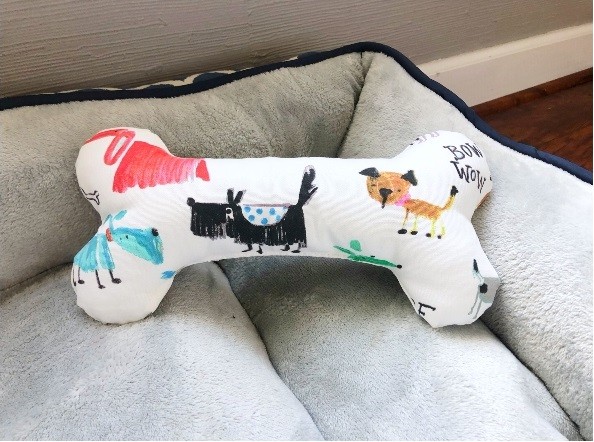
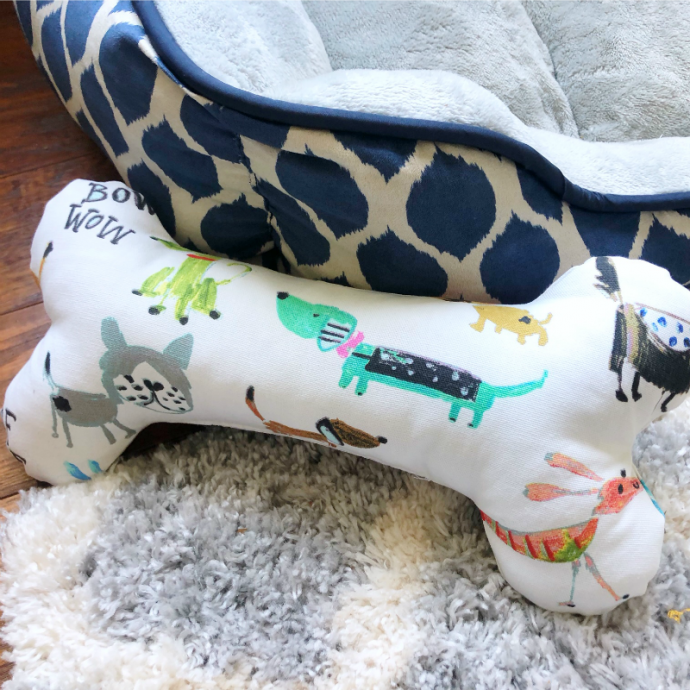
How to Make a DIY Dog Bone Toy

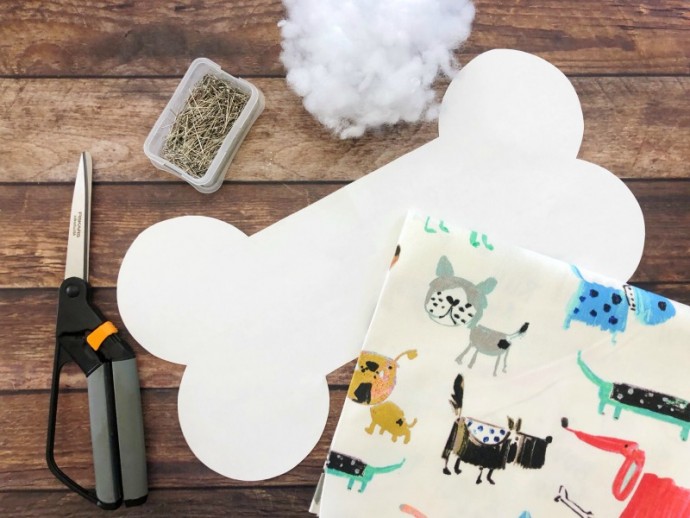
You'll Need:
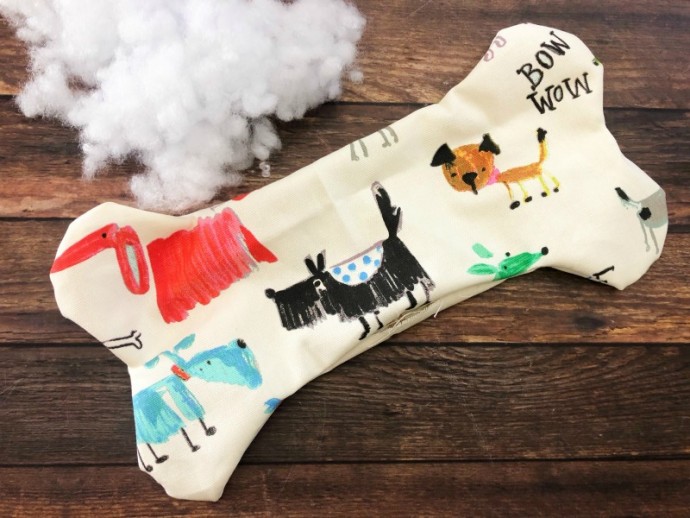
A piece of upholstery fabric;
Drawing paper;
A 4” circle lid or plastic bottle;
A sewing machine;
Stuffing;
Pins;
A ruler;
A pencil;
Scissors;
Thread.
Instructions
Fold a large piece of drawing paper in half. On the folded line, draw half a dog bone. The sides should be 3” tall and the width between the two lines should be 5”. Trace a 4” circle lid (or water bottle) onto the top sides of the bone.
Cut out the bone shape and open it up.
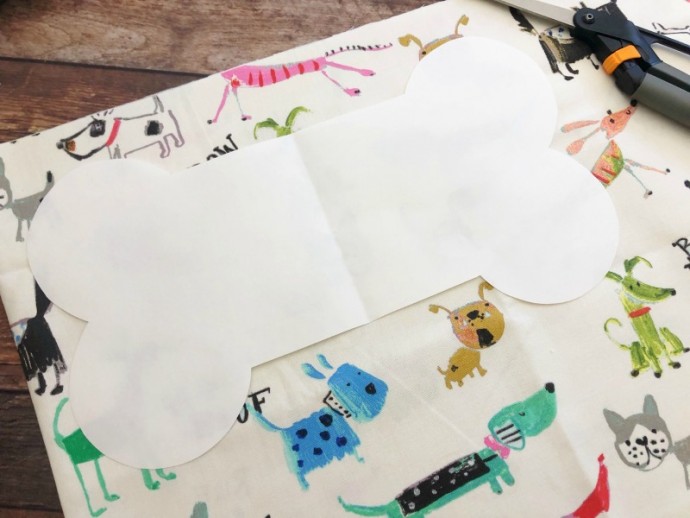
Turn your fabric inside out and fold it in half. Trace the bone shape onto one side, pin it together along the edges, and cut the fabric out.
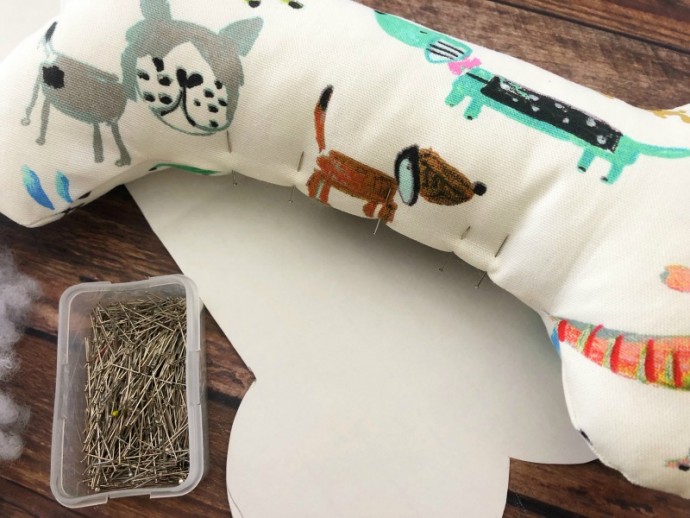
Move the pins to start at the sides and pin them into the sides of the fabric.
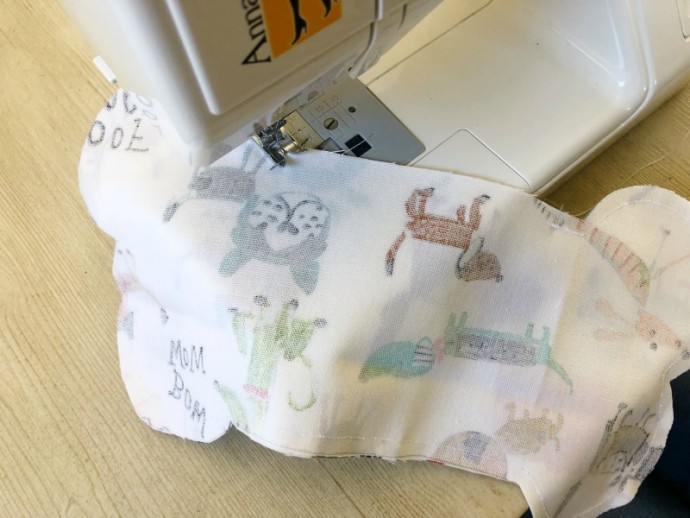
Sew along the edges with a 1/2” seam allowance. It might be a good idea to double-stitch the edges if you have a heavy chewer. Leave a 4” opening on one side.
Carefully turn the fabric inside out and stuff the bone with stuffing, making sure the ends of the bone are full.
Turn the fabric of the 4” opening in, pin it together, and either sew with your machine or hand sew with a blanket stitch to close it—tie a knot.