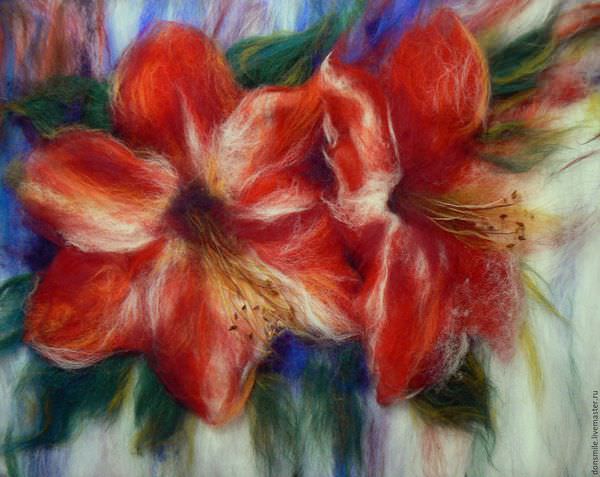
Crafting Beautiful Wool Art Pictures

You'll Need:
Here are the materials required to create your wool art:
- Photo frame with clips
- Fusible webbing
- Scissors
- Tweezers
- Wool of the following colors: white, light-yellow, different shades of green and red
Instructions
Follow these steps to create your wool art masterpiece:
-
Paint a white background for your picture. Pull woolen thread from the skein, fluff it a little with your fingers, and lay it on the base. Fix the first layer with glue.
-
At the bottom of the picture, create a mixture of yellow and white wool, starting with half of the picture.
-
Lay pieces of wool for the grass, randomly cutting them with 3 mm scissors.
-
Form a flower stem. Nip off a few fibers of different shades of green. Twist them in your palms to create a twig and place it on the picture. Carefully shape the stem with tweezers.
-
To form the petals, take a wide strand of your desired color. Spread the fibers well in your palm, outline the required size of the petal, and cut it off with scissors from both ends.
-
Place the petal on the surface and spread the fibers using tweezers.
-
For the center of the flower, create a small skein of wool piled in a circle. To give the flower a more natural look, add a couple of strands of adjacent colors to each petal.
-
With a darker shade, you can shade the contours of the flower picture.
-
During your work, periodically place glass over the picture. This ensures a snug fit to the coat and allows you to timely detect any errors in the execution. After finishing the picture, clamp it under the glass with the clamps and trim the excess wool along the edges.
