Crochet Blanket Stitch Tutorial

Crochet Blanket Stitch Overview
Crochet blanket stitch is a wonderful technique that adds a cozy charm to your handmade blankets. Not only is it beginner-friendly, but it also creates a lovely texture that makes your project look professional and inviting. With just a simple combination of basic stitches, you can create a beautiful border or pattern that will impress everyone who sees it. So grab your crochet hook, some soft yarn, and get ready to stitch up a snuggly masterpiece with the delightful crochet blanket stitch!
Materials Needed for This Stitch Tutorial
Yarn – You can use any yarn in colors of your choice. The choice of yarn would depend mainly on the type of project, season, and the intended use.
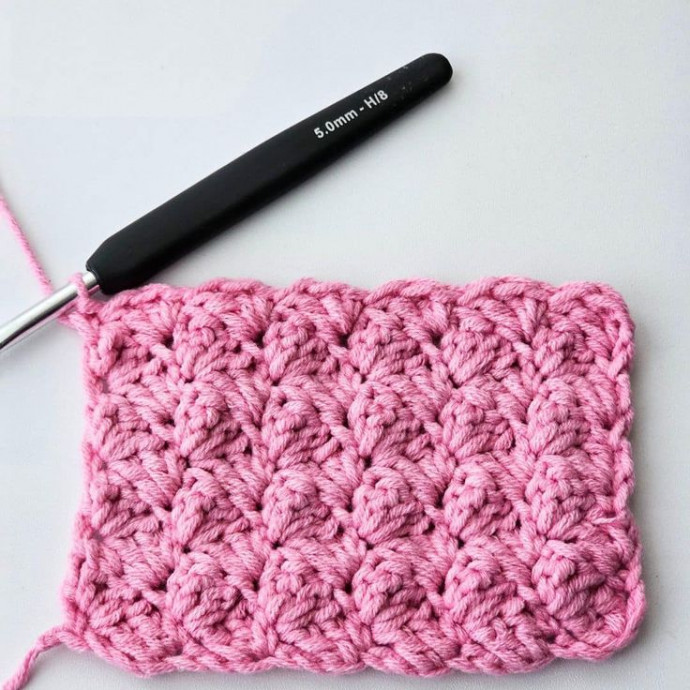
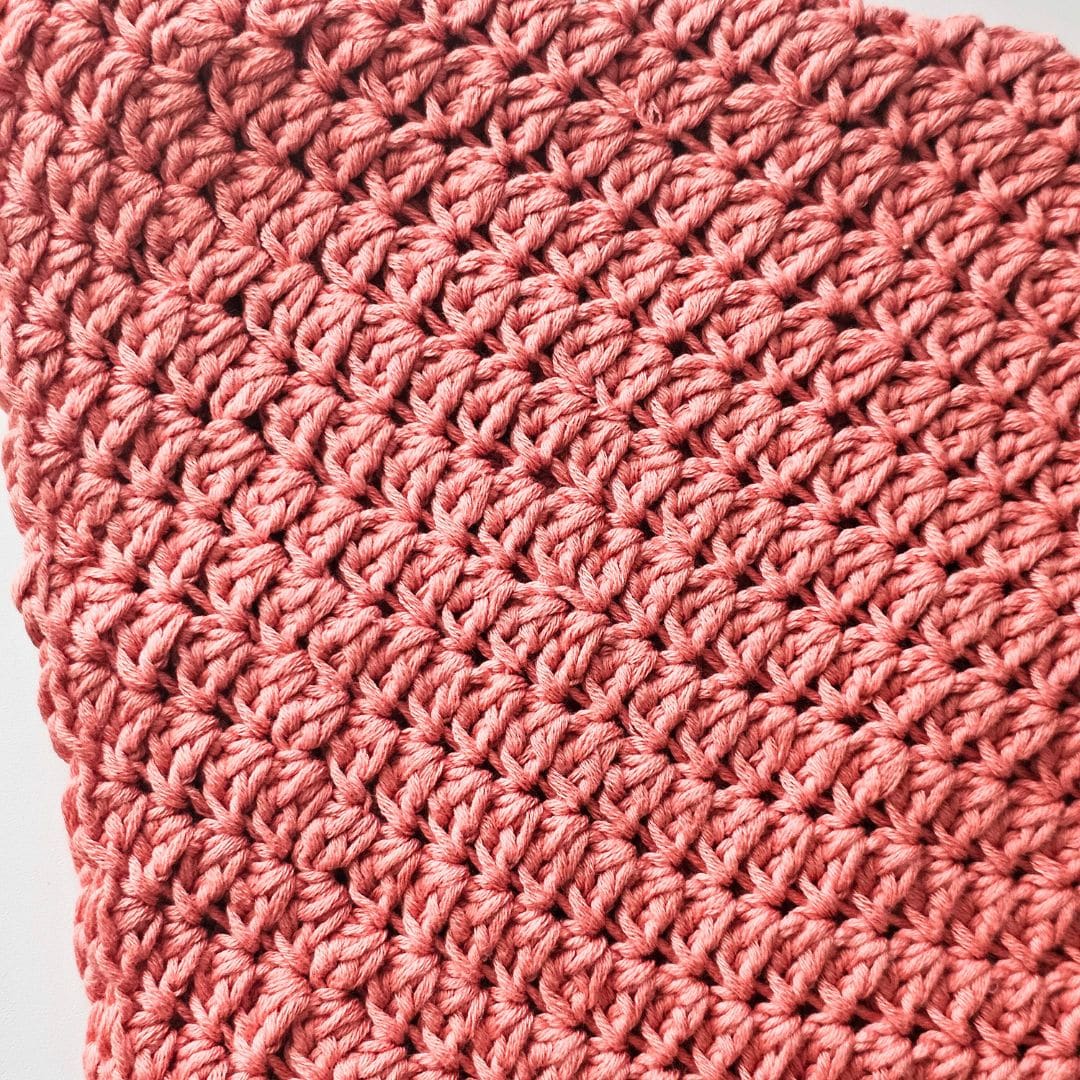
This prototype was made using worsted-weight yarn.
Difficulty Level – Beginner
Terms – US Terminology
Stitches Abbreviations
- Chain/chains – ch/chs
- Chain space – ch sp
- Stitch(es) – st(s)
- Slip Stitch – sl st
- Single Crochet – sc
- Double Crochet – dc
How to Crochet Blanket Stitch Pattern
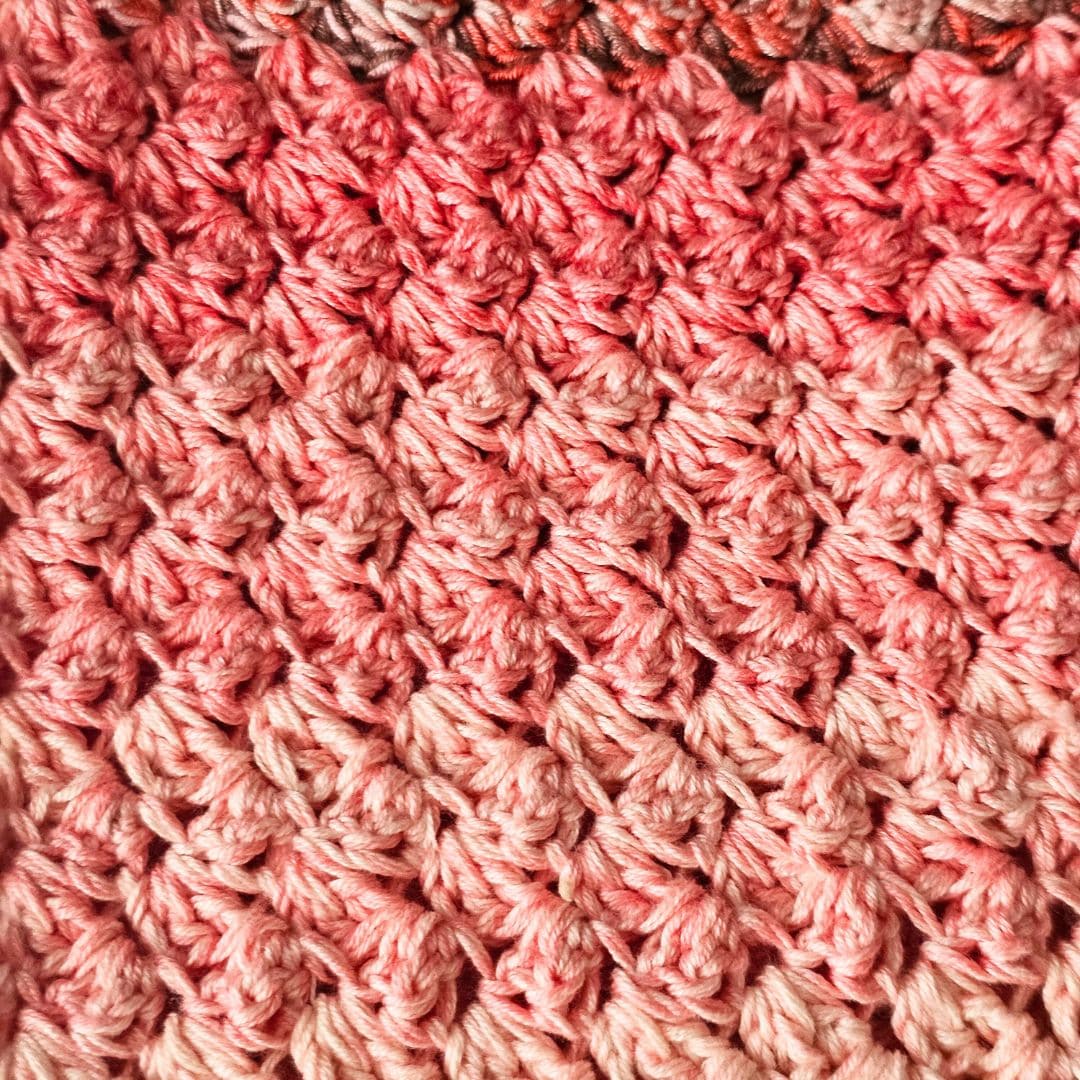
The crochet blanket stitch can be made in either rounds or in rows.
I love the stitches’ texture when made in rows/flat. However, I have discovered an easy way to achieve the same look by turning after each round.
Crochet Blanket Stitch in Rows
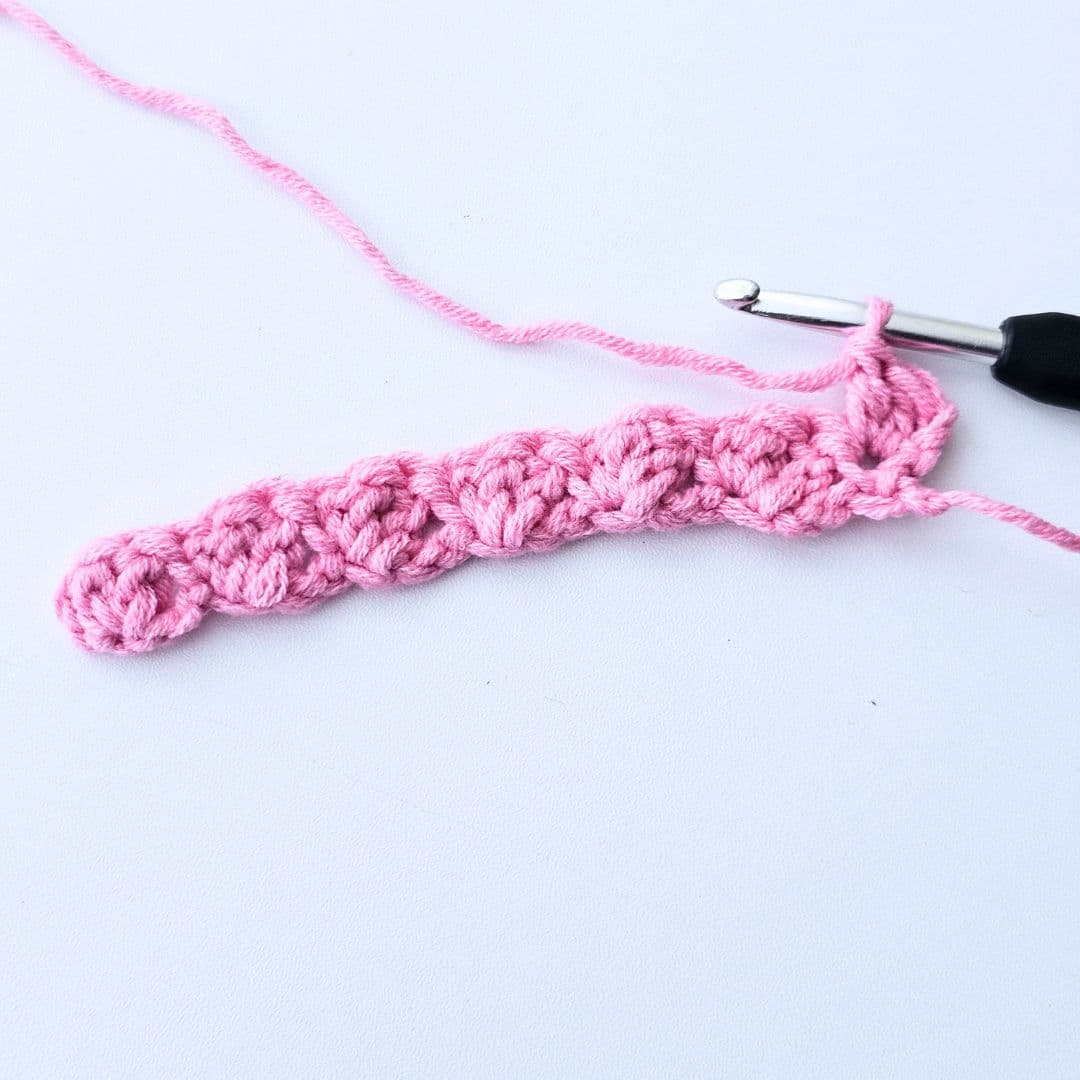
Make a starting chain in multiples of 3. For this tutorial, I am using 21.
Row 1: Chain 21, 2 dc in 3rd ch from hook, *skip 2 chs, sc in next ch, 2 dc in same ch, repeat from * until the last 3 chs, sc in last ch, turn. 6 sc, 12 sc

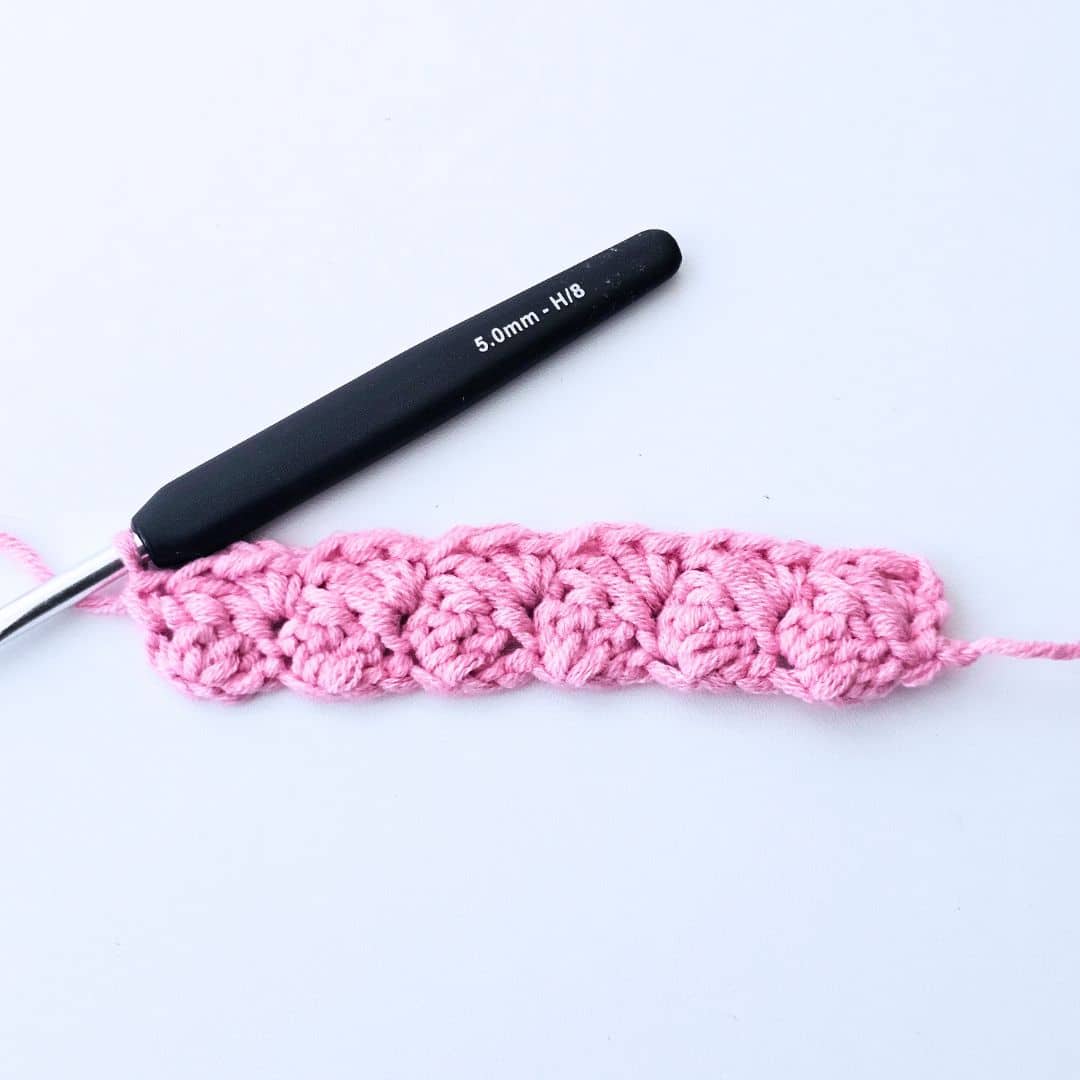
Row 2
Ch 2 (does not count as a stitch, here and throughout), 2 dc in first sc below, *skip next 2 dc, (sc, 2 dc) in next sc, repeat from * across row, sc in last st, turn. 6 sc, 12 sc
Repeat Row 2 until you have your desired width.
Fasten off and enjoy your project.
Blanket Crochet Stitch in Rounds
There are two methods I love to use when working in rounds.
Option 1: Raised Stitches
Turn your work to work the next round from the wrong side. This step is vital to continue the “raised sts”.
Chain 21, join with a sl st to the beginning chain, make sure not to have a twist.
Round 1: Ch 2, 2 dc in first ch, *skip 2 chs, sc in next ch, 2 dc in same ch, repeat from * until the last 3 chs, sc in last ch, join with a sl stitch to the beginning ch 2. 7 sc, 14 sc
Turn
The aim is to start the next round by crocheting into the last sc. Usually, you would place your first stitch in the first st from the last round, but with this method, after joining to the beginning chain 2, turn, and then start the next round by crocheting anticlockwise.
After round 2, you join and then turn to start round 3 with the last st from round 2 (i.e., sc).
Round 2
Ch 2, 2 dc in first sc below, *skip next 2 dc, (sc, 2 dc) in next sc, repeat from * around, sc in last st, join with a sl stitch to the beginning ch 2. 7 sc, 14 sc
Turn
Crocheting from the Right Side
Round 3: Ch 2, 2 dc in first sc below, *skip next 2 dc, (sc, 2 dc) in next sc, repeat from * around, sc in last st, join with a sl stitch to the beginning ch 2.
Continue to repeat rounds 2 and 3.
Blanket Crochet Stitch in Rounds
Option 2: Flat Stitches
Chain 21, join with a sl st to the beginning chain, make sure not to have a twist.
Round 1: Ch 2, 2 dc in first ch, *skip 2 chs, sc in next ch, 2 dc in same ch, repeat from * until the last 3 chs, sc in last ch, join with a sl stitch to the beginning ch 2. 7 sc, 14 sc
Round 2: Ch 2, 2 dc in first sc below, *skip next 2 dc, (sc, 2 dc) in next sc, repeat from * around, sc in last st, join with a sl stitch to the beginning ch 2.
Continue to repeat round 2 until you have your desired length.
Fasten off.