Crochet Your Very Own Delightful Dishcloth

Discover the joy of crocheting your very own delightful dishcloth! This creative and practical project allows you to add a touch of handmade charm to your kitchen. With just a few simple crochet stitches, you can transform a ball of yarn into a beautiful and functional dishcloth that will make your daily chores a little more enjoyable. Crocheting a dishcloth is not only a fun and relaxing activity, but it also allows you to personalize your kitchen with unique designs and colors. You can choose from a wide variety of crochet patterns, ranging from simple and classic to intricate and eye-catching. Whether you prefer a traditional granny square design or a modern geometric pattern, there is a crochet dishcloth pattern out there that will suit your style perfectly.
Materials
4.5mm/ G hook or hook needed to obtain the gauge
Yarn needle
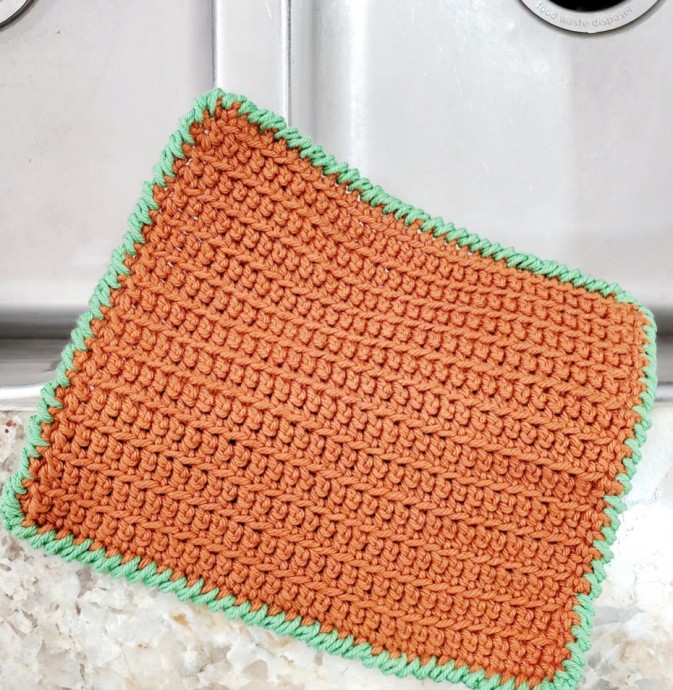
Worsted weight yarn. Sample used Dishie by We crochet. You are welcome to use another cotton yarn
Scissors
Gauge
18 sts by 16 rows of sc flo = 4” by 4”
Abbreviations
- Sc - single crochet
- Sc flo - single crochet front loop only
- Sl st - slip stitch
- Ch - chain
- St(s) - stitch(es)
- PUAL - pull up a loop
Skill Level
Easy
Yardage
80 yards
Size
8” width
8” height
Notes
- To change the size of the cloth, remove or add number of chains at the beginning
- Ch 1 does not count as a stitch throughout
- There are 3 options to finish the cloth, one without a border, and two others with different borders.
- Decide which type of border you are going to make before you begin.
Instructions
Ch 35
You are welcome to adjust the size of the cloth.
Row 1: Sc in the second chain from the hook. Sc in each ch until end of row. (34)
Row 2: Ch 1 and turn. Sc in the first st, sc flo in each st until the last row, sc in the last st. (34)
Rows 3-26: Repeat row 2. (34)
Note: If you do not want a border, cut yarn, fasten off and weave in ends.
To continue with a border, do not cut yarn.
Border Instructions
Ch 1 and sc in the same st, this makes a corner.
Work sc into each stitch along the edge and continue to the corner.
Sc, ch 1 sc in the same st and continue until the end of the border.
Cut yarn, fasten off, and weave in ends.
Enjoy your new cloth! I cannot wait to see the different versions and colors you choose. Be sure to tag me so that I see it.