Other hand-made
Create topic
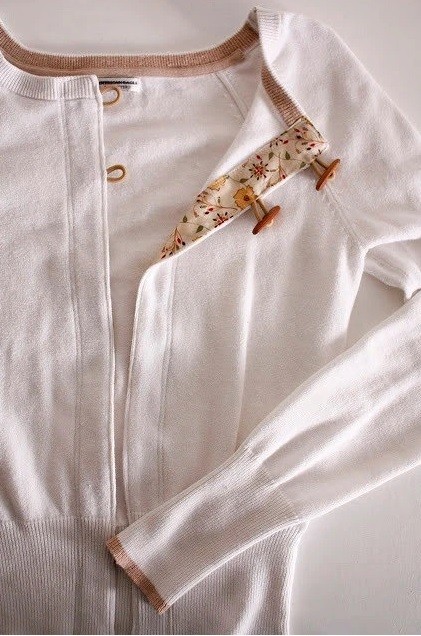
How to Turn Jumper into Cardigan
You’ll Need: Jumper; Fabric; Buttons; Scissors; Pins; Iron; Sewing machine; Threads. Instructions Wash and dry the upgraded cloth and decoration fabric before work. Find the middle of the front of the jumper and cut it exactly along this line. From the fabric, cut 2 identical stripes. The length of each is approximately 5 cm longer than the length of the cut line, the width is at your discretion, in this case 5 cm. On each strip, iron inside out about 1....
Feather Print for T-Shirt
You’ll Need: T-shirt; Sheet of foamiran; Pen or marker; Sheet of paper; Scissors; Glue; Acrylic paint for fabric; Cardboard; Iron. Instructions 1. Draw a full-size print element on the foamiran sheet: in this case, a feather. Cut out the feather shape. 2. Glue the stencil to another piece of foamiran, as this will make it easier to use the stencil. 3. Smooth the shirt and place cardboard or cellophane inside to prevent the print from transferring to the second layer of fabric. ...
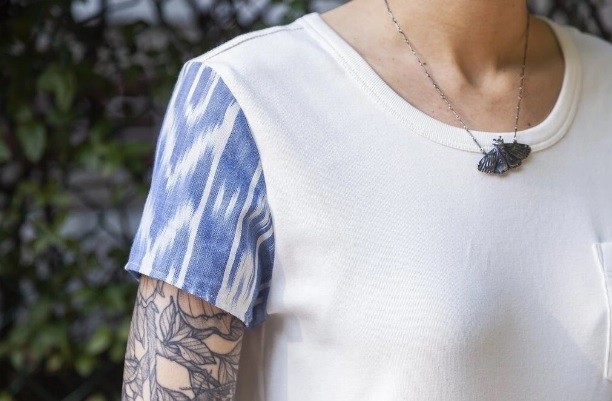
T-Shirt Sleeve Decoration
You’ll Need: T-shirt; Fabric for trimming; Scissors; Chalk or pencil; Ruler; Pins; Sewing machine; Threads. Instructions On the sleeve that you plan to replace, place a mark in front of the shoulder seam. Carefully cut the sleeve as close to the seam as possible, but without damaging the seam. Cut the seam of the sleeve. Place the finishing material upside down, put the cut sleeve on top, combine the lobes. Pin the sleeve to the material, circle using the sleeve as a template, and ...
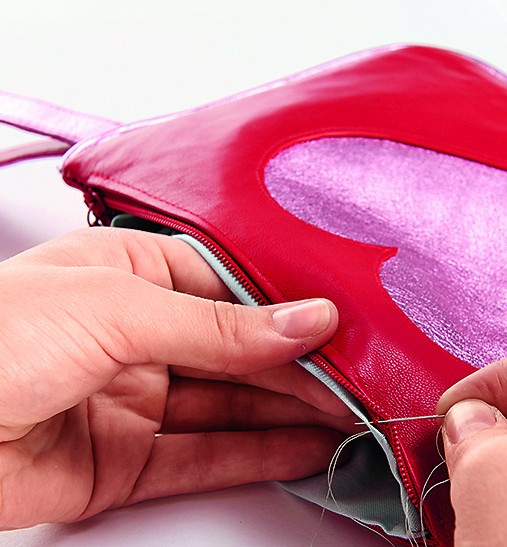
Leather Beauty Bag
You’ll Need: Sheets of leather (different); Backing fabric; Vliesofix; Cord; Pins; Clasps; Needle; Glue for leather; Threads; Zipper 18 cm long; Ruler; Pencil; Scissors. Instructions Cut out a strip of 26 x 3 cm from the leather, glue a rigid pad 26 x 1.5 cm along the center. Tuck the longitudinal sections of the strip of leather and fix it with leather glue (Prym). Iron vliesofix to a flap of red skin. Cut a strip of 26 x 1.5 cm and press it to the back...
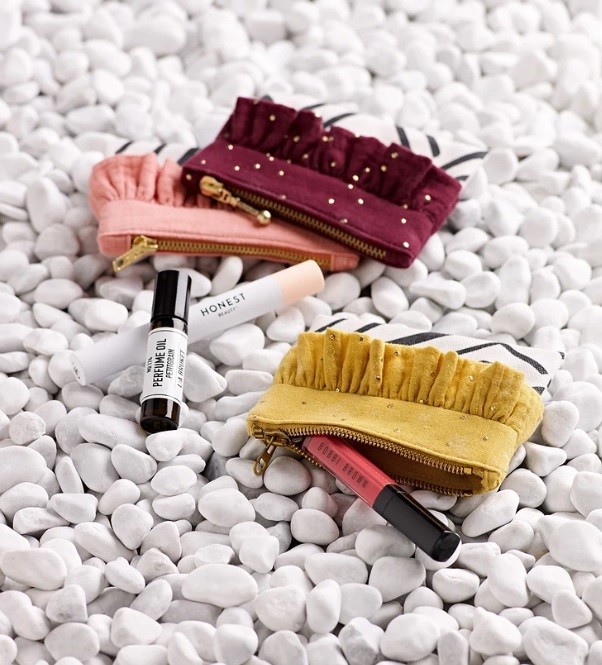
Elegant Lipstick Case
You’ll Need: Small sheets of canvas, muslin, cotton fabrics; Zipper about 12 cm long; Threads; Vlieseline G 710; Scissors; Pins; Needle; Ruler. Instructions Cut Out: From Muslin: A (Edging for the ends of the zipper) - 2x (without allowances); B (Upper part of the cosmetic bag) - 2x (with allowances of 1 cm); C (Ruffle with a fold) - 2x (with allowances of 1 cm). From Canvas: D (The lower part of the cosmetic bag with a fold) - 1x (with allowances of 1 cm). ...
Organizer for Needles and Hooks
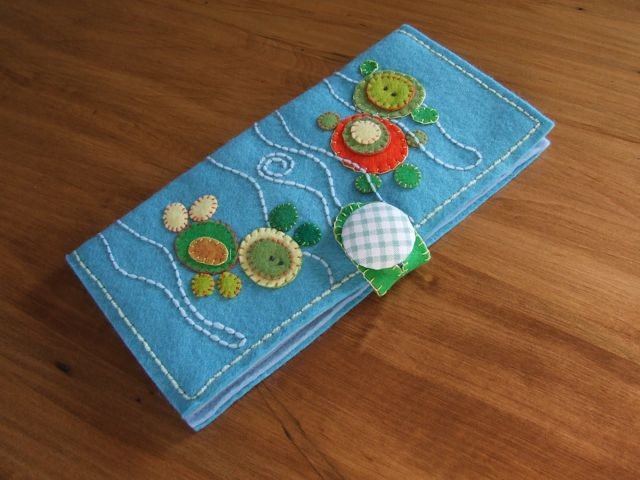
You’ll Need: The odds of yarn; Felt; Mouline threads; Fabric; Scissors; Needles. Instructions Start by picking up a felt piece for the base measuring about 25 x 25 cm and small pieces for embroidery details. Cut circles of different diameters. Lay out the circles in the form of an ornament. Then sketch it, remember or take a picture. Pin up a few elements that need to continue to work, and remove the rest to the side. Then, in the process of creating an ornament, check your s...
Felt Box for Small Things
You’ll Need: Felt; Cardboard; Glue; Scissors; 2 stripes of leather for handles; Threads; Sewing machine. Instructions Step 1: Prepare the Materials Cut out 2 identical parts from felt and a part from cardboard, as shown in the photo. Glue the cardboard between the layers of felt. Sew as shown in the photo. Trim the edges evenly. Step 2: Assemble the Basket Assemble the basket as shown in the photo. Step 3: Final Touches Sew and evenly trim the unwanted felt. Step 4: Attach...
Compact Organizer
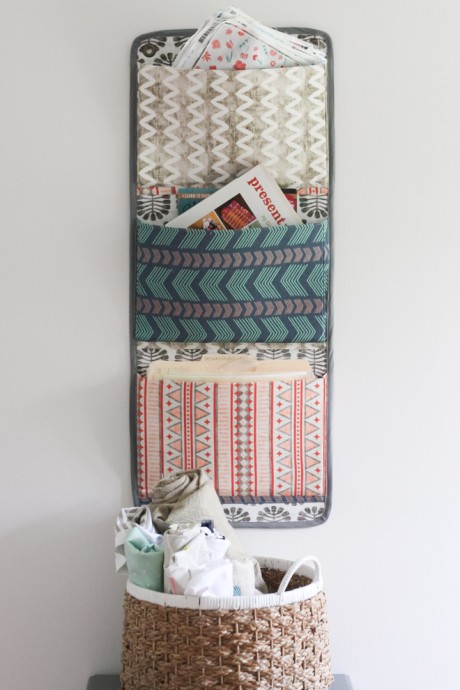
You’ll Need: Big sheet of fabric for the double-sided base; Smaller sheets for pockets; Thin plastic material for base (or woven interfacing); Ribbon or bias tape; Eyelets. Instructions You can work either on a sewing machine or manually. First, decide on the size of the organizer and pockets. For example, in this case, we build on the size of a standard A4 sheet - you can use it as a template. Cut out rectangles of the appropriate size from plastic, and from the fabric - details of a size...
Stylish Triangle Leather Bag
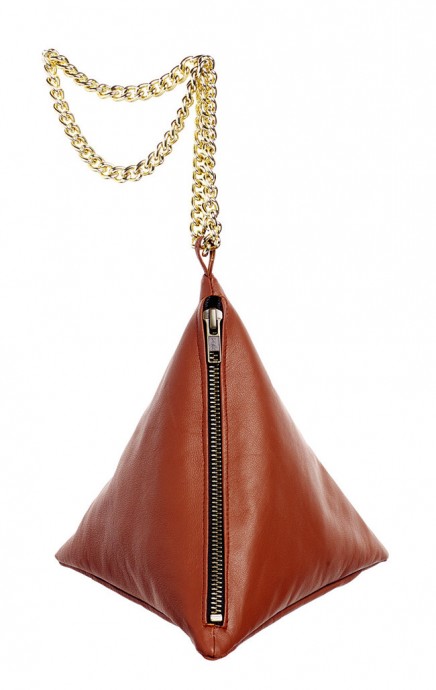
You’ll Need: Leather; Zipper 18 cm; Threads; Glue for leather; Scissors; Measuring rule; Patchwork ruler; Clasps for fabric; Pencil; Chain with links 50 cm long; Template. Instructions Transfer the template to the skin and cut it three times with allowances for seams of 1 cm. Cut out a loop measuring 8 x 1.8 cm. Turn the longitudinal sections of the loop on the wrong side and fix with glue for the skin. Stitch edges to edge. Cut the allowances for the zipper, u...
Storage Fabric Basket
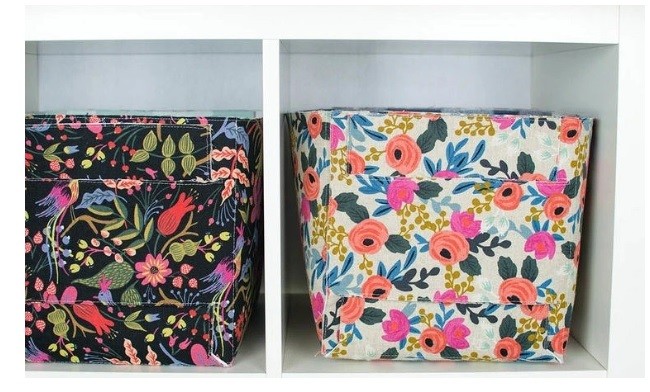
You’ll Need: Fabric; Thick double-sided vlieseline or woven interfacing; Iron; Ruler; Pencil or marker for fabric; Scissors; Sewing machine; Threads. Instructions Step 1: Prepare Fabric Rectangles Cut out two identical rectangles from two types of fabric measuring 76x81 cm. Glue them together with non-woven or doubler, forming a “sandwich” so that the front sides of the fabric are facing outwards. Step 2: Mark Lines Retreat 25 cm from each of the edges and draw 4 lines. Step ...
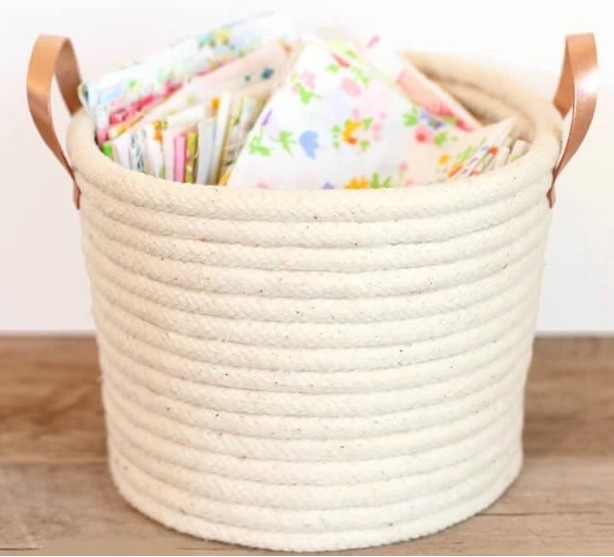
Basket from Thick Cord
You’ll Need: Thick cord; Glue gun; Basket (for making shape); Paper; Scissors; 2 strips of leather for handles; Sewing machine; Threads. Instructions Step 1: Forming the Base Start twisting the cord into a spiral, forming the bottom. Glue well and press each turn of the cord. Step 2: Creating the Walls Make the bottom of the right size. To make walls, use the form. Wrap it with paper to avoid staining it with glue. Continue to lay and stick the ...
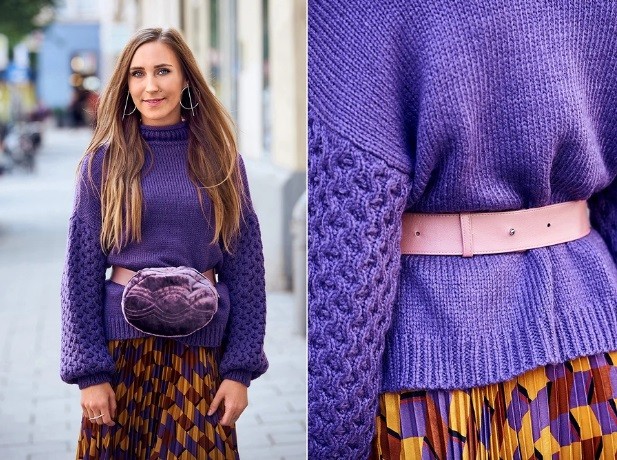
Velvet Belt-Bag
You’ll Need: Velvet fabric; Zipper 32 cm long; Piece of leather or eco-leather; Interlining decauville and volume fleece P120/P140 (both Freudenberg); Pins; Needle; Measuring tape; Dividing rule; Marker; Chalk; Carpenter’s glue; Safety pin; Scissors; Bias tape; Button stud. Instructions Prepare the part of the bag, A (size 25x15 cm) and stitch pattern F. Draw Details: In size 5 x 32 cm; With a size of 2 x 32 cm; D mea...
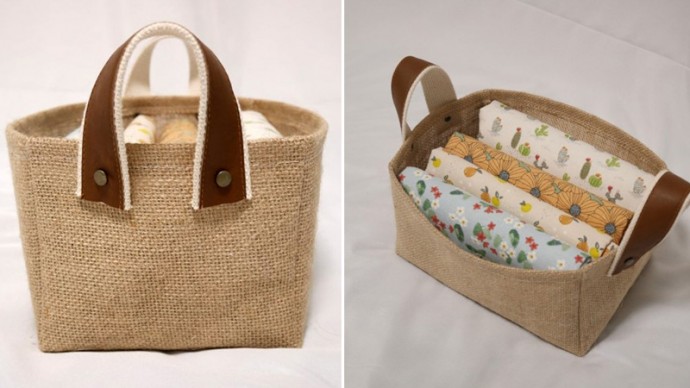
Bag for the Odds of Fabric
You’ll Need: Sackcloth or any dense cloth; Pins for patchwork (or clamps); Dress-making scissors; Ruler; Old leather belt; Chalk; Hammer; Awl; Bag fittings. Instructions: Cut out the part of the bag from sackcloth. Use the patchwork clamps to fasten the side seams. Stitch the side seams of the bag on a sewing machine. Turn the bag on the front side. Unscrew the upper sections of the bag on the wrong side and secure with clips. Sew the sti...
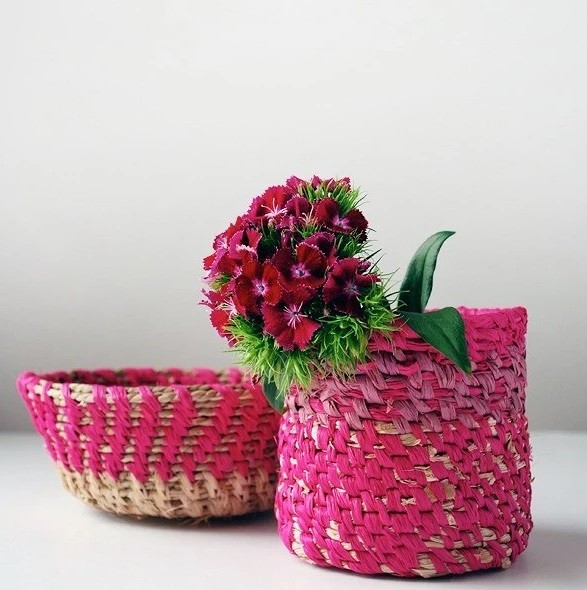
Hand-Made Raffia Basket
You’ll Need: Several colors of raffia; Scissors; Thick needle with big eye. Instructions Step 1: Prepare the Bundle Fold the warp fibers into a bundle. With a raffia of a different color, begin to wrap this bundle, then wrap it in a circle and fix it with a needle, as shown in the picture. Step 2: Form the Bottom Continue to form a flat bottom, laying the base fibers in a circle and sewing them with a needle using fibers of a different color. Add fiber base as needed. Step 3: Tr...
Fabric Basket for Toys
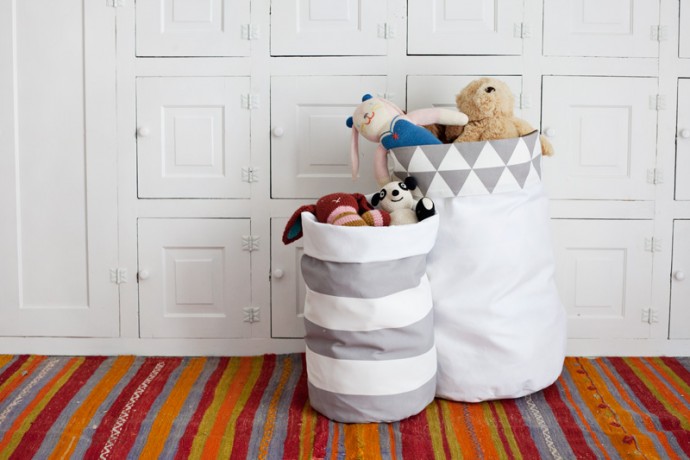
You’ll Need: Close texture of two colors; Measuring tape; Dress-making scissors; Disappearing marker; Pins; Sewing machine; Circle as a template (e.g. plate). Instructions Pattern the round bottom of the basket. Measure the circle with extreme accuracy. Open the side part of the basket. Part width: your circumference + 2 cm for seam allowances. Do the height you need. But the higher the basket, the less stable it is. Fold the unfinished part with the front side inwards and la...

