

Make Snowman John: Easy Crochet Amigurumi Pattern with Hat, Scarf & Buttons

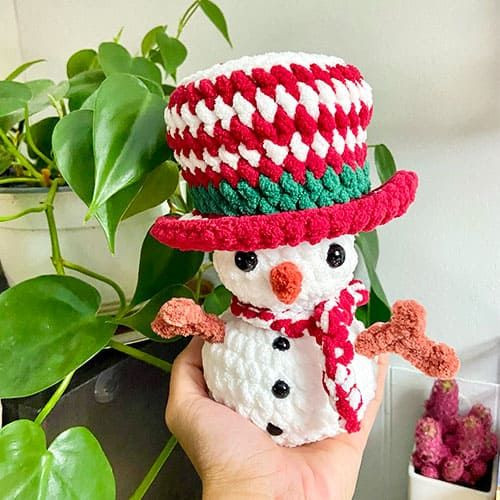
Create a charming winter companion with this Crochet Snowman John amigurumi pattern. This step-by-step pattern covers materials, abbreviations and detailed rounds to crochet Snowman John complete with a dark blue hat, light blue ribbon and scarf, carrot nose, brown twig arms and button eyes. It's perfect as a holiday decoration or a handmade gift.
Introducing Crochet Snowman John Amigurumi
This adorable winter creation is handcrafted with attention to detail. Snowman John features a cozy hat with a matching ribbon, a light blue scarf, twig-like brown arms, an orange carrot nose and button eyes. Follow the pattern below to make and assemble each piece, then finish with simple embroidery for the mouth.
Materials
The materials you'll need for creating Crochet Snowman John Amigurumi include:
- Yarn (honey bunny)
- Base color body (white)
- Hat color (dark blue)
- Arm color (brown)
- Hat ribbon (light blue)
- Nose color (orange)
- 5 mm crochet hook
- 2x 8 mm & 3x 5 mm safety eyes
- 3 safety eyes for buttons
- Black cotton yarn (mouth detail)
- Stitch marker, scissors, stuffing
- Needle for sewing (details only)
Abbreviations
Here are some abbreviations that will be used throughout the pattern:
- MR - Magic ring
- Sc - Single crochet
- CC - Change colors
- Inc - Increase
- Dec - Decrease
- Ch - Chain
- Slst - Slip stitch
- BLO - Back loop only
- FLO - Front loop only
- IF - Invisible finish
Hat and Ribbon
Creating the hat involves the following steps:
- MR: 8 sc
- inc x8 (16)
- (1sc, inc)x8 (24)
- (2sc, inc)x8 (32)
- BLO: 32 sc
- 32 sc (2 rounds)
- (6sc, dec)x4 (28)
- 28 sc
- CC to hat ribbon color (light blue)
- 28 sc
- Mark first BL with a stitch marker CC to primary hat color.
- FLO (6sc, inc)x4 (32)
- 5 sc, 5 inc, 12 sc, 5 inc, 5 sc (42)
- 42 sc
- IF: fasten off, and weave in end (see picture “IF”).
Head to Body
Transitioning from the hat to the body involves:
- Join white yarn with a slst and sc in the same marked stitch of round 12 (this counts as your first stitch).
- Don’t stuff the hat.
- (5sc, dec)x4 (24)
- (4sc, dec)x4 (20)
- (3sc, dec)x4 (16)
- (2sc, dec)x4 (12)
- (1sc, dec)x4 (8)
- (1sc, inc)x4 (12)
- (2sc, inc)x4 (16)
- (3sc, inc)x4 (20)
- (4sc, inc)x4 (24)
- 24 sc (3 rounds)
- Place safety eyes between rounds 10 and 11 with 5 stitches apart, centered with the flaps of the hat on each side.
- Start stuffing the head only: not the hat.
- (1sc, dec)x8 (16)
- (dec)x8 (8)
- FLO: (inc)x8 (16)
- (1sc, inc)x8 (24)
- (3sc, inc)x6 (30)
- 30 sc (4 rounds)
- (3sc, dec)x6 (24)
- Insert safety eyes as buttons on the center of the belly, aligned with each other between rounds: 16-17 and 18-19 and 20-21.
- Start stuffing the body.
- (1sc, dec)x8 (16)
- (dec)x8 (8)
- Fasten off, leaving a long tail in case you want to make a booty, or weave in the end tail.
Arms and Nose
Creating the arms and nose requires:
Use a smaller crochet hook (4 mm).
Nose with orange:
Insert hook 1 row underneath the eyes, centered with the eyes (see photo 1). Chain 3: 1 slst in the 2nd ch from hook, 1sc in the next ch. Slst back into the same stitch on the head where you started. Fasten off and weave in the end tail.
Arms with brown:
Insert hook 5 st away from the first button, repeat on both sides (see photo 2). Chain 8: 1 slst in the 2nd ch from hook, 3 slst, ch 3, 1 slst in the 2nd ch from hook, 1 slst and slst back into the same stitch where you started the ch (see photo 3). Slst down to the body and slst back into the stitch where you started. Fasten off and weave in the end & starting tail.
Booty
For the booty, you can either use the end tail of the body after fastening off or take a separate piece of yarn in the same color as the body (approx 15 cm).
Tip: You can use the same yarn as used for the body, but to create a sharper curve, try using cotton yarn.
Insert embroidery needle in the center of the back: between rounds 13-14. Exit between rounds 21-22 in the middle of the bottom side. Make a knot, pull tight (be careful not to break the yarn), make a second knot and weave in ends.
Mouth and Scarf
Embroider the mouth with black cotton yarn under the nose, covering 3 stitches.
For the scarf in hat ribbon color: light blue, chain 30: sc in 2nd ch from hook, 28 sc. Make an IF and weave in ends. Knot around the neck.
Quick Tips
- Use a stitch marker to track rounds and the first stitch after color changes.
- Place safety eyes before stuffing to ensure correct alignment.
- Stuff gradually to get a smooth shape; the pattern specifies to stuff the head but not the hat.
- Sew and secure small parts (nose, arms, buttons) firmly if the toy is intended for children; follow safety guidance for small parts.
- Funny Pictures
-
 Funny Tweets With a Bit of Truth of Life
-
 Pics and Memes Full of Truth
-
 Perfect Memes for This Thursday
- Recipes
-
 Cranberry Jam Doughnuts With Spiced Orange Sugar
-
 BBQ Pineapple Jalapeno Pizza on Pita
-
 How to Cut a Watermelon
- Lifehacks
-
 Crochet Quick Chain Stitch
-
 Crochet Tutorial: Framed Shell Stitch
-
 Crochet Lace Edging
- Crochet Ideas
-
 Crochet Pumpkin Bear
-
 Crochet Santa Placemat
-
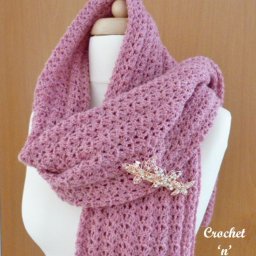 Crochet Lightweight Shawl
- DIY
-
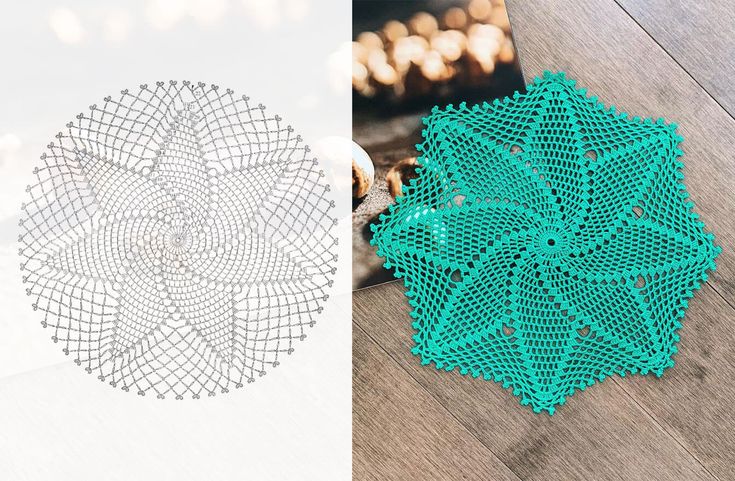 Make a Crochet Spiral Star Doily — Free US-Term Pattern & Tips
-
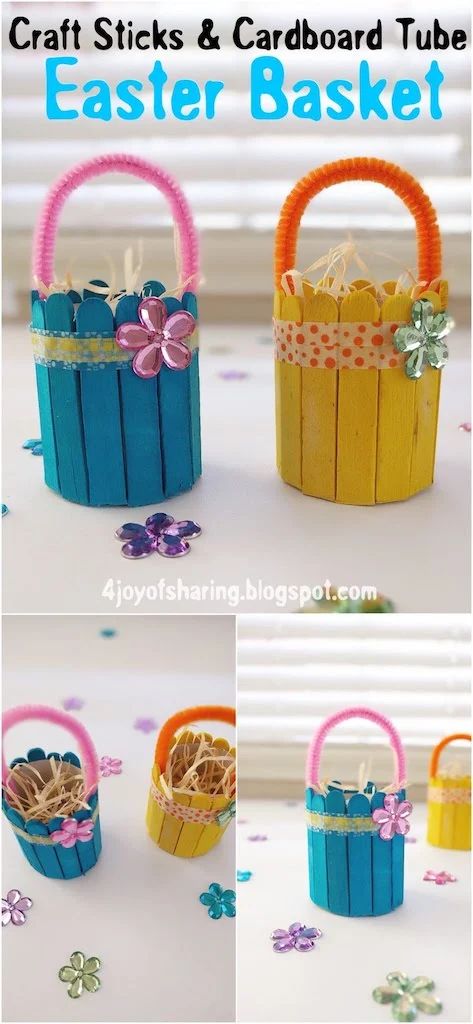 Easy DIY Easter Basket from Craft Sticks and a Cardboard Tube — Step-by-Step
-
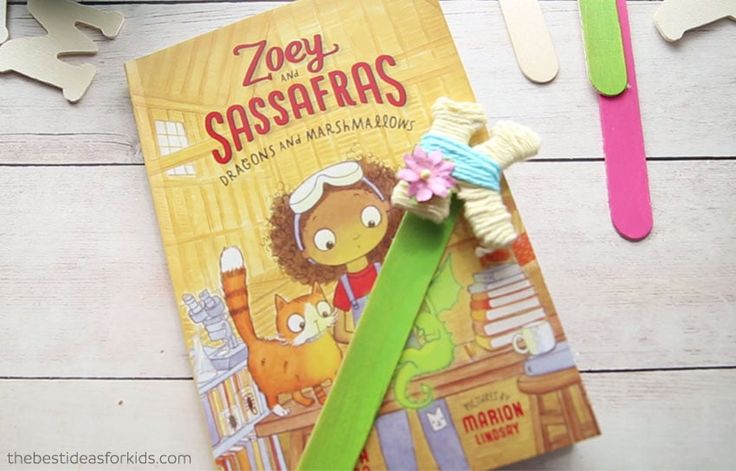 DIY Yarn-Wrapped Letter Bookmarks — Cute Personalized Bookmarks in Minutes
- Knitting Ideas
-
 DIY Knitted Waffle Kitchen Towel — Easy Pattern for a Textured, Absorbent Cotton Towel
-
 Chic Knitted Pink Beret — Easy Pattern & Step-by-Step Instructions
-
 Cozy Top‑Down Knitted Raglan Sweater Pattern — Sizes S–L (Merino)