Crocheting a Humpty Dumpty is a delightful and charming project that brings creativity to life! With your choice of colorful yarn and steady hands, you can create a lovable and cuddly character that will surely bring a smile to anyone's face. Crafting your very own Crochet Humpty Dumpty allows you to infuse your unique style and personality into this classic character, making it a wonderful gift or fun addition to your own collection. Get ready to embark on a fun and whimsical crocheting adventure with Humpty Dumpty at the center stage!
Materials
To get started on your Crochet Humpty Dumpty project, gather the following materials:
6mm hook for main;
Hobbii Honey Bunny in the following colours:
Dark Blue (#87), 100g skein
White (#01), 100g skein
Light Blue (#90), less than 100g skein
Red (#40), less than 100g skein
Black crochet thread, size 5;
24mm safety eyes;
Craft foam or felt in black and pink and glue for mouth (optional);
Stitch markers;
Stuffing;
Tapestry needle.
Terms and Stitches
Familiarize yourself with these crocheting terms and stitches:
- Ch – Chain
- Slst – Slip stitch
- MR – Magic Ring
- Sc – Single Crochet
- Hdc – Half double crochet
- Dc – Double crochet
- Inc – Increase. Work a regular sc increase
- Dec – Decrease. Work a regular sc decrease
- BLO – Back loops only
- Invisible finish – after working the last st, cut yarn and pull through the loop. Thread tail onto a tapestry needle. Skip the st to the left of the yarn tail and insert tapestry needle into the next st from front to back, then insert needle down through centre of the last st of the round (the finishing st you just made). Pull tail until the stitch is the same size as the stitches on either side. Weave end.
Pattern
Body (make 1)
Follow these steps to create the body of Humpty Dumpty:
Rnd 1: In Dark Blue, work 6 sts into a MR (6 sts)
Rnd 2: Inc in each st around (12 sts)
Rnd 3: *Sc 1, inc in next st, repeat from * five more times (18 sts)
Rnd 4: *Sc 2, inc in next st, repeat from * five more times (24 sts)
Rnd 5: *Sc 3, inc in next st, repeat from * five more times (30 sts)
Rnd 6: *Sc 4, inc in next st, repeat from * five more times (36 sts)
Rnd 7: *Sc 5, inc in next st, repeat from * five more times (42 sts)
Rnd 8: *Sc 6, inc in next st, repeat from * five more times (48 sts)
Rnd 9: *Sc 7, inc in next st, repeat from * five more times (54 sts)
Rnds 10-12: Sc in each st around (54 sts)
Tie off with an invisible finish.
Rnd 13: In Light Blue, working in BLO, sl st into each st (54 sts)
Rnd 14: Working in BLO, sc in each st (54 sts)
Rnd 15: Sc in each st around (54 sts)
Tie off with an invisible finish.
Rnd 16: In White, working in BLO, sl st into each st (54 sts)
Rnd 17: Working in BLO, sc in each st (54 sts)
Rnd 18: Sc in each st around (54 sts)
Rnd 19: *Sc 7, dec, repeat from * five more times (48 sts)
Rnd 20: *Sc 14, dec, repeat from * two more times (45 sts)
Start stuffing and continue to top up stuffing, shaping as you go, after every 2 rounds. When stuffing, start in the middle and spread the stuffing outward with your fingers to spread the base of the egg.
Rnd 21: *Sc 13, dec, repeat from * two more times (42 sts)
Rnd 22: *Sc 12, dec, repeat from * two more times (39 sts)
Rnd 23: *Sc 11, dec, repeat from * two more times (36 sts)
Rnd 24: *Sc 10, dec, repeat from * two more times (33 sts)
Rnd 25: *Sc 9, dec, repeat from * two more times (30 sts)
Rnd 26: *Sc 8, dec, repeat from * two more times (27 sts)
Rnd 27: *Sc 7, dec, repeat from * two more times (24 sts)
Rnd 28: *Sc 6, dec, repeat from * two more times (21 sts)
Insert safety eyes between rows 19-20 with approximately 7 or 8 sts between the eyes (the eyes for the sad face will be stitched or glued on).
Rnd 29: *Sc 5, dec, repeat from * two more times (18 sts)
Rnd 30: *Sc 4, dec, repeat from * two more times (15 sts)
Rnd 31: *Sc 3, dec, repeat from * two more times (12 sts)
Rnd 32: Dec around (12 sts)
Tie off, leaving a long tail for closing. Stuff. With a tapestry needle, weave the yarn tail through stitches, down the centre and out a stitch in the side. Pull to close. Weave end. Set aside.
Arms (make 2)
For the arms, follow these instructions:
Rnd 1: In White, work 6 sc into MR (6 sts)
Rnds 2-5: Sc in each st around (6 sts)
Rnds 6-8: In Light Blue, sc in each st around (6 sts).
Tie off, leaving a long tail for sewing. Stuff.
Sleeve Cuffs (make 2)
Row 1: In Light Blue, ch 9.
Tie off, leaving a long tail for sewing. Stitch chains around the arm where the white meets the light blue.
Legs (make 2)
To create the legs, follow these steps:
Row 1: In white, ch 4, starting in 2nd ch from hooks, sc in each ch (3 sts), ch 1, turn.
Row 2: In BLO, sc 1, inc in next st, sc 1 in last st (4 sts), ch 1, turn.
Row 3: In BLO, sc in each st (4 sts), ch 1, turn.
Row 4: In BLO, dec two times (2 sts), ch 1.
Rnd 5: Sc 14 sts evenly around the edge of the panel (14 sts)
Tie off. Join red yarn in the BLO of any stitch of Rnd 5. Work in continuous rounds.
Rnd 6: In red, in BLO, slst in each st around (14 sts)
Rnd 7: In BLO, *Sc 5, dec, repeat from * once more (12 sts)
Rnd 8: *Sc 4, dec, repeat from * once more (10 sts)
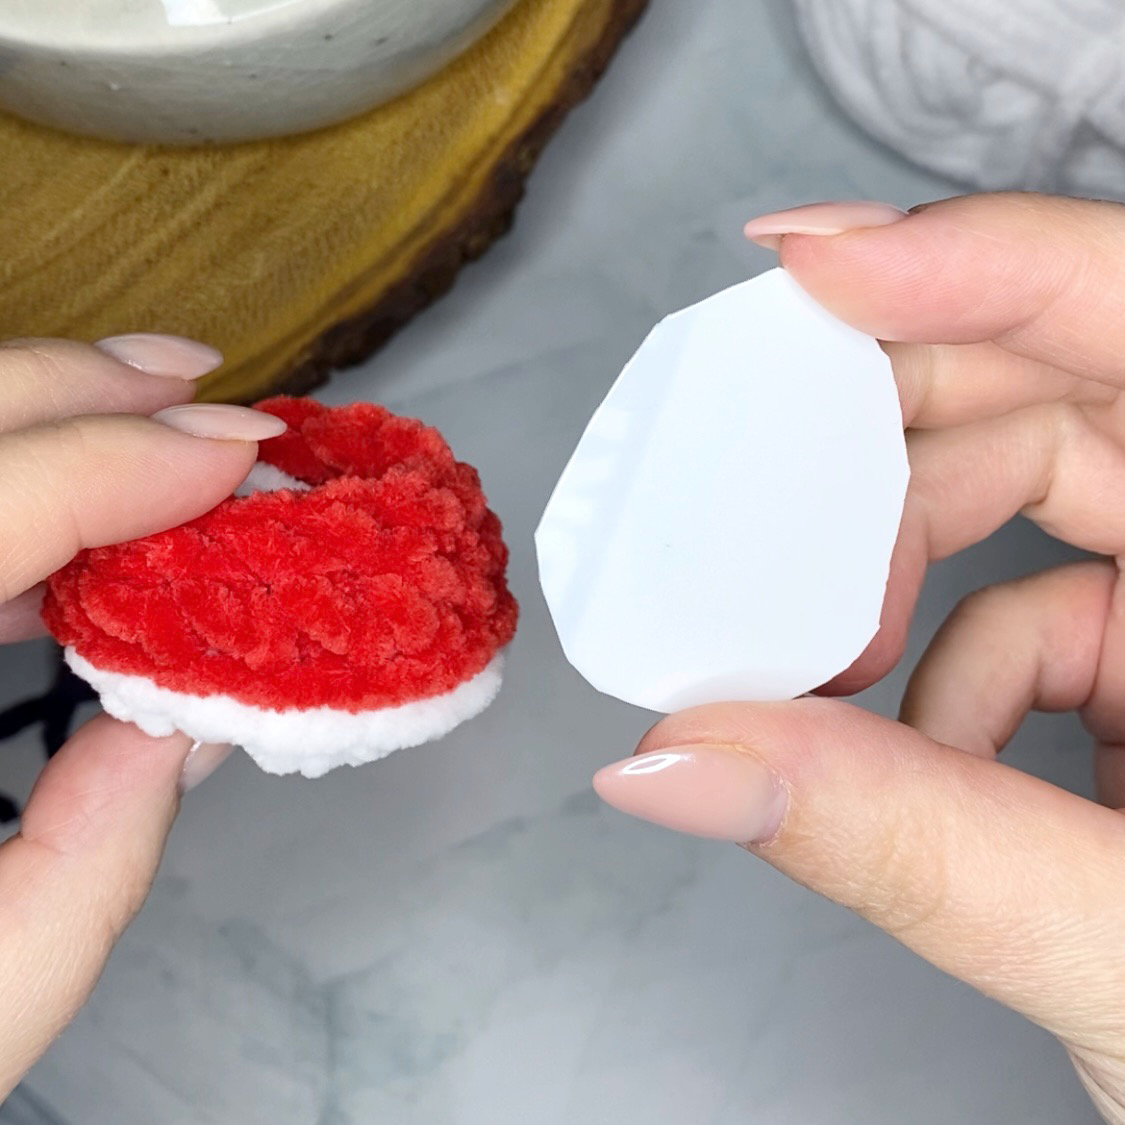
Optional: Cut a small plastic or cardboard oval and insert into the bottom of the shoe to help keep it flat.
Rnd 9: Dec around (5 sts)
Lightly stuff shoe. Switch to dark blue.
Rnd 10: In dark blue yarn, Sc 4, inc in next st (6 sts)
Rnds 11-12: Sc in each st (6 sts)
Rnd 13: *Sc 2, inc in next st, rep from * once more (8 sts)
Rnd 14: Sc in each st (8 sts)
Rnd 15: *Sc 3, inc in next st, rep from * once more (10 sts)
Rnds 16-17: Sc in each st (10 sts)
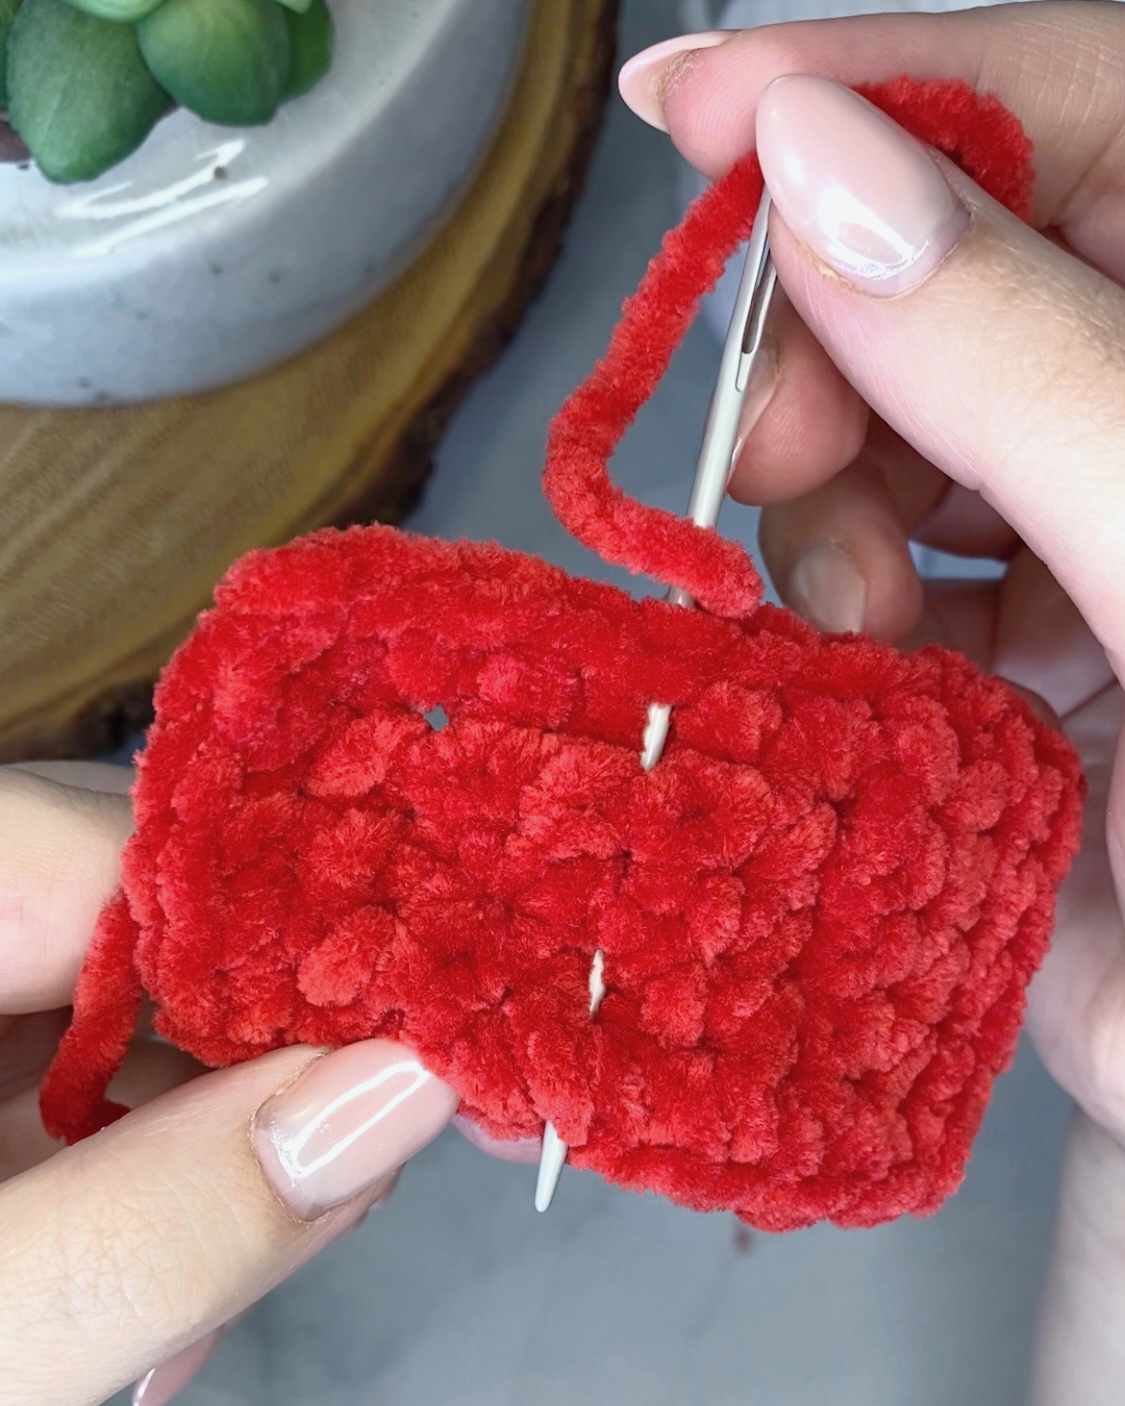
Sc in next couple of stitches until you are at the side of the leg, if necessary. Flatten the leg and sc the top of the leg closed. No need to stuff.
Tie off, leaving a long tail for stitching. Set aside.
Bowtie (make 2)
To create the bowtie, follow these instructions:
Row 1: In red, ch 7, starting in 3rd ch from hook, hdc in each ch (5 sts, ch 1, turn.
Row 2: Hdc in each st (5 sts)
Tie off. With a length of red yarn and a tapestry needle, weave the needle through the centre of the rectangle a few times and pull tightly to cinch the centre of the rectangle. Wrap the yarn around the centre once or twice and tie in the back to secure. Set aside.
Move on to assembly below!


 Cute Cat Memes That Will Make Your Day Brighter
 Spot-on and Funny Memes About Introverts Struggles
 Top Wonderful Cat Memes on Their Way to Better Your Day
 Creamy Old Fashioned Rice Pudding
 Russian Tea Cakes (Snowball Cookies)
 Rigatoni with Sausage, Tomatoes, and Zucchini
 How to Crochet a Harlequin Stitch
 Removing The Toughest Stains
 Crochet Basics: Crumpled Griddle Stitch
 Crochet Christmas Tree
 Crochet Goblet of Fire
 Crochet Adorable Ammonite
 DIY Snowman Wreath
 Mini Santa Sleigh Ornament
 Crochet Gingerbread House Blanket
 Knitted Easter Bunny
 Knitted Mobile Phone/Glasses Case
 Knitted Cabled Wallet