Crafting Adorable Tiny Crocheted Reindeer for the Holidays

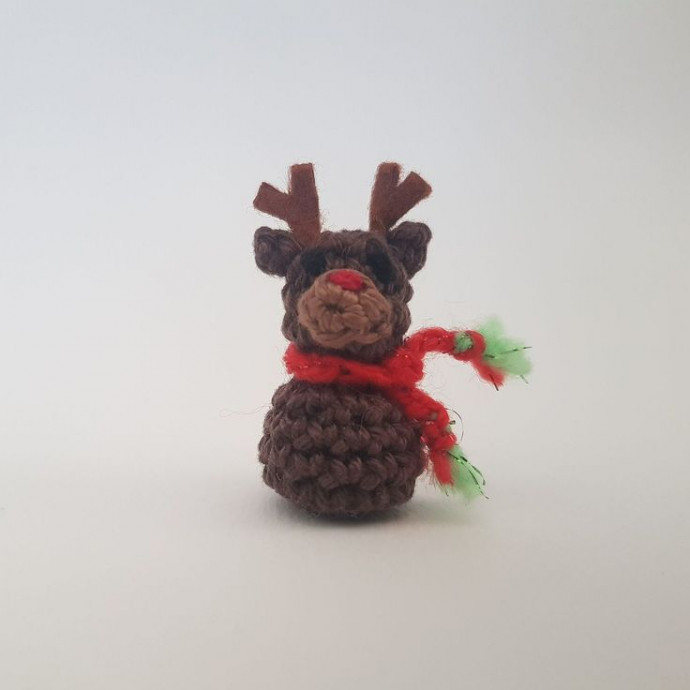
Crocheting tiny reindeer is such a delightful and heartwarming craft! These little creations are not only adorable but also make charming decorations for the holiday season. With their small size and intricate details, they can add a festive touch to your home or make lovely gifts for your loved ones. Creating these tiny reindeer is a fun and creative way to express your love for the holidays while also honing your crochet skills. So grab your yarn and hook, and let your imagination run wild crafting these lovable creatures!
Materials
- Dark brown yarn (I used Scheepjes Catona 162 Black coffee)
- Light brown yarn (I used Scheepjes Catona 503 Hazelnut)
- Little pieces of red and black yarn
- Yarn in 2 colors of your choosing for the scarf (I used red and green glitter yarn)
- Brown felt
- Fabric glue
- Crochet hook (I used a 2.5 mm hook)
- Filling
- Yarn needle
Abbreviations
- sc – single crochet
- inc – increase (sc2 in one stitch)
- dinc – double increase (sc3 in one stitch)
- dec – decrease (go from 2 stitches to one), I recommend using invisible decrease
- slst – slip stitch
- BLO – work in back loops only
- FLO – work in front loops only
Pattern
The reindeer and snout are worked in the round. The reindeer is worked from the bottom up (so you start with the body, then the head).
Body (Dark Brown)
1. sc 6x in magic ring (6)
2. inc 6x (12)
3. (inc, sc3) 3x (15)
4. sc15 (15)
5. sc15 (15)
6. (dec, sc3) 3x (12)
Start stuffing the body.
7. dec6 (6)
8. FLO: (inc, sc) 3x (9)
9. (inc, sc2) 3x (12)
10. sc12 (12)
11. (dec, sc2) 3x (9)
Finish stuffing the head.
12. (dec, sc) 3x (6)
Finish off.
Ear (2x) – Dark Brown
Chain 2, turn, 1sc in the 2nd loop from the hook.
Finish off.
Snout – Light Brown
1. 4sc in MR (4)
Finish off using a slip stitch.
Scarf
Make a chain of 20. Knot 2 little pieces of yarn to the end of a contrasting color, to give it a fringe.
Antler (2x)
Cut the shape out of the felt. If your felt is very flimsy, you can glue 2 layers on each other before cutting out the shape.
My body was 3.5 cm tall and my antlers were 1 cm tall.
Assembly
Are you finished with your reindeer? Then it’s time to assemble!
- Sew the ears to the side of the head, around row 10-11 of the body.
- Sew a nose on the snout by doing 1 stitch with red yarn.
- Sew the snout on the middle of the face, just under the ears.
- Sew french knots on row 10-11 for the eyes.
- Glue the yarn just above the eyes. I put some glue in the “holes” your crochet work has and put the bottom of the antlers in there, to make them stick. If this doesn’t work, you can glue the antlers to the back of the ears.
- Knot the scarf around the neck of your reindeer.
Now your reindeer is finished! You can loop a piece of yarn to the top of the reindeer, so that you can hang it on your Christmas tree! This reindeer is also small and light enough to send in a letter.
- Funny Pictures
-
 Some of the Funniest Coworker Memes Ever
-
 Funny Tweets to Give You a Little Food for Thought
-
 Sunday Pics You Should See Before Going to Bed
- Recipes
-
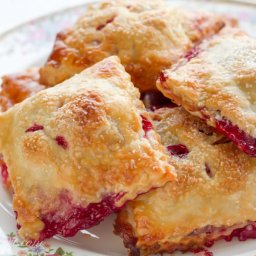 Berry Hand Pies
-
 No-Bake Strawberry Jello Pie
-
 Roasted Beet Salad with Goat Cheese & Pistachios
- Lifehacks
-
 7 Kitchen Hacks & Simple Solutions
-
 5 Ways to Clean Ceramic Pans & Cookware
-
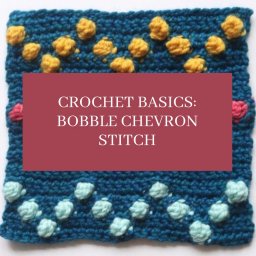 Crochet Basics: Bobble Chevron Stitch
- Crochet Ideas
-
 Crochet Scrat the Squirrel
-
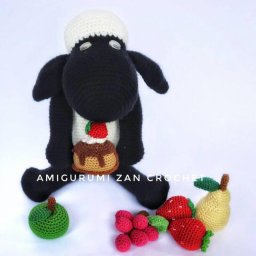 Crochet Shaun the Sheep
-
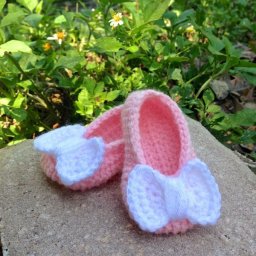 Crochet Baby Shoes
- DIY
-
 DIY Braided Rope Necklace
-
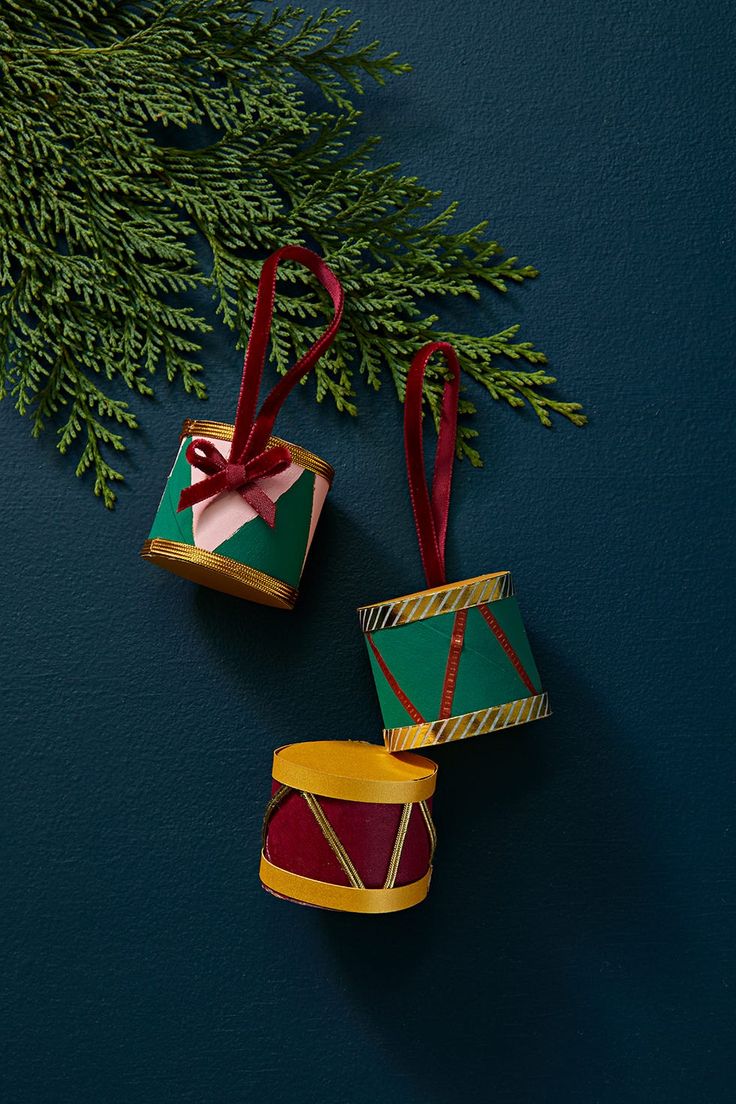 DIY Toy Drum Ornaments
-
 Crochet Amigurumi Toy Car
- Knitting Ideas
-
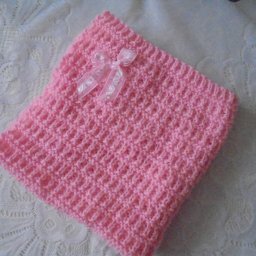 Knitted Cariad Baby Blanket
-
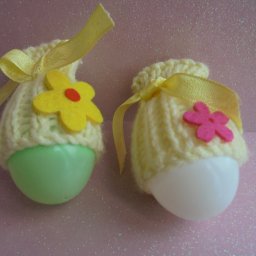 Knitted Easter Egg Hats
-
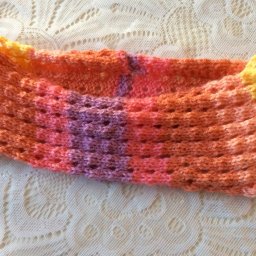 Knitted Lacy Look Neck Cowl