How to Make a Crochet Amigurumi Corgi


Crochet amigurumi corgis are the epitome of cuteness! These adorable little creations bring a smile to your face with their squishy bodies and big, expressive eyes. Whether you're a fan of corgis or just love crafting, creating your own crochet amigurumi corgi is a fun and rewarding project. From choosing the perfect yarn colors to stitching each tiny detail, every step is filled with joy and creativity. Once you finish your corgi masterpiece, you'll have a lovable companion that adds a touch of whimsy to your home decor or makes a heartfelt gift for a fellow dog enthusiast. So grab your crochet hook and let's get crafting – because who can resist the charm of a crochet amigurumi corgi?
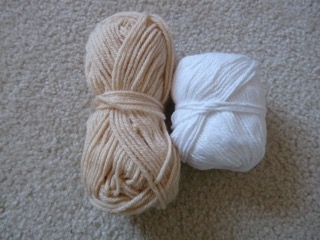
Materials
I really wanted to make an amigurumi version of a corgi, so I grabbed my tan and white yarn along with my Clover 3.75mm crochet hook:
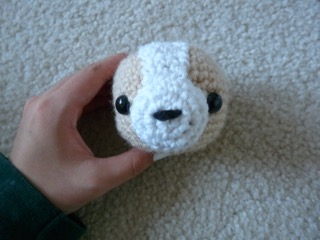
The Head
First, I began to make the head:
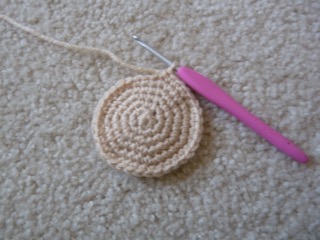
Head complete!
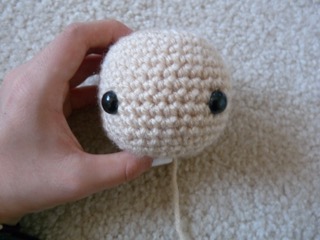
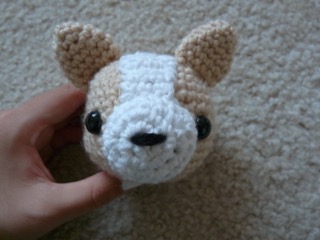
Muzzle Details
Next, I made and sewed on a muzzle for the nose and mouth and a white triangle to go on top of the muzzle:
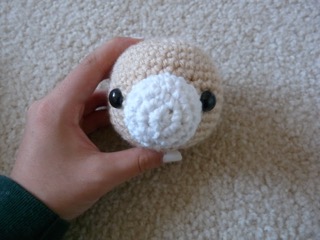
Crocheting the Ears
Next, I crocheted the ears and sewed them onto my corgi's head:
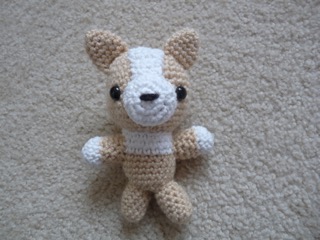
Assembling the Body
Then, I made the body and sewed it onto the head:

Finally, I made the limbs and sewed them all onto the corgi's body:
Complete Pattern Instructions
Here is the complete pattern:
Head
With tan yarn
ch 2
RND 1: 6 sc in the 2nd ch away from the hook
RND 2: 2 sc in every st around (12 sts)
RND 3: (sc 1, 2 sc in the next st) Repeat around (18 sts)
RND 4: (sc 2, 2 sc in the next st) Repeat around (24 sts)
RND 5: (sc 3, 2 sc in the next st) Repeat around (30 sts)
RND 6: (sc 4, 2 sc in the next st) Repeat around (36 sts)
RND 7: (sc 5, 2 sc in the next st) Repeat around (42 sts)
RND 8-13: sc in every st around
Insert safety eyes
RND 14: (sc 5, dec) Repeat around
RND 15: (sc 4, dec) Repeat around
RND 16: (sc 3, dec) Repeat around
RND 17: (sc 2, dec) Repeat around
Stuff the head
RND 18: (sc 1, dec) Repeat around
RND 19: (dec) Repeat around
BO with a long tail for sewing
Ears (make two)
With tan yarn:
Ch 2
RND 1: 6 sc in the second ch away from the hook (6 sts)
RND 2: 2 sc in every st around (12 sts)
RND 3: sc in every st around (12 sts)
RND 4: (sc 1, 2 sc in the next st) Repeat around (18 sts)
RND 5-7: sc in every st around
Bind off with a long tail for sewing.
Body
With tan yarn:
ch 2
RND 1: 6 sc in the 2nd ch away from the hook (6 sts)
RND 2: 2 sc in each st around (12 sts)
RND 3: (sc 1, 2 sc in the next st) Repeat around (18 sts)
RND 4: (sc 2, 2 sc in the next st) Repeat around (24 sts)
RND 5-8: sc in every st around (24 sts)
Switch to white yarn
RND 9-11: sc in every st around (24 sts)
BO with a long tail for sewing
Arms (make 2)
With white yarn:
ch 2
RND 1: 6 sc in the 2nd ch away from the hook (6 sts)
RND 2: 2 sc in every st around (12 sts)
RND 3-4: sc in every st around (12 sts)
Switch to tan yarn
RND 5-7: sc in every st around (12 sts)
BO with a long tail for sewing
Legs (make 2)
With tan yarn:
ch 2
RND 1: 6 sc in the 2nd ch away from the hook (6 sts)
RND 2: 2 sc in every st around (12 sts)
RND 3-7: sc in every st around (12 sts)
BO with a long tail for sewing
Muzzle
With white yarn:
ch 2
RND 1: 6 sc in the 2nd ch away from the hook (6 sts)
RND 2: 2 sc in each st around (12 sts)
RND 3: (sc 1, 2 sc in the next st) Repeat around (18 sts)
RND 4: (sc 2, 2 sc in the next st) Repeat around (24 sts)
RND 5-6: sc in every st around (24 sts)
BO with a long tail for sewing
Stripe
With white yarn:
Ch 4
RND 1: Sc in every st starting in the 2nd ch away from the hook (3 sts)
RND 2-3: ch 1, turn, sc across (3 sts)
RND 4: ch 1, turn, 2 sc in the next st, sc 1, 2 sc in the next st (5 sts)
RND 5: ch 1, turn, sc across (5 sts)
BO with a long tail for sewing.
Finishing Touches
Sew body to head.
Sew limbs to body.
Sew muzzle and stripe to the head.
Weave in any loose ends.
You have finished making your own corgi!
- Funny Pictures
-
 Memes for Doggos Having a Ruff Day
-
 Fluffy Memes to Make Fun of Your Furry Friends
-
 Too Relatable to be True
- Recipes
-
 Cappuccino Brownies
-
 Chicken Mushroom Tortellini Bake
-
 Spinach Pie
- Lifehacks
-
 8 Necessary Tips for Baking Bread
-
 Tips & Hacks for Clean Carpets
-
 10 Uses For Old TV Armoires
- Crochet Ideas
-
 Crochet Flower Hat for your Pet
-
 Crochet Sophia and Bennet Love Birds
-
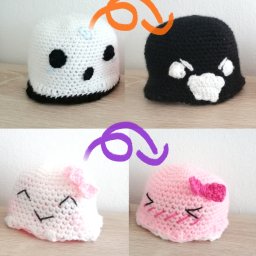 Crochet Reversible Ghost
- DIY
-
 DIY Beaded Christmas Tree
-
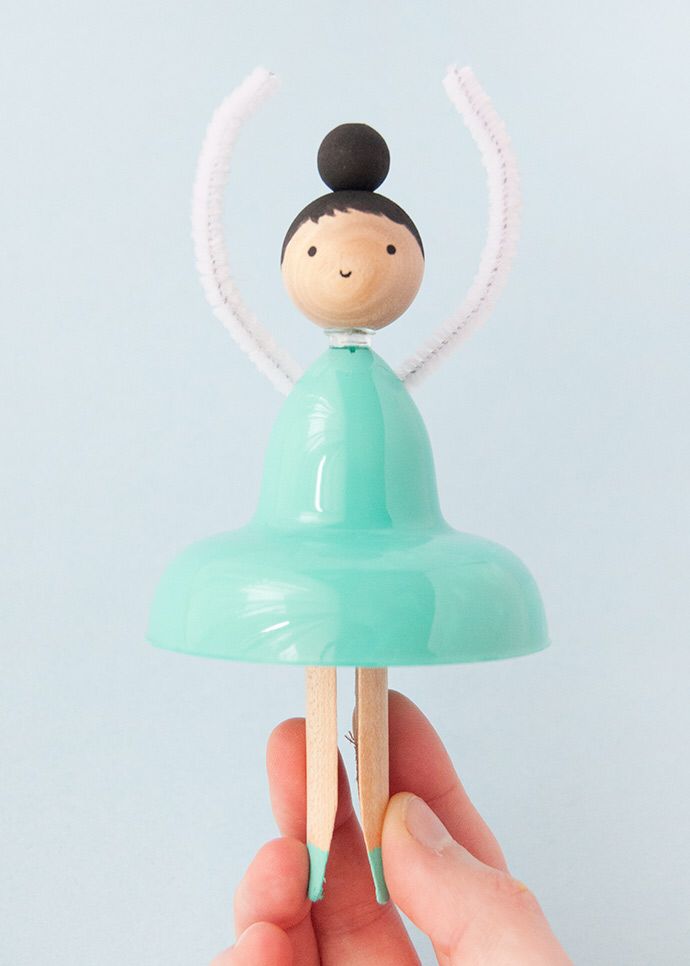 Dolls from Party Cups
-
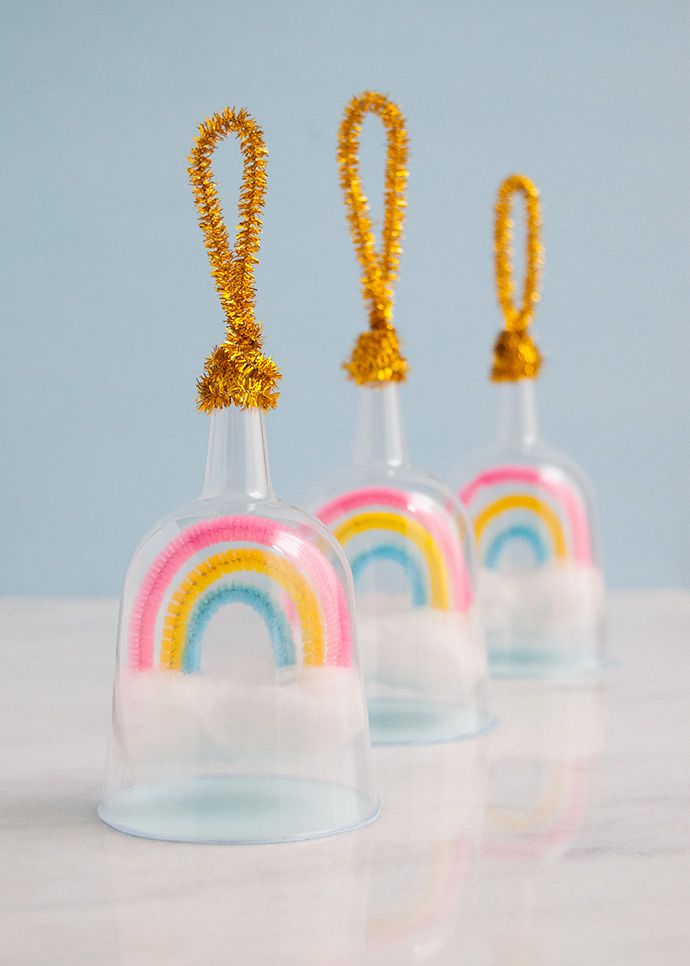 Rainbow Snow Globe Charms
- Knitting Ideas
-
 Knitted Star Square Dishcloth
-
 Knitted Free 2025 Year Dishcloth
-
 Knitted Ribbed Adult Hat