How to Crochet Coiled Trivets for Your Kitchen

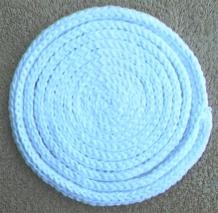
Crochet coiled trivets are a fantastic addition to any kitchen! These handmade wonders are not only practical for placing hot pots and pans on your countertops but also add a touch of charm and personality to your home. Their unique spiral design creates a visually appealing texture that can elevate your kitchen decor effortlessly. Whether you prefer vibrant colors or subtle neutrals, there's a crochet coiled trivet out there to suit every style. Plus, they make thoughtful gifts for friends and family who appreciate both function and aesthetics in their homes. So go ahead, jazz up your cooking space with these delightful and functional crocheted trivets!
Difficulty Level
Difficulty level: Average
Materials Required
- About 2 - 2 1/2 ounces worsted weight cotton yarn in a main color (MC)
- Optional: about 1/2 ounce of a contrasting color (CC)
- Crochet hook size G (4.00 mm), or size needed to achieve gauge
Gauge
Gauge: Rounds 1-4 = about 2 1/4"
Finished Size
Finished size: About 7" across
Basic Crochet Instructions
With MC, ch 4; join with a sl st in the first ch to form a ring.
Round Instructions
RND 1: Work 6 sc in the ring; do not join rounds. Instead, use a stitch marker to mark the first st of each round. (6 sc)
RND 2: Working in the back loop only, work 2 sc in each sc around. (12 sc)
RND 3: Working in the back loop only, (sc in the next sc, 2 sc in the next sc) 6 times. (18 sc)
RND 4: Working in the back loop only, (sc in each of the next 2 sc, 2 sc in the next sc) 6 times. (24 sc)
RND 5: Working in the back loop only, (sc in each of the next 3 sc, 2 sc in the next sc) 6 times. (30 sc)
RND 6: Working in the back loop only, (sc in each of the next 4 sc, 2 sc in the next sc) 6 times. (36 sc)
RND 7: Working in the back loop only, (sc in each of the next 5 sc, 2 sc in the next sc) 6 times. (42 sc)
RND 8: Working in the back loop only, (sc in each of the next 6 sc, 2 sc in the next sc) 6 times. (48 sc)
RND 9: Working in the back loop only, (sc in each of the next 7 sc, 2 sc in the next sc) 6 times. (54 sc)
RND 10: Working in the back loop only, (sc in each of the next 8 sc, 2 sc in the next sc) 6 times. (60 sc)
RND 11: Working in the back loop only, (sc in each of the next 9 sc, 2 sc in the next sc) 6 times. (66 sc)
RND 12: Working in the back loop only, (sc in each of the next 10 sc, 2 sc in the next sc) 6 times. (72 sc)
RND 13: Working in the back loop only, (sc in each of the next 11 sc, 2 sc in the next sc) 6 times. (78 sc)
RND 14: Working in the back loop only, (sc in each of the next 12 sc, 2 sc in the next sc) 6 times; ch 2, turn. (84 sc)
Pattern Note
Rounds 1-14 form the base of the trivet. The thickness stitches are worked into the unworked front loops (which form a spiral) of each stitch.
Final Rounds to Complete the Trivet
RND 15: Work a hdc in the back loop only of each of the first 83 sc, hdc in the unworked loop of each of the next 546 sc. (These 546 sts are worked on top of the base and should end in the center of the trivet.) (629 hdc) Ch 1, turn if using just one color. If using a contrasting color, fasten off and turn.
RND 16: (If using a contrasting color, attach yarn with a sl st in the hdc in the center of the trivet) sl st in each hdc around. (629 sl sts)
RND 17: (Insert hook into the back loop only of the next sl st and into the next unworked back loop on round 15; pull yarn through both loops and through loop on hook) 83 times; join with a sl st to the first sl st. Fasten off. Weave in ends.
- Funny Pictures
-
 Memes for Doggos Having a Ruff Day
-
 Fluffy Memes to Make Fun of Your Furry Friends
-
 Too Relatable to be True
- Recipes
-
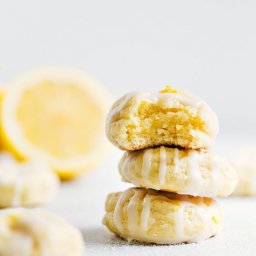 Lemon Cheesecake Cookies (Soft-Baked)
-
 Instant Pot Cabbage Soup
-
 Eggnog White Chocolate Streusel Cake
- Lifehacks
-
 8 Necessary Tips for Baking Bread
-
 10 Uses For Old TV Armoires
-
 11 Organization Hacks for Clutter Control
- Crochet Ideas
-
 Crochet Flower Hat for your Pet
-
 Crochet Sophia and Bennet Love Birds
-
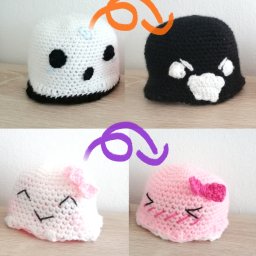 Crochet Reversible Ghost
- DIY
-
 DIY Beaded Christmas Tree
-
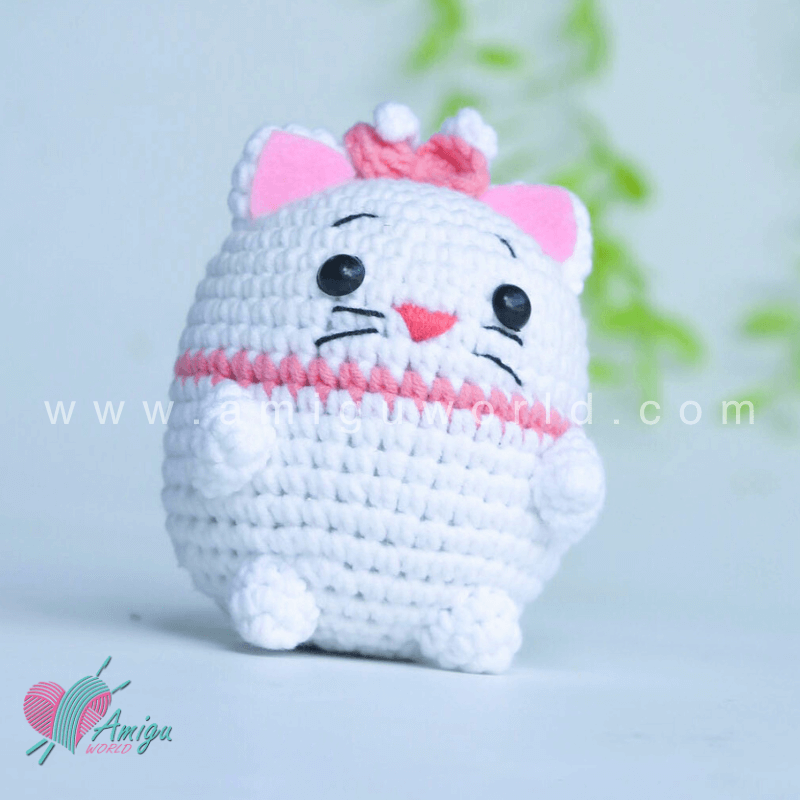 Crochet Chibi Marie Cat Amigurumi
-
 Dolls from Party Cups
- Knitting Ideas
-
 Knitted Star Square Dishcloth
-
 Knitted Free 2025 Year Dishcloth
-
 Knitted Ribbed Adult Hat