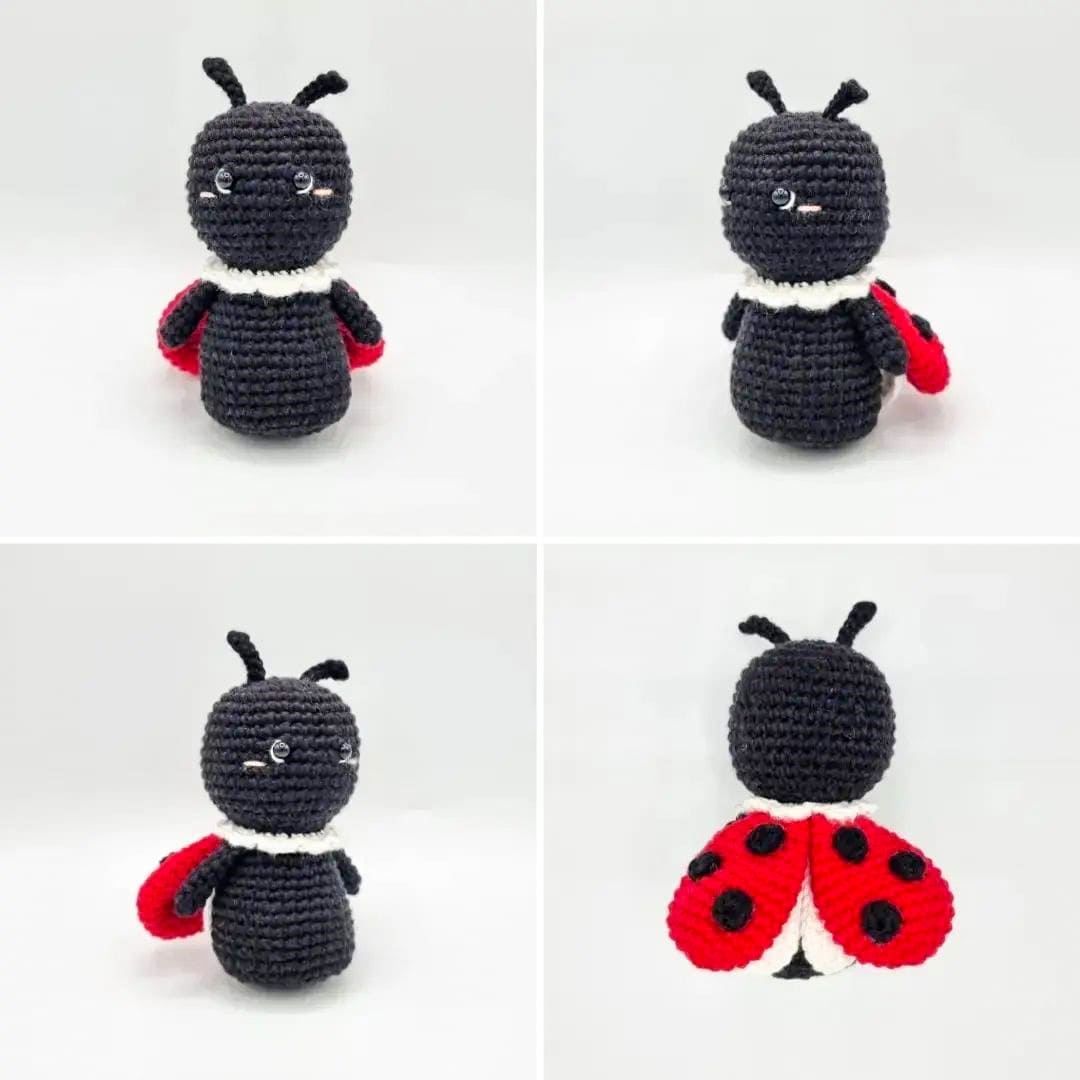
Crochet Ladybug Amigurumi Pattern

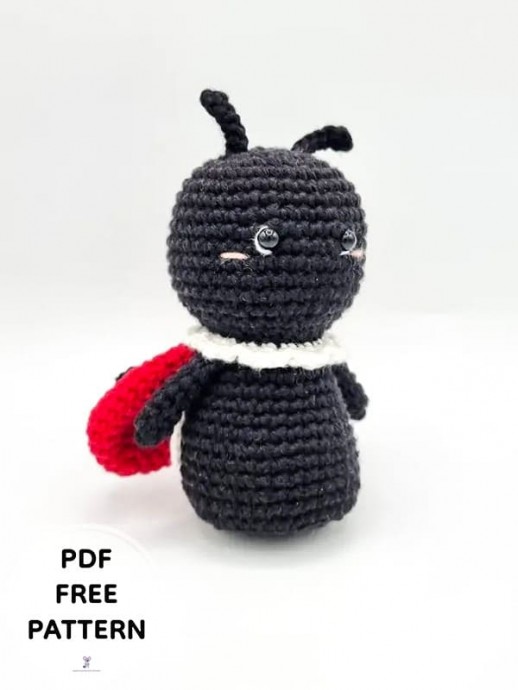
Create your very own adorable ladybug toy with this crochet ladybird amigurumi pattern. This fun and easy project is perfect for beginners and experienced crocheters alike. Using basic crochet stitches and techniques, you can bring this cute little insect to life in no time. Choose your favorite yarn colors to customize your ladybird and make it truly unique. Whether you're making it for yourself or as a gift for a friend, this crochet ladybird amigurumi is sure to bring a smile to anyone's face. The pattern includes step-by-step instructions and helpful tips to guide you through the process, making it easy to follow along even if you're new to amigurumi. Once you've finished crocheting your ladybird, you can add details like eyes, spots, and wings to give it that extra special touch. Whether you display it on a shelf or give it to a child to play with, this crochet ladybird amigurumi is sure to be a hit.
Abbreviations
MR: Magic ring
Ch: Chain
Sc: Single crochet
Slst: Slip stitch
Inc: Increase
Dec: Decrease
Dc: Double crochet
Hdc: Half double crochet
Rnd: Round
Materials
To create your crochet ladybug, you will need the following materials:
- Cotton ricorumi: black (060), red (029), white (001)
- Crochet hook: 3mm
- 6 mm safety eyes
- Yarn needle
- Black embroidery thread
- Fiberfill for stuffing
- Scissors
Size with the materials above will be about 9 cm.
Head and Body
Stuff as you go along your work. Use black yarn for the body.
Rnd 1. 6 sc in MR (6)
Rnd 2. (inc)* (12)
Rnd 3. (1sc,inc)* (18)
Rnd 4. (2sc,inc)* (24)
Rnd 5. (3sc,inc)* (30)
Rnd 6. (4sc,inc)* (36)
Rnd 7-9. 36 sc (36)
Rnd 10. (5sc,inc)* (42)
Rnd 11-14. 42 sc (42)
Insert the safety eyes between rnd 10 and 11.
Rnd 15. (5sc,dec)* (36)
Rnd 16. (4sc,dec)* (30)
Rnd 17. (3sc,dec)* (24)
Rnd 18. through back loops only (2sc,dec)* (18)
Rnd 19. (2sc,inc)* (24)
Rnd 20. 24 sc (24)
Rnd 21. (3sc,inc)* (30)
Rnd 22-24. 30 sc (30)
Rnd 25. (4sc,inc)* (36)
Rnd 26-29. 36 sc (36)
Rnd 30. (5sc,inc)* (42)
Rnd 31. 42 sc (42)
Rnd 32. through back loops only (5sc,dec)* (36)
Finish to stuff.
Rnd 33. (2sc,dec)* (27)
Rnd 34. (1sc,dec)* (18)
Rnd 35. (dec)* (9)
Rnd 36. (1sc,dec)* (6)
Fasten off and close.
Next, you will crochet the collar using remaining FLO rnd 18. Use white yarn for this section.
Rnd 1. 18 sc (18)
Rnd 2. (3 dc in the same stitch, slst)*
Embroider the eye contour with white embroidery thread and the cheeks with pink thread.
Wings (Make 4)
Little Wings (X2)
In white.
Ch 12
Rnd 1. 6 sc, hdc, 3 dc, 5 dc in the same stitch (the last of the ch), 3 dc, hdc, 6 dc (25)
Rnd 2. 12 sc, 3 sc in the same stitch, 12 sc (27)
Big Wings (X2)
In red.
Rnd 1. 6 sc in MR (6)
Rnd 2. (inc)* (12)
Rnd 3. (1sc,inc)* (18)
Rnd 4. (2sc,inc)* (24)
Rnd 5-7. 24 sc (24)
Rnd 8. (10sc,dec)* (22)
Rnd 9. 22 sc (22)
Rnd 10. (9sc,dec)* (20)
Rnd 11. (8sc,dec)* (18)
Rnd 12. (7sc,dec)* (16)
Rnd 13. (6sc,dec)* (14)
Rnd 14. (5sc,dec)* (12)
Spots (Make 6)
In black.
Rnd 1. 4 sc in MR (4), slst.
Sew or glue the spots to the wings.
Arms (Make 2)
In black.
Rnd 1. 4 sc in MR (4)
Rnd 2. (1sc,sc)* (6)
Rnd 3-7. 6 sc (6)
Antennas (Make 2)
In black.
Ch 7, 1 sc in the second stitch, 5 slst (6)
Sew the wings, arms, and antennas to the body.
- Funny Pictures
-
 Cat Memes to Make You Smile
-
 Funny Cat Pictures Because Caturday is Almost Here
-
 Funny Work Memes to Take Your Mind off of Emails and Deadlines for Just a Moment
- Recipes
-
 Lemon Cheesecake Cookies (Soft-Baked)
-
 Instant Pot Cabbage Soup
-
 Raspberry Bakewell Cake
- Lifehacks
-
 Russian Join for Crocheting and Knitting
-
 11 Organization Hacks for Clutter Control
-
 Tips for Washing Yellowed Pillows
- Crochet Ideas
-
 Crochet Sophia and Bennet Love Birds
-
 Crochet Watermelon Buddies Toys
-
 Crochet Large Pumpkin
- DIY
-
 DIY Beaded Christmas Tree
-
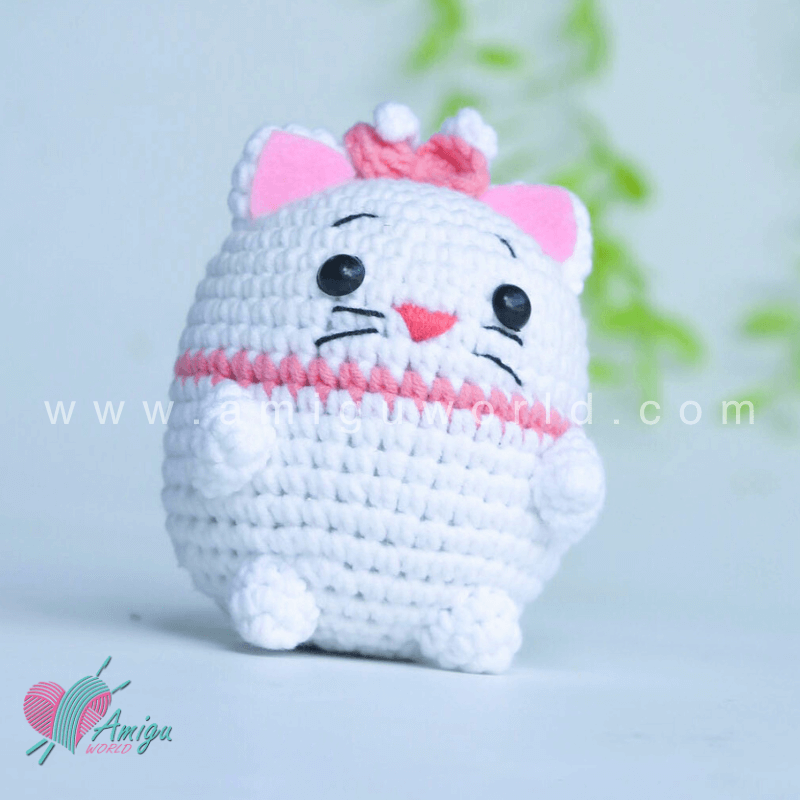 Crochet Chibi Marie Cat Amigurumi
-
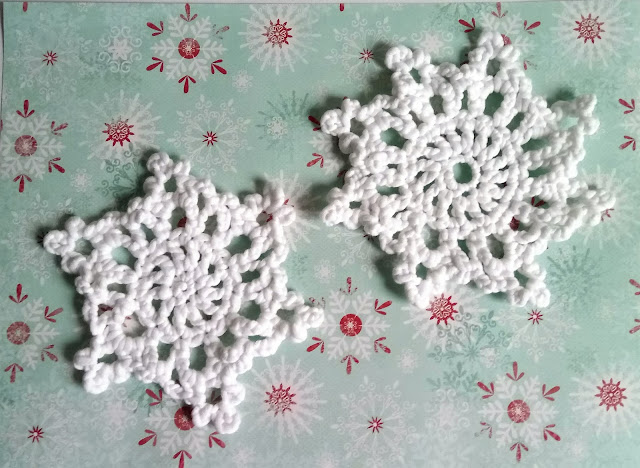 Crochet Beautiful Snowflakes
- Knitting Ideas
-
 Knitted Ribbed Adult Hat
-
 Knitted Checkers Blanket
-
 Knitted Oak Tree Leaf Square Washcloth