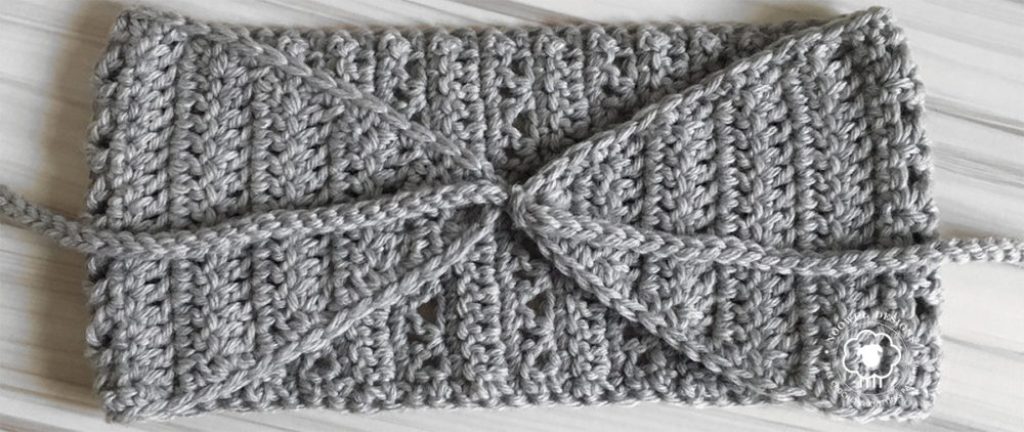
The Ultimate Guide to Making the Prym Crochet Headband


Discover the exquisite artistry of the Prym Crochet Headband! This stunning accessory is a true testament to the beauty and versatility of crochet. Crafted with precision and care, the headband showcases intricate patterns and delicate stitches that are sure to catch the eye. This headband is a perfect blend of style and functionality, designed to add a touch of elegance to any outfit. The intricate crochet work creates a beautiful texture that is both eye-catching and comfortable to wear. Whether you're attending a special event or simply want to elevate your everyday look, the Prym Headband is the perfect accessory to make a statement.
Materials
YARN:
- Knit Picks Swish in Dove Heather
Light Worsted Weight #4 ~ 45 grams, 90 yards
HOOK:
5.0 mm (US H-8)
GAUGE:
16 double crochet and 9 rows = 4 inches
SIZE:
Teen/Adult = 21 to 23 head circumference
FINISHED MEASUREMENTS:
Length = 18.5 inches flat (not including ties)
Width = 4.5 inches
ABBREVIATIONS (US TERMS):
CH = chain
DC = double crochet
RS = right side
SC = single crochet
SL ST = slip stitch
TOG = together
NOTE:
The beginning chain does not count as a stitch.
Instructions
Row 1 (RS): Chain 3. Work 3 DC into first chain made. (3)
Row 2: Chain 2. Turn. Work 2 DC in first stitch. DC to last stitch. Work 2 DC in last stitch. (5)
Row 3 to Row 8: Repeat Row 2.
Row 9: Chain 2. Turn. DC in each stitch to end. (17)
Row 10: Chain 1. Turn. SC in each stitch to end. (17)
Row 11: Chain 2. Turn. DC in first stitch. Skip 1 stitch. Work [DC, CH 1, DC] in next stitch. *Skip 2 stitches. Work [DC, CH 1, DC] in next stitch. Repeat from * until 2 stitches remain. Skip 1 stitch. DC in last stitch.
Row 12: Chain 1. Turn. SC in each DC and in each CH space to end. (17)
Row 13 to Row 44: Repeat Row 9 through Row 12.
Work should measure approx. 15 inches in length. Slightly shorter is okay, but no longer than this or the headband will be too loose. Adjust the number of pattern repeats if necessary.
Row 45: Chain 2. Turn. DC in each stitch to end. (17)
Row 46: Chain 2. Turn. DC2TOG. DC until 2 stitches remain. DC2TOG. (15)
Row 47 to Row 52: Repeat Row 46. There will be 3 stitches remaining after last repeat.
Row 53 (RS): Chain 2. Turn. DC3TOG. (1) Do not fasten off.
Border & Ties
- The headband is finished with a round of SC stitches and two ties at either end.
• The ties are different lengths, so the bow can be worn off-center. If even length ties are preferred, change the number of chains to 80 for both ties.
• It’s important to work the slip stitches in the bottom loop of the chains so the ties are rounded instead of flat.
Chain 1. Evenly SC across first edge of headband to the tapered end. (Tip: When working over the decrease and increase rows, I placed 3 SC over 2 rows. When working over the patterned portion of the headband, I placed 1 SC per row.)
First Tie: Chain 100. SL ST in bottom loop of second chain from hook. SL ST in each remaining chain, always working into the bottom loop of the chain.
Evenly SC across second edge of headband.
Second Tie: Chain 60. SL ST in bottom loop of second chain from hook. SL ST in each remaining chain, always working into the bottom loop of the chain.
SL ST to join in first SC.
Fasten off and weave in ends.
How to Wear
Bring the tapered ends together and join them by making a double knot with the ties. Place headband on head and make a bow near the front using the ties.
- Funny Pictures
-
 Cat Memes to Make You Smile
-
 Funny Cat Pictures Because Caturday is Almost Here
-
 Funny Work Memes to Take Your Mind off of Emails and Deadlines for Just a Moment
- Recipes
-
 Lemon Cheesecake Cookies (Soft-Baked)
-
 Instant Pot Cabbage Soup
-
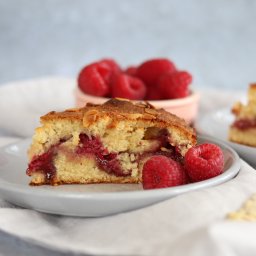 Raspberry Bakewell Cake
- Lifehacks
-
 Russian Join for Crocheting and Knitting
-
 11 Organization Hacks for Clutter Control
-
 Tips for Washing Yellowed Pillows
- Crochet Ideas
-
 Crochet Sophia and Bennet Love Birds
-
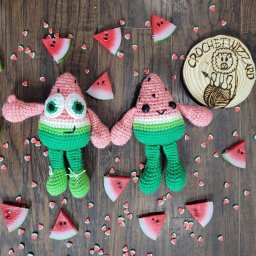 Crochet Watermelon Buddies Toys
-
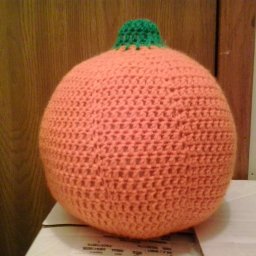 Crochet Large Pumpkin
- DIY
-
 DIY Beaded Christmas Tree
-
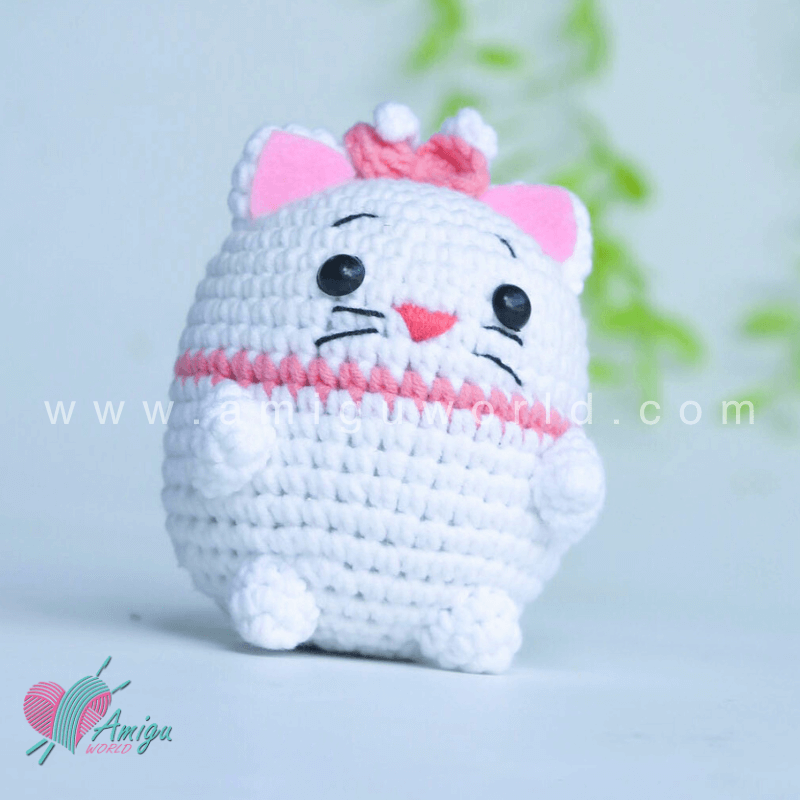 Crochet Chibi Marie Cat Amigurumi
-
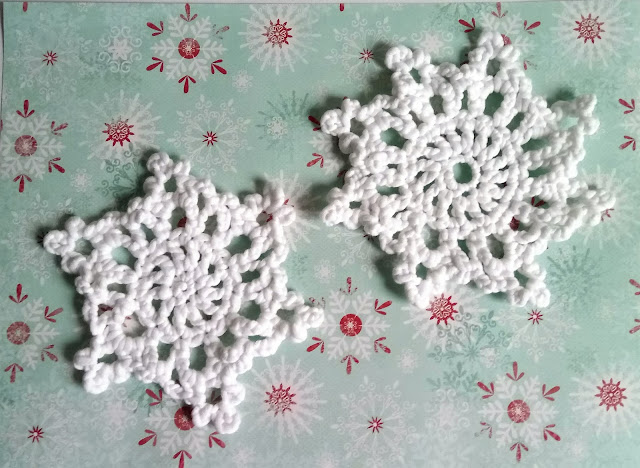 Crochet Beautiful Snowflakes
- Knitting Ideas
-
 Knitted Ribbed Adult Hat
-
 Knitted Checkers Blanket
-
 Knitted Oak Tree Leaf Square Washcloth