

DIY Crochet Mini Rose Bouquet — Easy Step-by-Step Tutorial

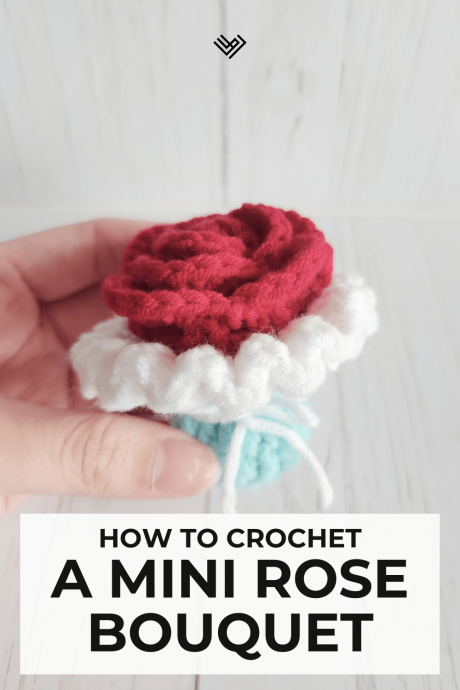
Creating a crochet mini rose bouquet is such a delightful craft project that brings out your creative side while adding a touch of whimsy to any space. These tiny roses can be crocheted in an array of colors to suit any occasion or decor. Whether you are gifting them to a loved one or using them as charming decorations, the process of crafting each delicate petal and assembling them into a beautiful bouquet is truly therapeutic and rewarding. So grab your crochet hook and some yarn, and let's crochet our way to a mini rose garden full of cheerful blooms!
Materials
- Cotton Crochet Yarn (color used: red, white, blue)
- Crochet Kit (3.0 mm Hook + Yarn Needle + Yarn Snips + Stitch Markers)
- Glue Gun
- Stuffings
Step by Step Instructions
I will be dividing this mini rose bouquet tutorial into three sections:
- Rose
- Bouquet
- Putting it together
Rose
Let’s begin by crocheting the rose. I am using red for the rose here, but you can change the color to white, blue, or any color based on your preference.
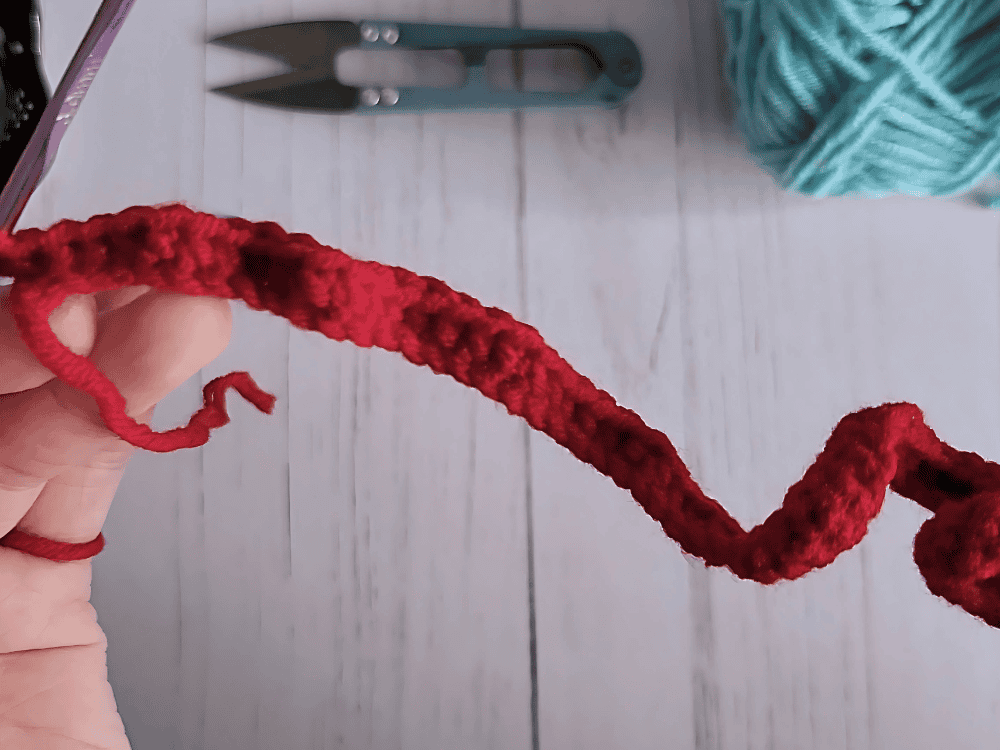
1: 53 CH, go back 2 chains, 52 SC
2: 5 CH, flip, DC, [2 K, (DC, 2CH, DC)] x17
3: 3 CH, flip, (DC, 2 CH, 2 DC), [K, (2 DC, CH, 2 DC)] x8
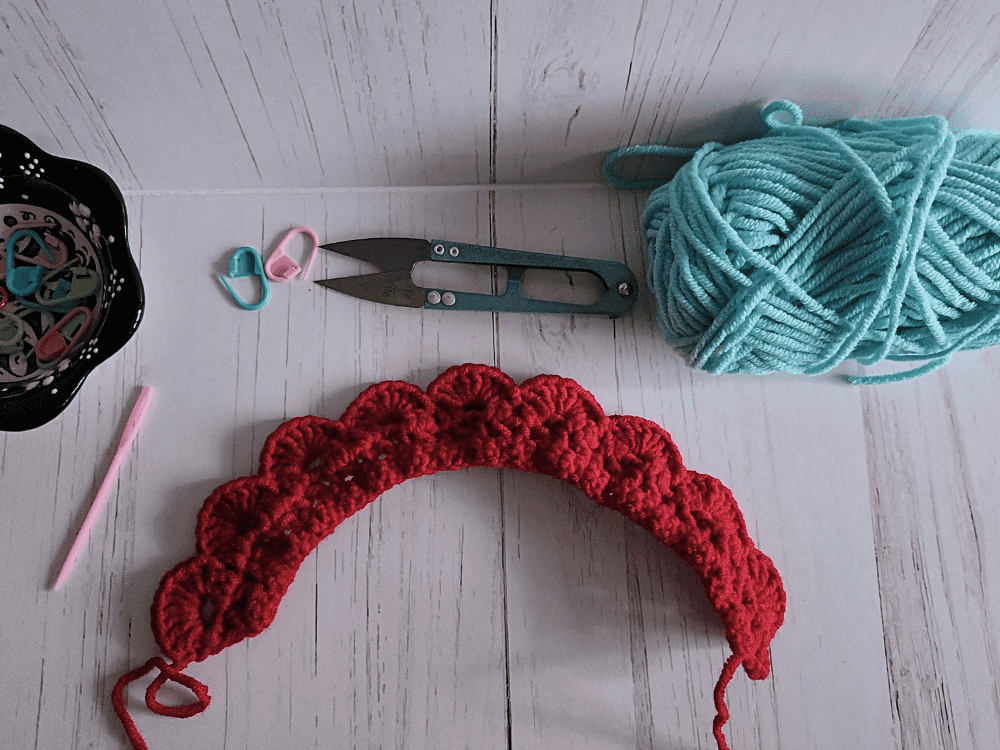
4: CH, [8 DC (into the large hole), SL ST (into the smaller hole)] – Repeat until the end and leave a long tail
Bouquet
For the bouquet, I chose blue for the main color and white for the details. Again, you are free to choose the color of yarn that best suits your vibe.
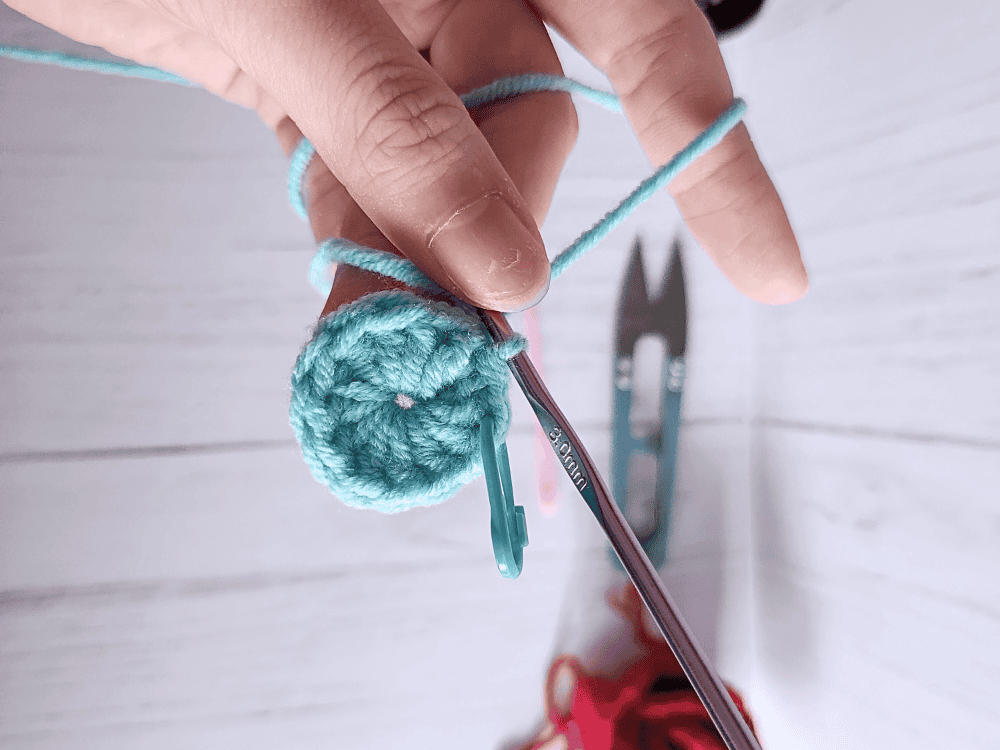
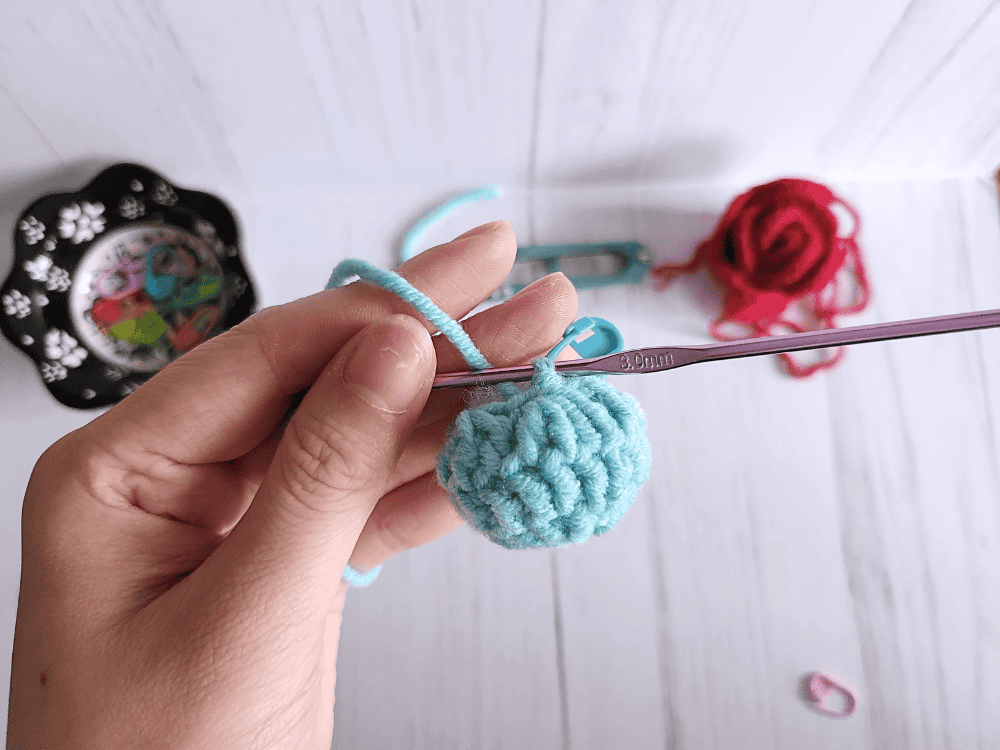
1: MR, 12 DC
2: (DC, 2DC) x6
3: PS x6 (Do 3 incomplete DC, and chain together)
You can add some stuffing here.
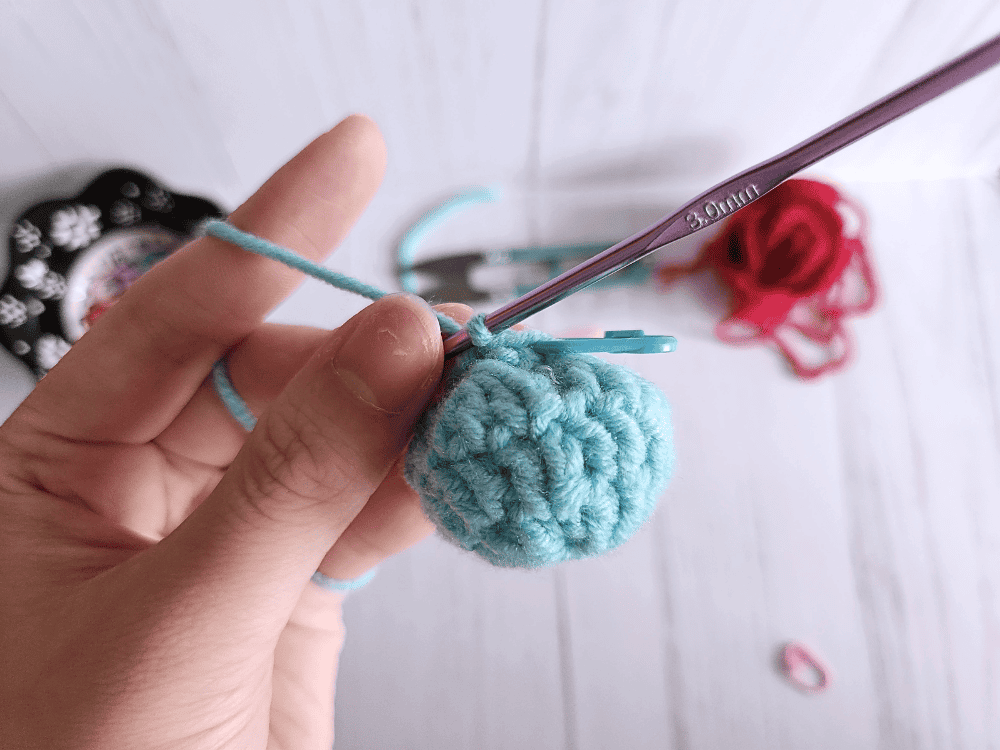
4: 6 V
5: 12 V
6: (3 SC, V) x6
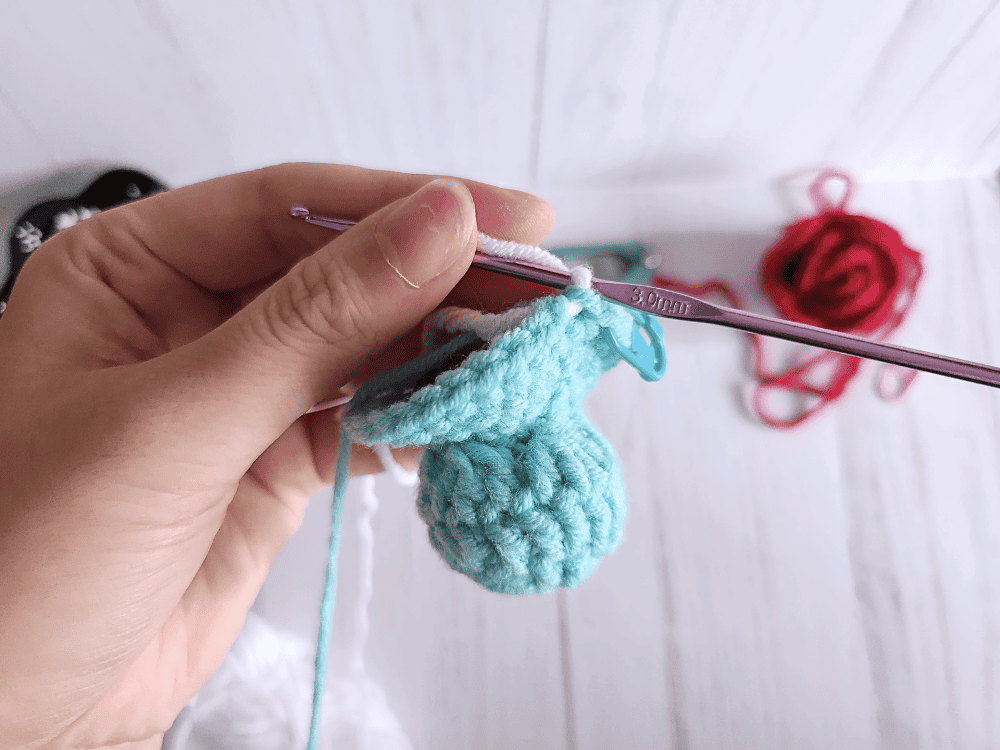
7: 30 SC
8: Change color FLO 30 SC
9: (FLO 3 DC, BLO 3 DC) x15
Putting It Together
Now that we have both the rose and the bouquet ready, putting them together is super simple. All you have to do is roll the rose. I like to add super glue while rolling it to make it sturdier and keep it in place.
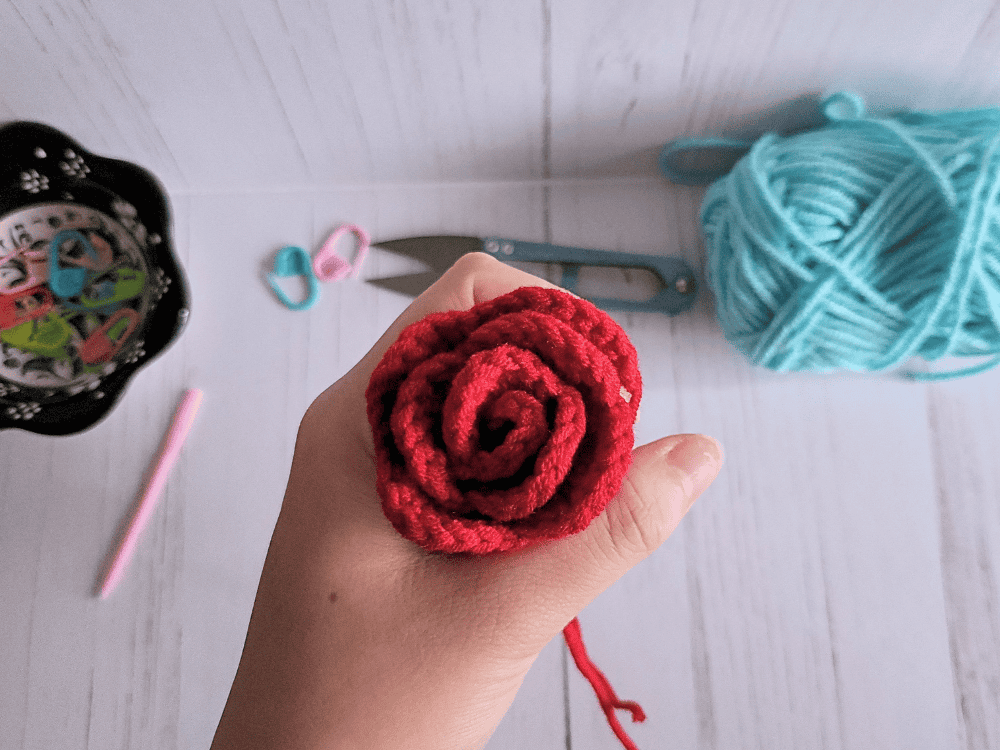
Then, I glue the rose to the bouquet. For the final touches, I cut a bit of white string and tied a cute ribbon around the bouquet.